Seleccionar una organización
Mobile Schedule in Salesforce Maps
Fecha de publicación: Aug 21, 2026
Descripción
Solución
Adding Markers to Your Schedule
- Tap a marker on the map and select Add to Schedule. Repeat this action if you wish to add more markers to your schedule.

Note: If you do not see Add to Schedule action, try clicking on the three vertical dots to expand further actions. If still not able to see Add To Schedule action, please contact your Maps admin to add it to your button set.
- Exit the marker view by clicking X on the top right.
- Click on the Schedule tab from the bottom of the screen.
- At that point, markers should populate in your Unscheduled panel. You can tap on Add to Schedule option to create a schedule.
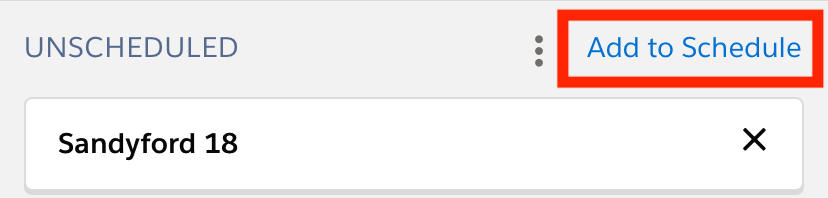
Note: When default start/end locations are not defined in settings, at least two markers are needed to be able to create a schedule.
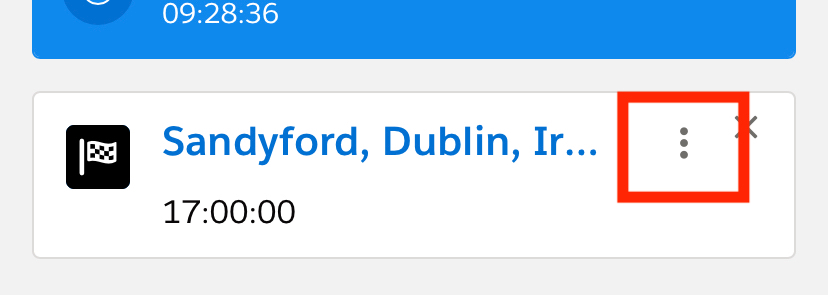
- Use the three dots on a waypoint in order to either remove the waypoint from the schedule or exclude it from optimization.
- Select Save to sync your Schedule as a series of events.
Differences from the Desktop Version of Salesforce Maps
The mobile schedule has certain differences from the Desktop Version of Salesforce Maps. These are a few noteworthy differences:
- The Mobile Schedule has a condensed date picker.
- The Mobile Schedule does not allow you to look up other users.
- The Mobile Schedule does not support draggable waypoints. In order to edit the times of Events, you must tap the time and manually make changes.
Recursos adicionales
Número del artículo de conocimiento
000380151
¿Resolvió este artículo su problema?
¡Háganos saber cómo podemos mejorar!
