Vælg en organisation
Create routes in Maps Mobile
Udgivelsesdato: Aug 18, 2026
Beskrivelse
Salesforce Maps Mobile lets you create standard and time-based routes directly from your phone or tablet while in the field. This article covers both route types: use a standard route when you want Salesforce Maps to optimize stop order automatically, or a time-based route when you need to lock in appointment times that shouldn't change.
Løsning
- Note: this article uses images taken from a phone. The user interface might be slightly different on a tablet, but the process remains the same.
Prerequisites
Creating a Standard Route on Mobile
- Start by plotting a Marker Layer in Salesforce Maps.
- Tap a marker to reveal the actions you can perform with a given marker.
- Tap Add to Route.
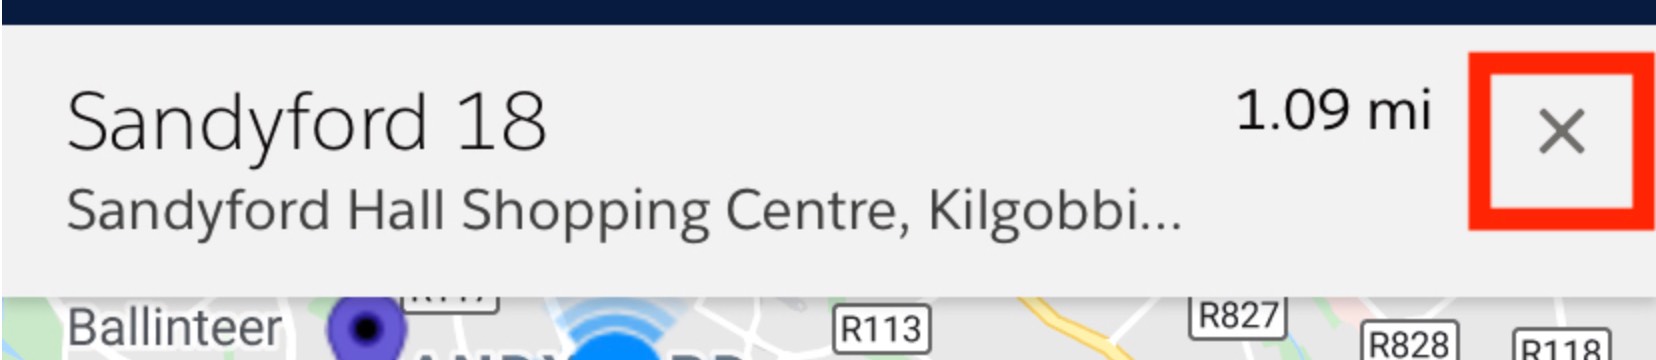
- Click on the X sign in the upper right corner to exit to Map view.
- Tap Route in the bottom menu and notice how the selected marker was added to the route.
- Tap the Map icon to revert back to the Map view and continue to add markers.
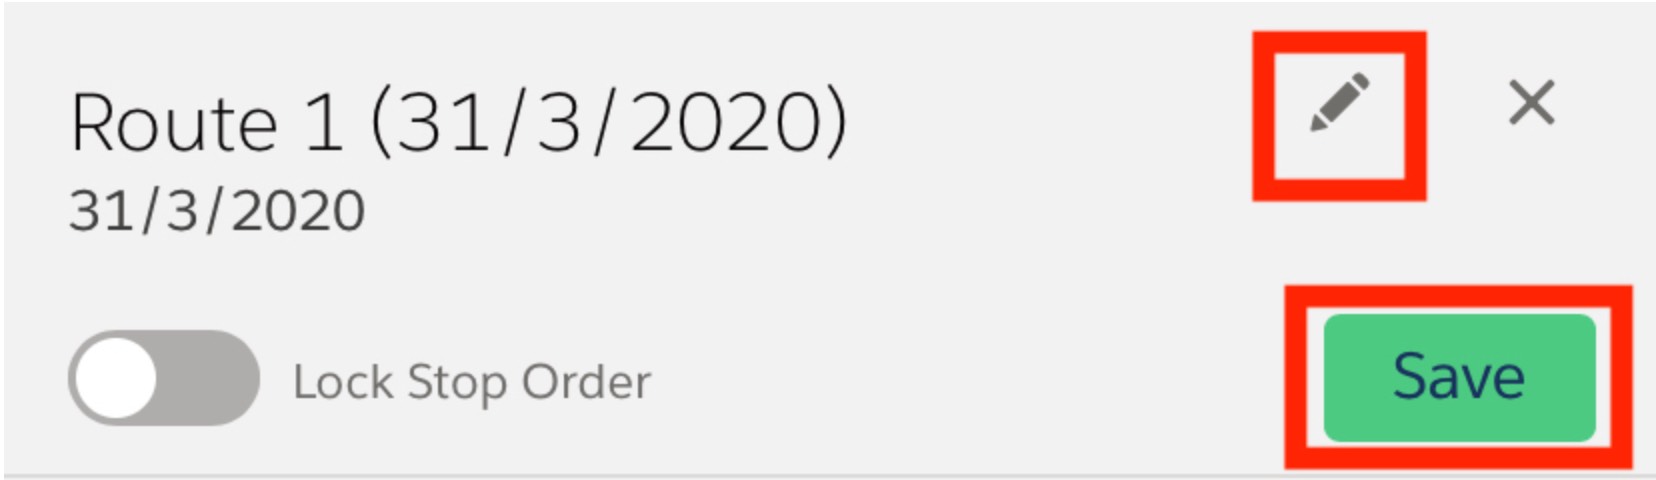
- At this point, you can repeat steps 2–6 for as many markers as you'd like (up to 150). When you're ready, use the pencil icon near the header to edit the route name, then use the Save button to save the route.
Creating a Time-Based Route on Mobile
- Start by plotting a Marker Layer.
- Tap a marker to reveal the actions you can perform with a given marker, then select Add to Route.
- Tap the pencil icon to edit the route.
- Since this is a Time-Based Route, tap Time-Based Route. (Note that at this screen, you can also edit the time and date.) Set the start and end time of the route, then tap Done.
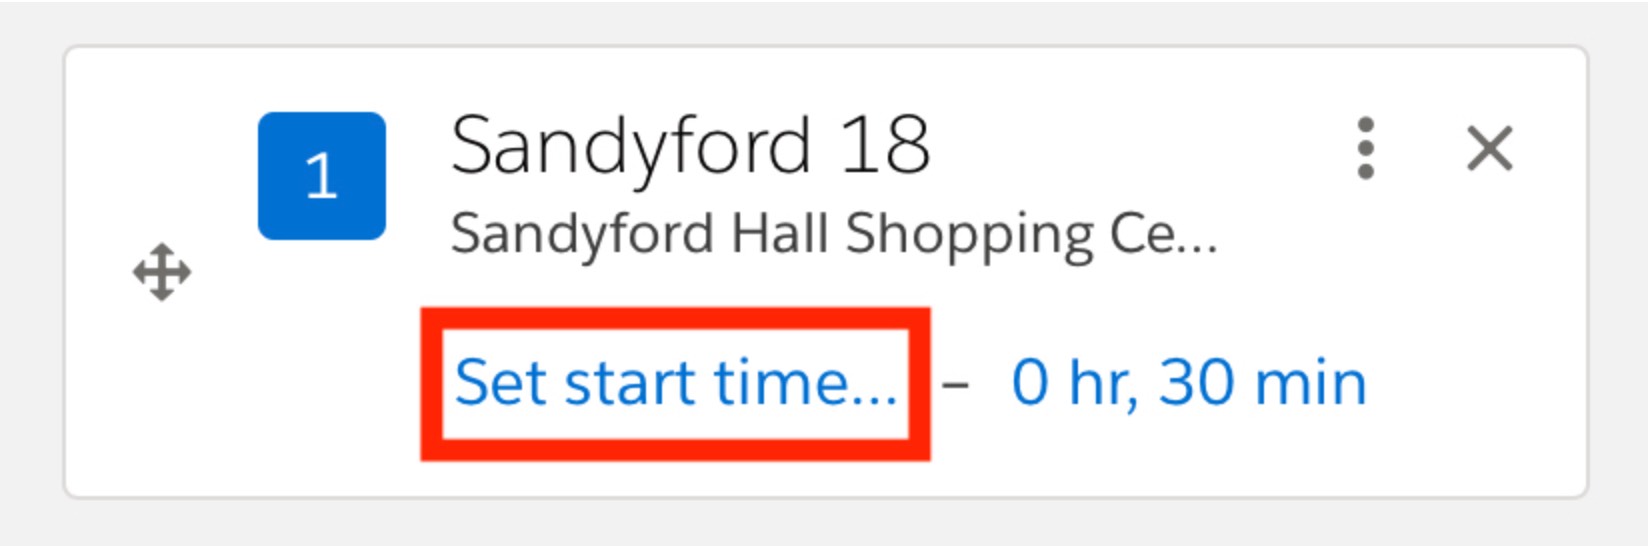
- Tap Set Start Time to set the start time and duration of the appointment.
- At this point, you can tap Map to return to the map view and continue adding markers to the route.
- When finished, tap Save.

Yderligere ressourcer
Create a Route in Salesforce Maps
Vidensartikelnummer
000380767
Løste denne artikel dit problem?
Giv os besked, så vi kan forbedre os!
