Valitse organisaatio
Flow Instructions: Add Quip document to folder
Julkaisupäivä: Sep 23, 2025
Ratkaisu
Automation Details
These instructions will walk you through how to set up the following automation.
- When a Quip Template is populated in the Quip Document Component on an Opportunity
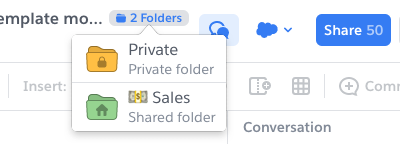
- That document will automatically be added to a Quip Folder
- In turn, shared with everyone that is a member of that folder
Keep in mind this example is for an Opportunity but you can use the same logic for a different use case, template, or page (i.e. Account Plan on your Account page).
Lighting App Builder Set-Up
Before beginning this automation you must set up the Quip Document Component on the Opportunity Page. For more details on setting up the Quip Document Component watch the video Set up the Document Components in the Lightning App Builder.
- Go to any Opportunity and then Edit Page from the gear in the top right
- Add a tab for the Rich Opportunity Notes
- Insert the Quip Document Component into this new tab
- Configure the component for One template for each record
- Insert the Quip Template URL of the Rich Opportunity Notes template you would like to use
- Validate Template to ensure your settings are correctly configured
- Create a URL Field by clicking Create a new field
- Give the URL a name you will remember such as “Close_Plan_Quip” (We will be using this in a future step)
- If you run into errors from this page try creating directly from the Object Manager
- and then select that field to store the new document URLs
- Give the URL a name you will remember such as “Close_Plan_Quip” (We will be using this in a future step)
- Save!
Flow Instructions
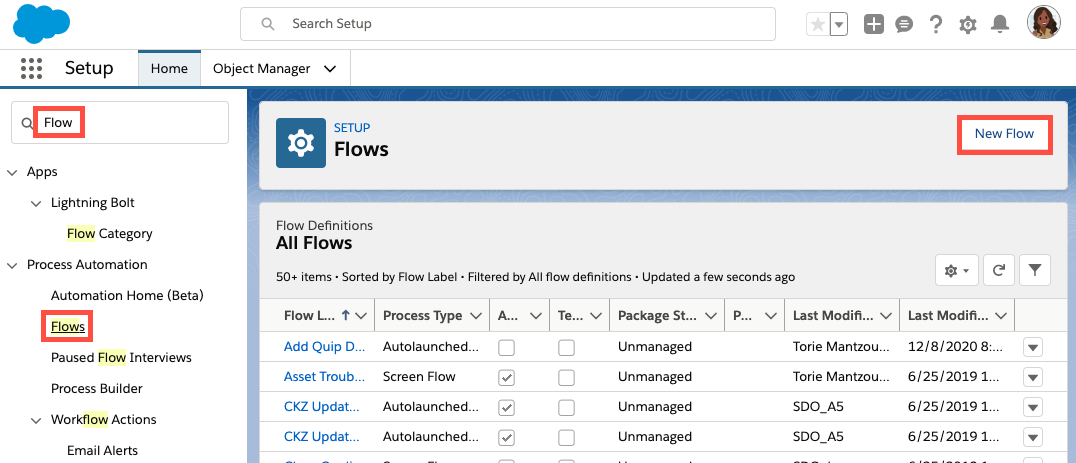
- Go to the gear in the top right and then Settings
- Search Flows and click on Flows
- Then New Flow to create a new Flow
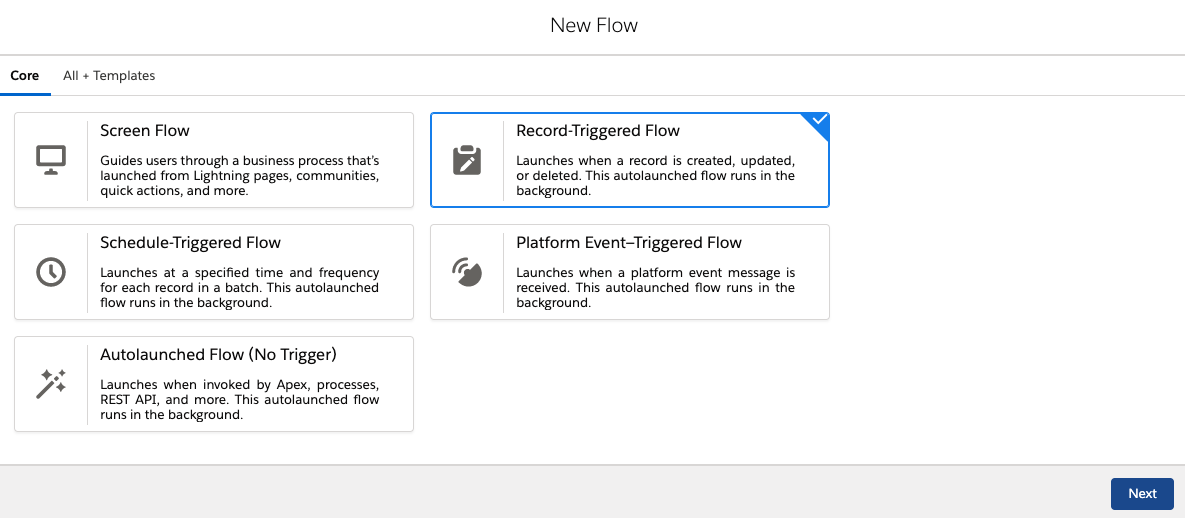
- Record Triggered Flow
- Auto-Layout
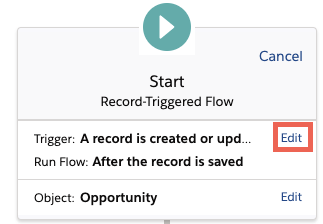
- Then Edit to edit the Trigger
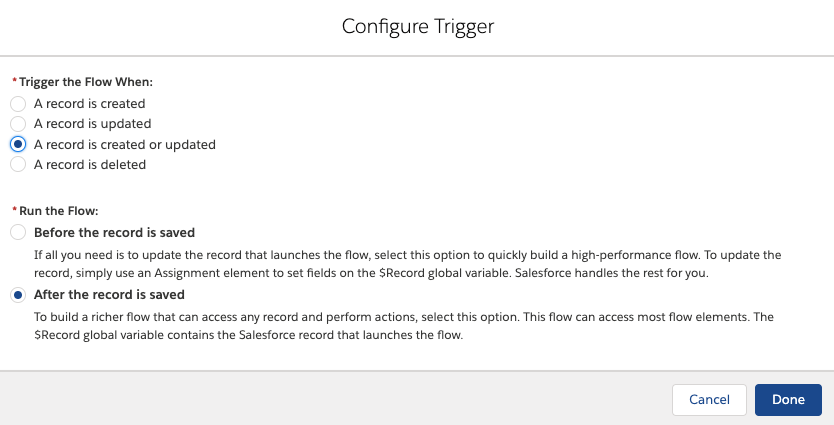
- Trigger the flow when: A record is created or updated
- Run the Flow: After the record is saved
- Then Done
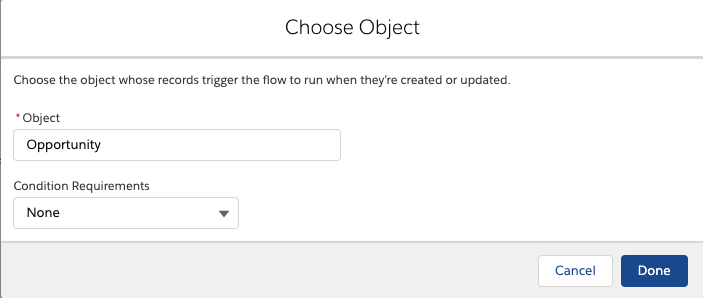
- Choose Object
- Object: Opportunity
- Condition Requirements: None
- Then Done
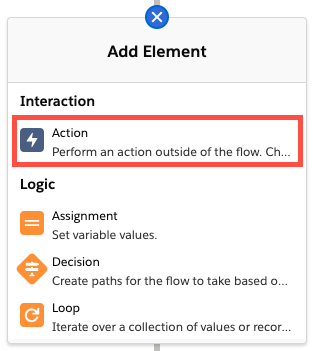
- Add Element
- Select Action
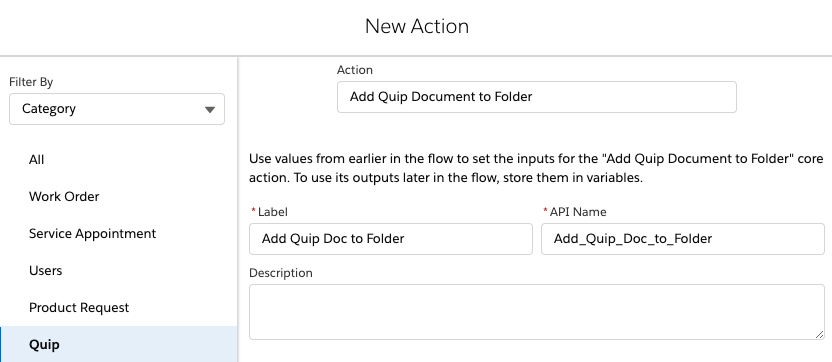
- Select the Category Quip
- Action: Add Quip Document to Folder
- Label: “Add Quip Doc to Folder”
- You can add the specific of doc to the name if you would like
- API Label: Add_Quip_Doc_to_Folder
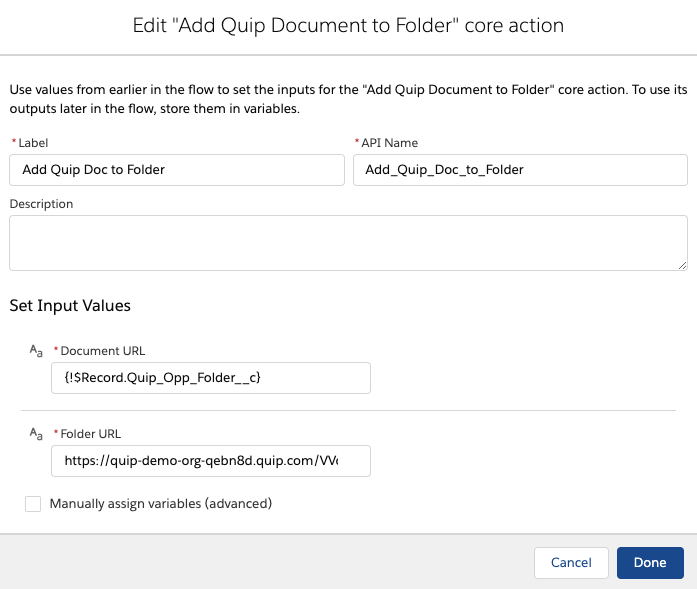
- Set the Input Values
- Document URL:{!$Record.Quip_Opp_Folder__c}
- Yours could look slightly different depending on what you named your Document URL in setup
- Document URL:{!$Record.Quip_Opp_Folder__c}
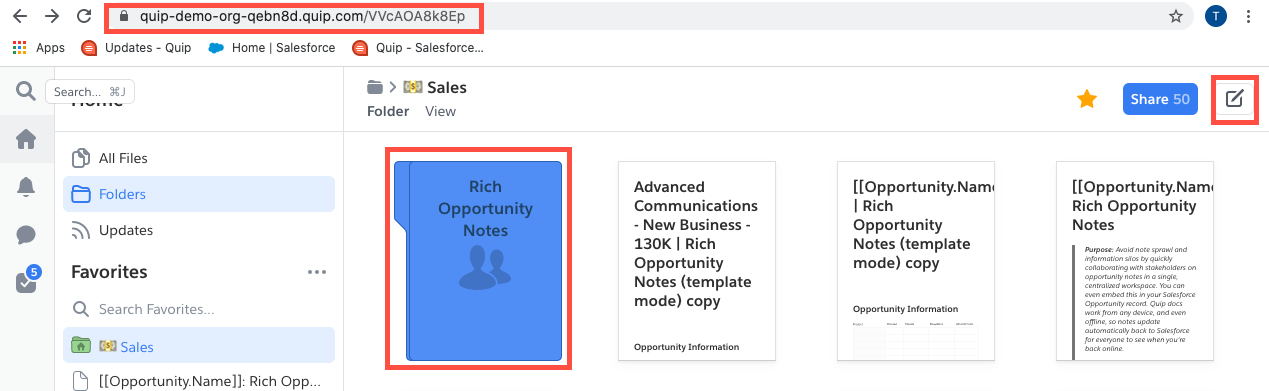
- Folder URL: Copy and paste the Quip Folder URL you would like the documents to be added to
- If you haven’t created a Quip folder yet:
- Open a new window and go to Quip
- Go to the compose button and create a new folder
- Copy the folder URL and then paste under folder URL in Action
- If you haven’t created a Quip folder yet:
- Then Done
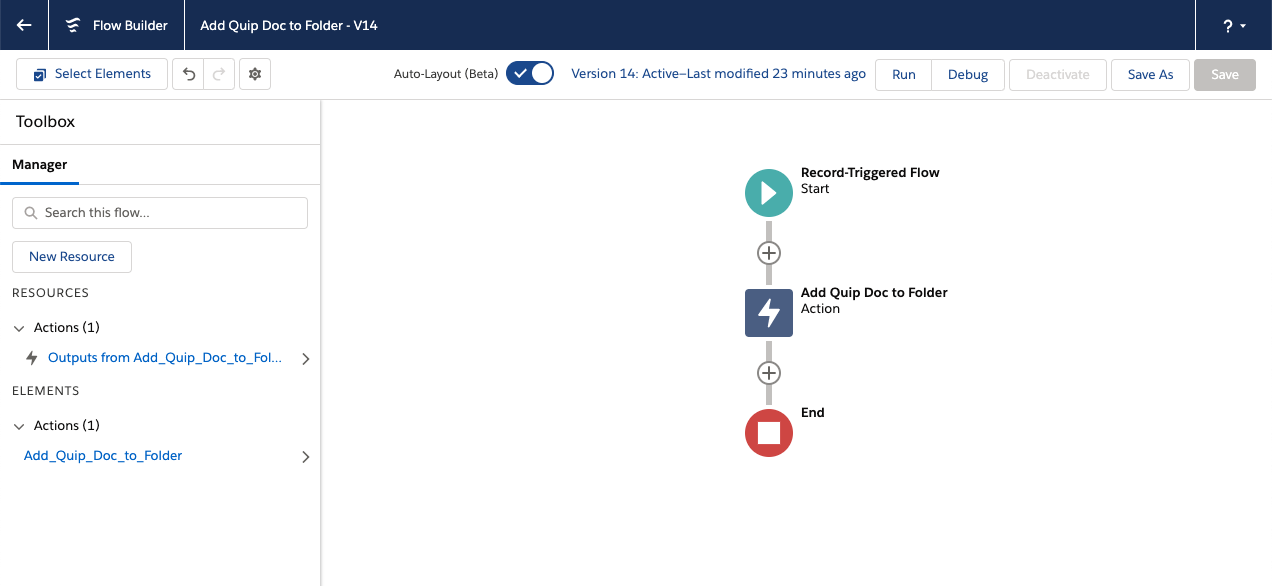
- Your completed Flow should look like this.
- Save
- Activate!
Test your flow
To test your Flow go to an Opportunity and populate the template in the Quip Document Component you added in the initial setup. Then expand open the document and see if it is in the folder you set it to be added to. Congratulations you just created a successful Flow!
Knowledge-artikkelin numero
000389057
Ratkaisiko tämä artikkeli ongelmasi?
Anna palautetta, jotta voimme kehittyä!