Organisation auswählen
How to install a Connector manually in Anypoint Studio and Have it show up on project's Mule palette
Veröffentlichungsdatum: Mar 3, 2025
Schritte
CONTENT
You need to download a connector manually and import it into a project in Anypoint Studio. Then, you must have it show up on your "Mule Palette" inside Studio. Here are the steps.STEPS TO FOLLOW
1. Please download this connector manually from Exchange. Here is a link to the top-level page of Exchange. You will need to search for your desired connector: linkFor purposes of our example, we will download and install the Mule Azure Service Bus connector: link
2. Then, please install this connector via Method 2 of the following article: Installing libraries and connector manually into maven local repository for use by Anypoint Studio
3. Then, please insert the following into the dependency section of your project's pom.xml file. You can obtain this by clicking on the right hand side of the version and choosing "Dependency Snippets":
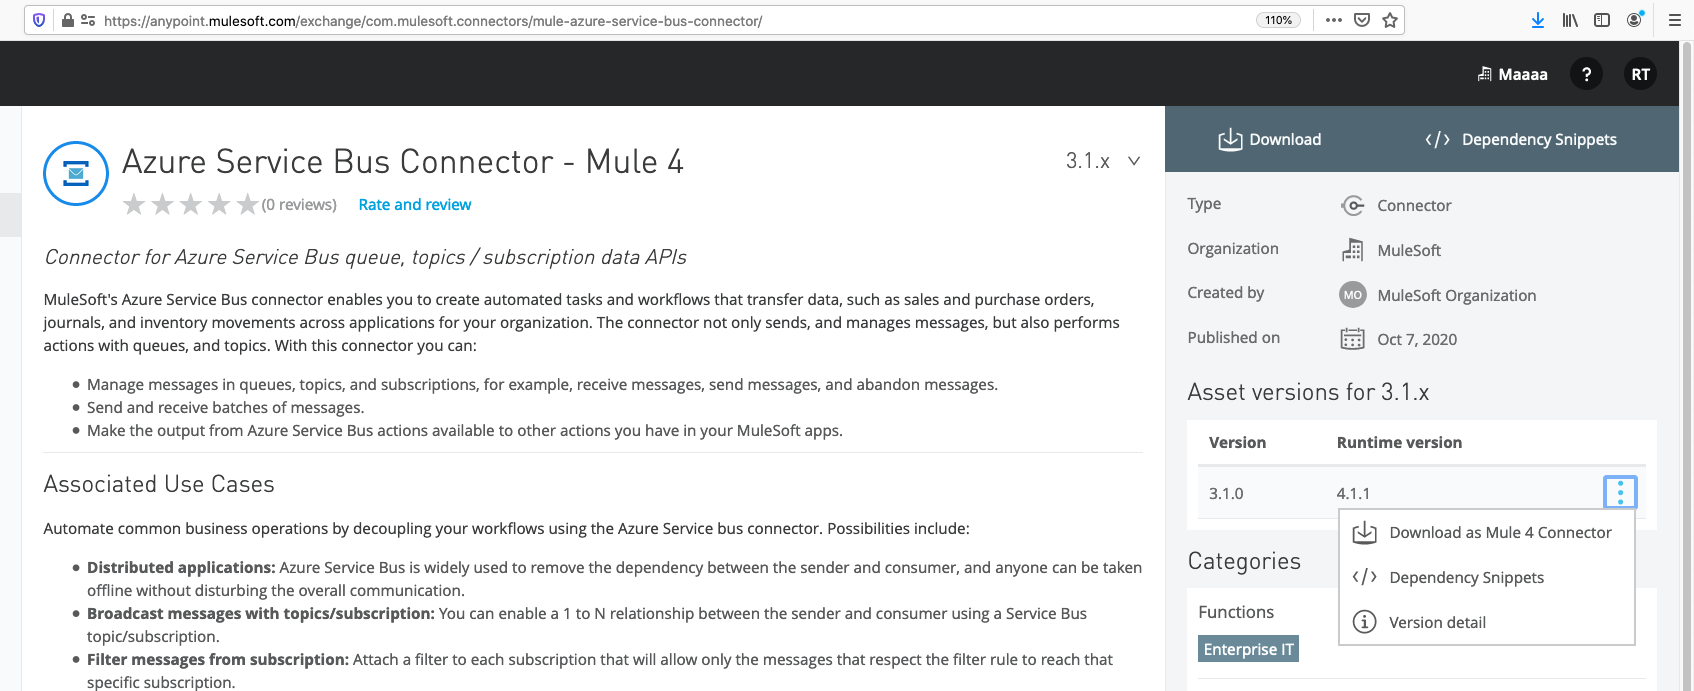
Dependency snippet:
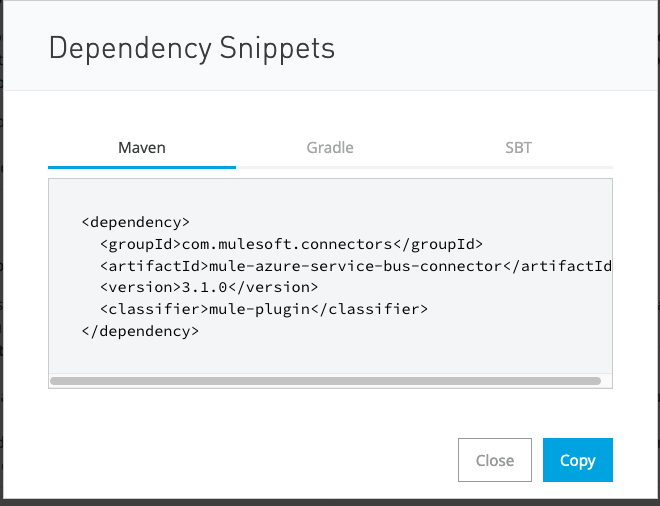
<dependency>
<groupId>com.mulesoft.connectors</groupId>
<artifactId>mule-azure-service-bus-connector</artifactId>
<version>3.1.0</version>
<classifier>mule-plugin</classifier>
</dependency>
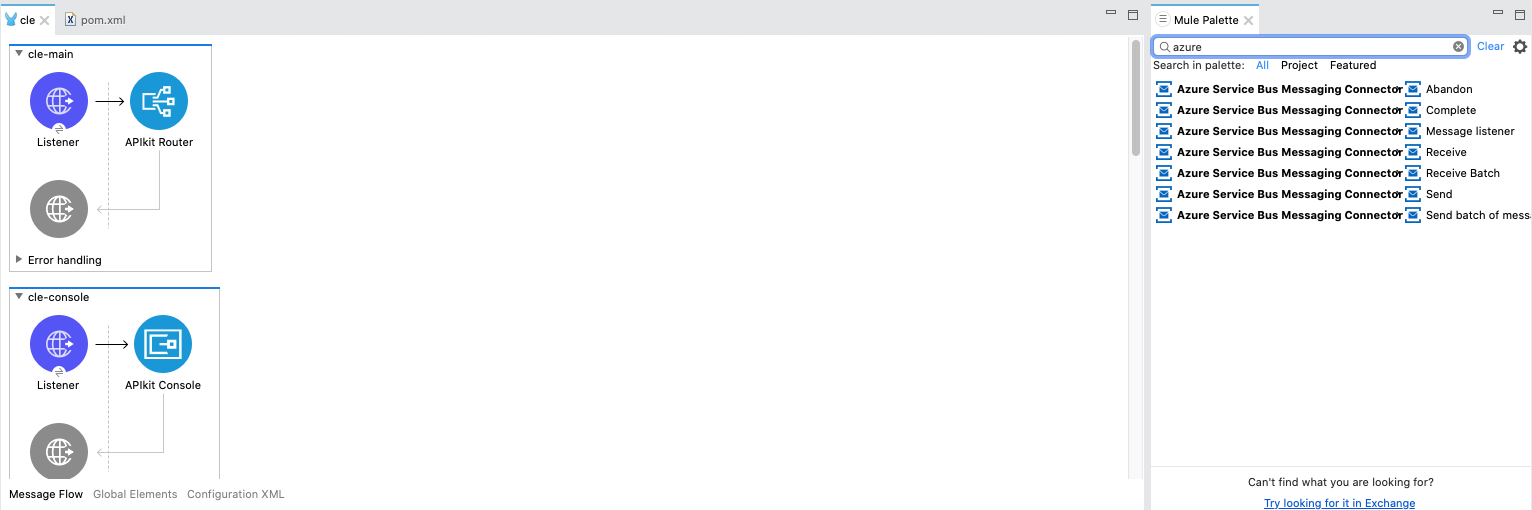
4. Finally, please run your application in Studio. This should download all the necessary dependencies and the connector (Azure Service Bus in our example) should show up in your palette now:
Nummer des Knowledge-Artikels
001115869
Konnten Sie Ihr Problem mithilfe dieses Artikels lösen?
Geben Sie uns Feedback, damit wir uns verbessern können.
