Seleccionar una organización
Salesforce Connector - How to authenticate using JWT
Fecha de publicación: Aug 1, 2025
Pasos
DESCRIPTION
You want to use the Salesforce Connector to access your Salesforce instance, but you need to use JWT as the authentication method. This KB article gives a basic guide on how to create this connected app and how to configure it in your Salesforce Connector.
Disclaimer 1: This article has to be used as a guide, any change introduced by Salesforce on how to create the connected app needs to be reviewed with them. In this example we allow the connected app to have access to everything, for getting further information on how to manage the roles, permissions and profiles please contact Salesforce Support
Disclaimer 2: MuleSoft Support only covers the Connector Configuration part. The rest of the guide is based on Salesforce documentation and any doubt should be addressed by them.
STEPS TO FOLLOW
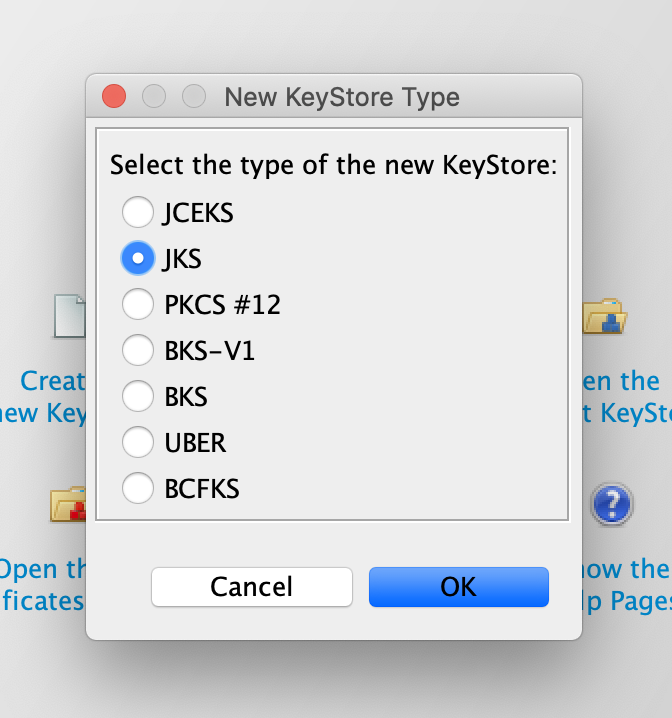
1. The first thing you will need is a key pair. In this KB we will use KeyStore Explorer to create one.1.1 Create a KeyStore in JKS format
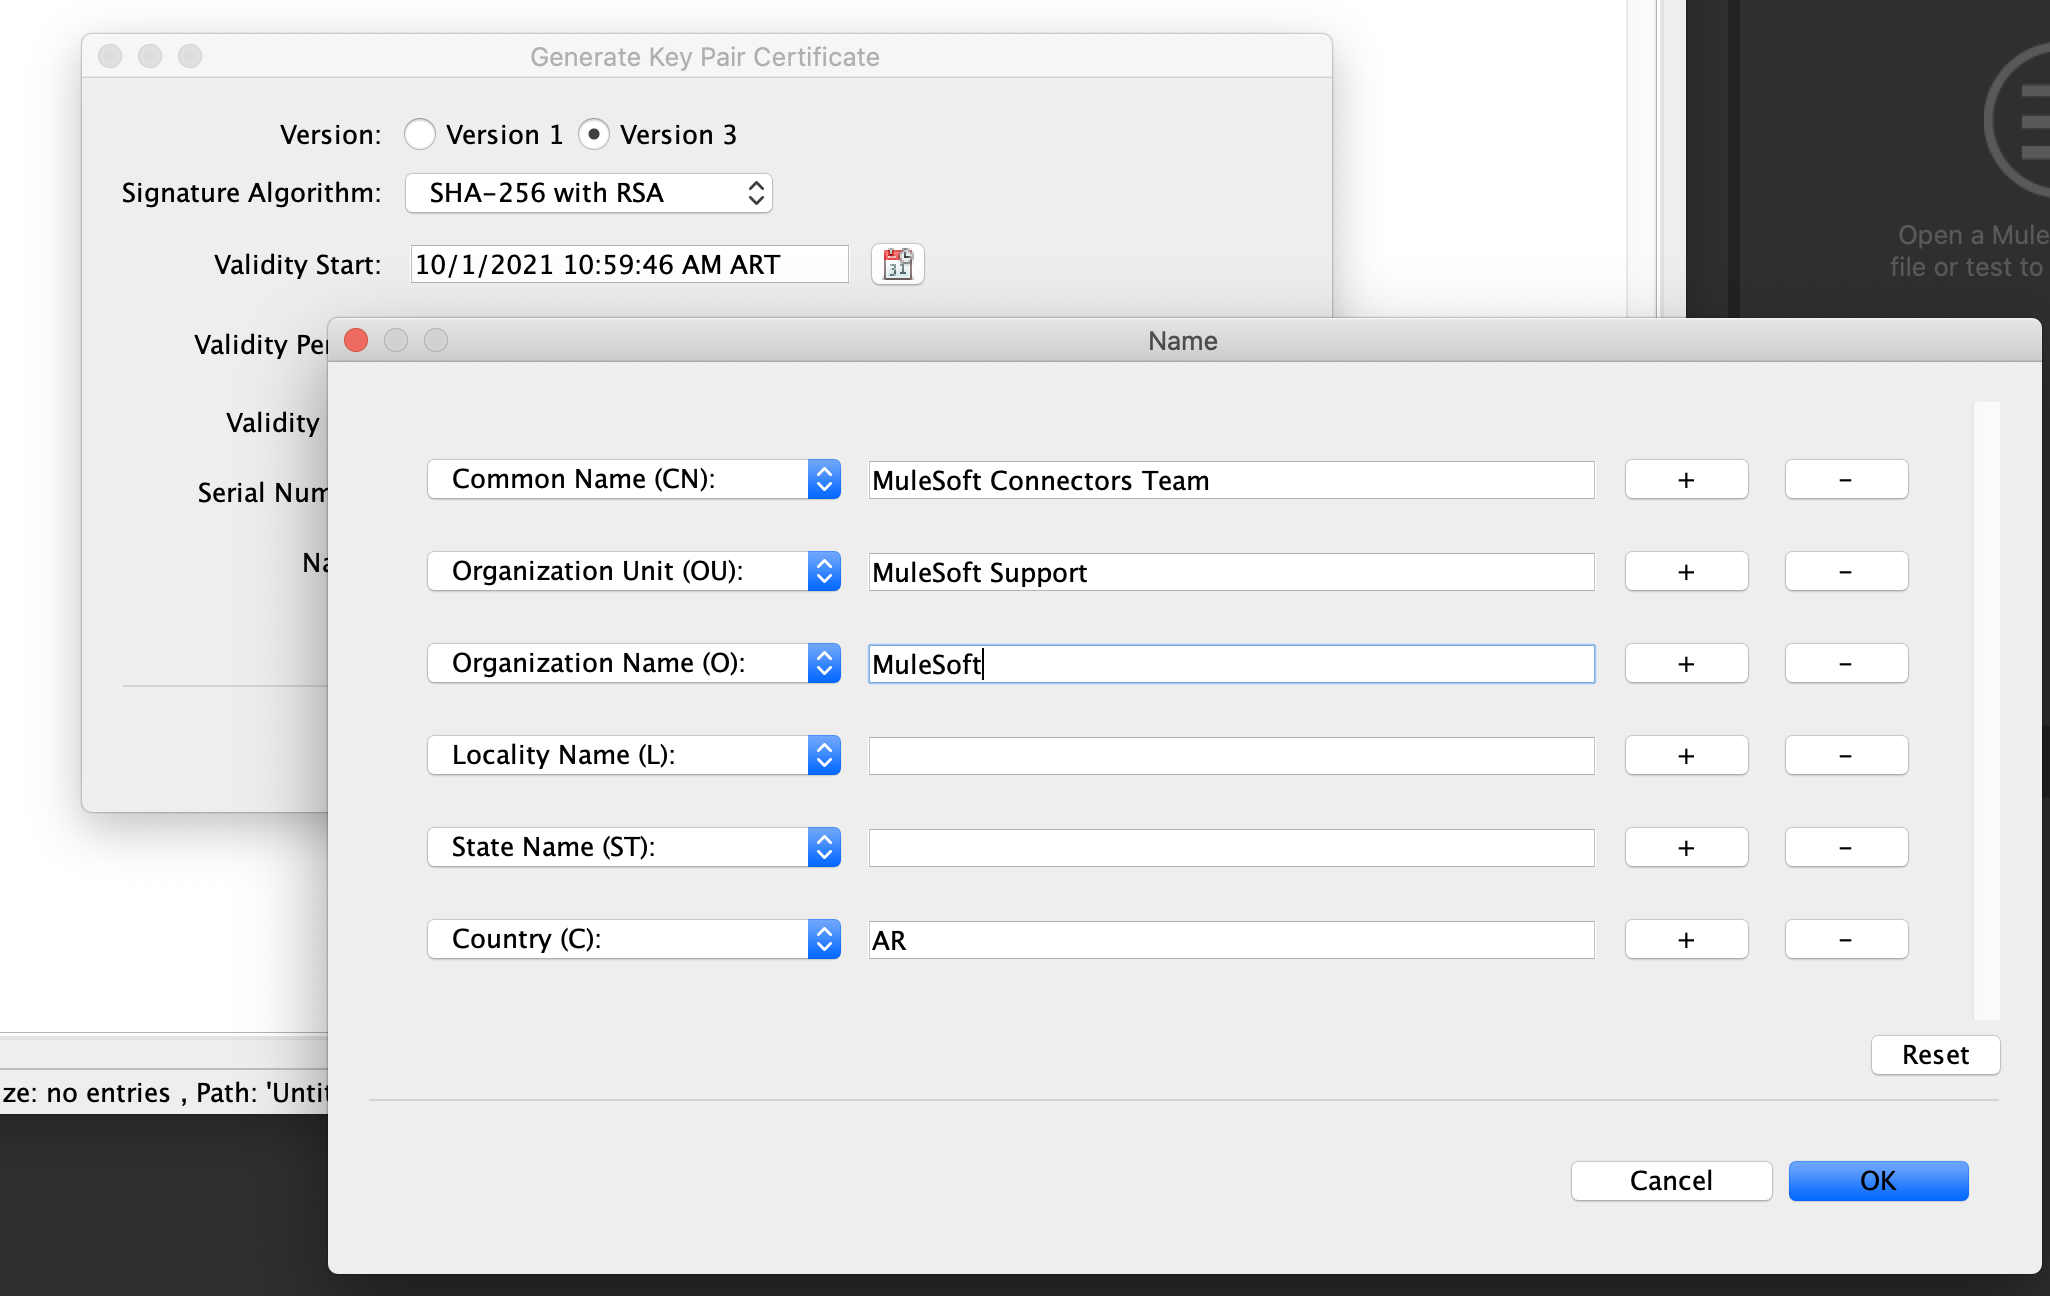
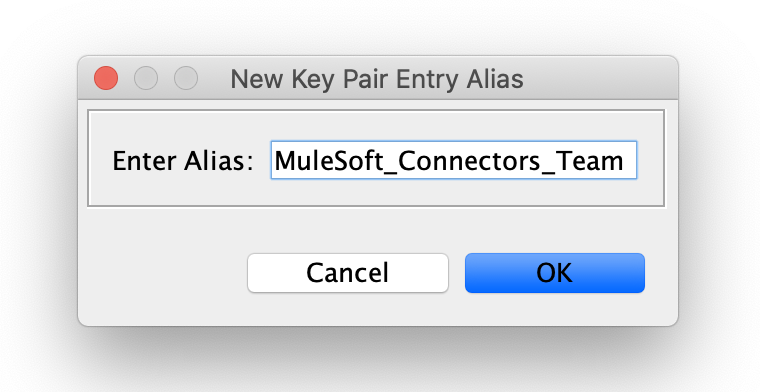
1.2 Generate a new key pair with your information and enter an alias for it when prompted. You will need this alias in the next steps.
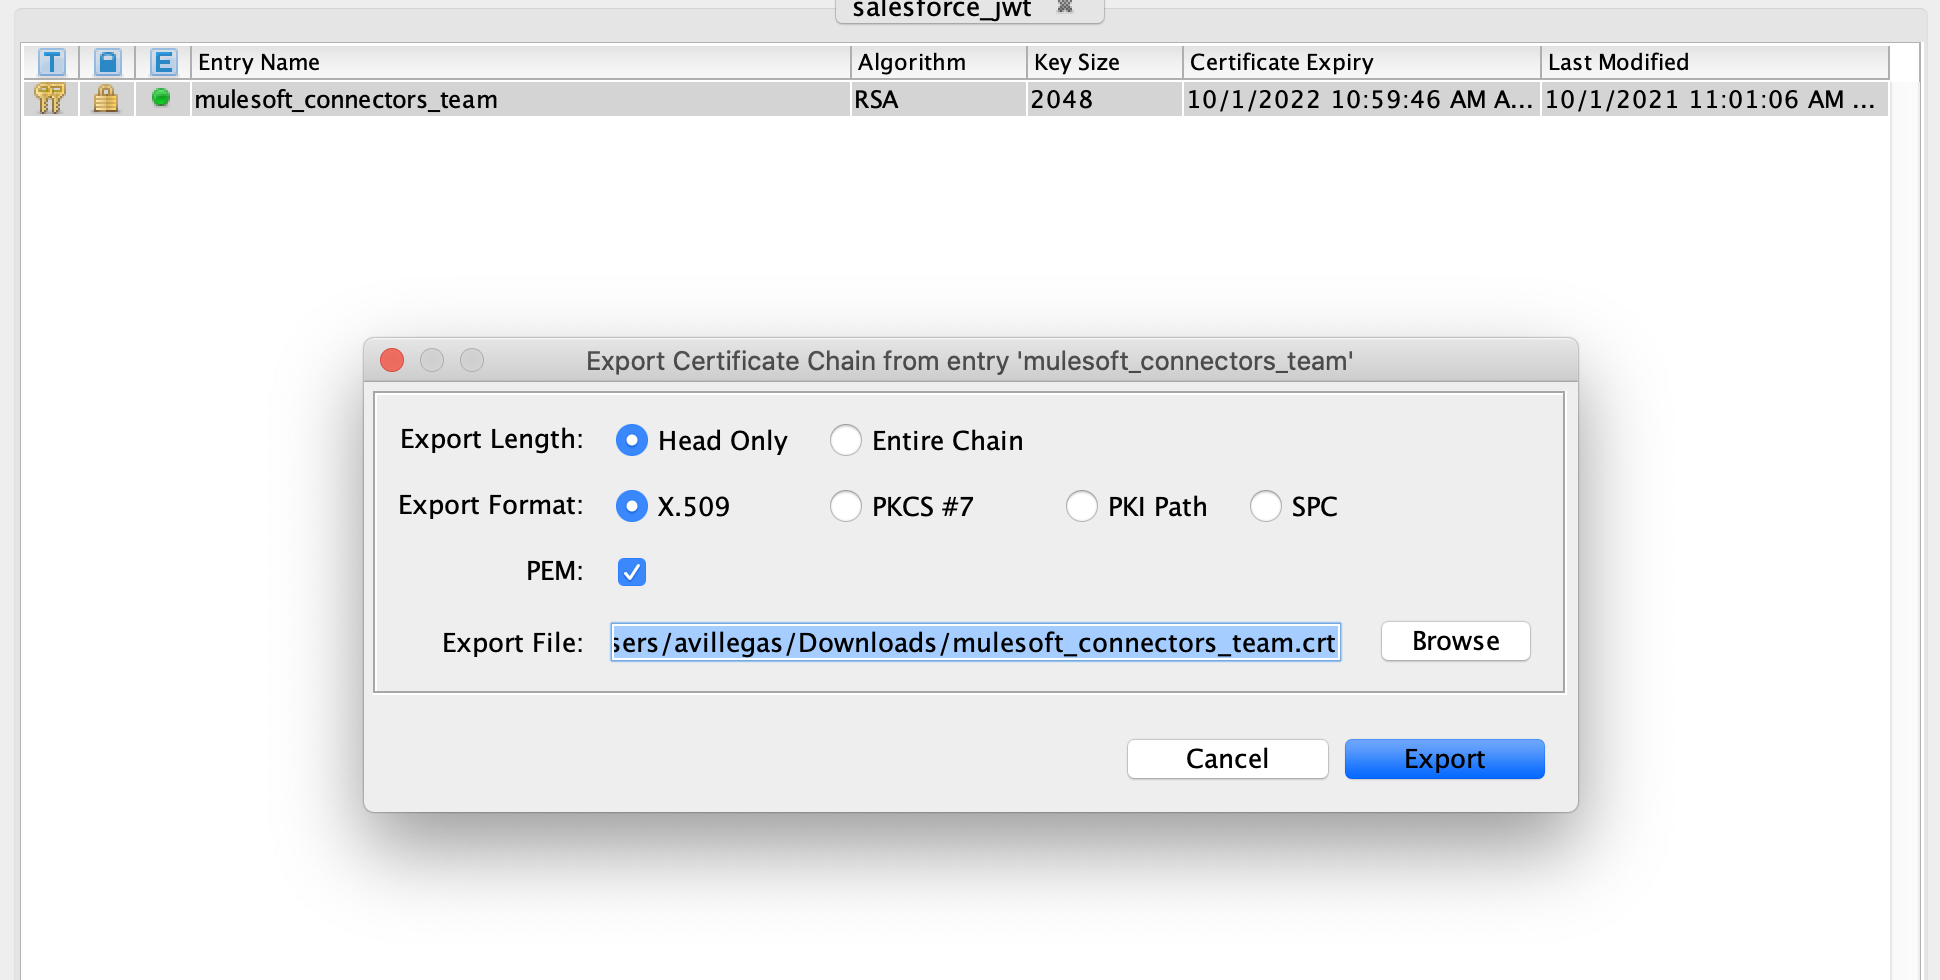
1.3 Export the certificate from the key pair created in the previous step. Change the extension from .cer to .crt
2. Create a new connected app in Salesforce following this documentation page: https://developer.salesforce.com/docs/atlas.en-us.sfdx_dev.meta/sfdx_dev/sfdx_dev_auth_connected_app.htm
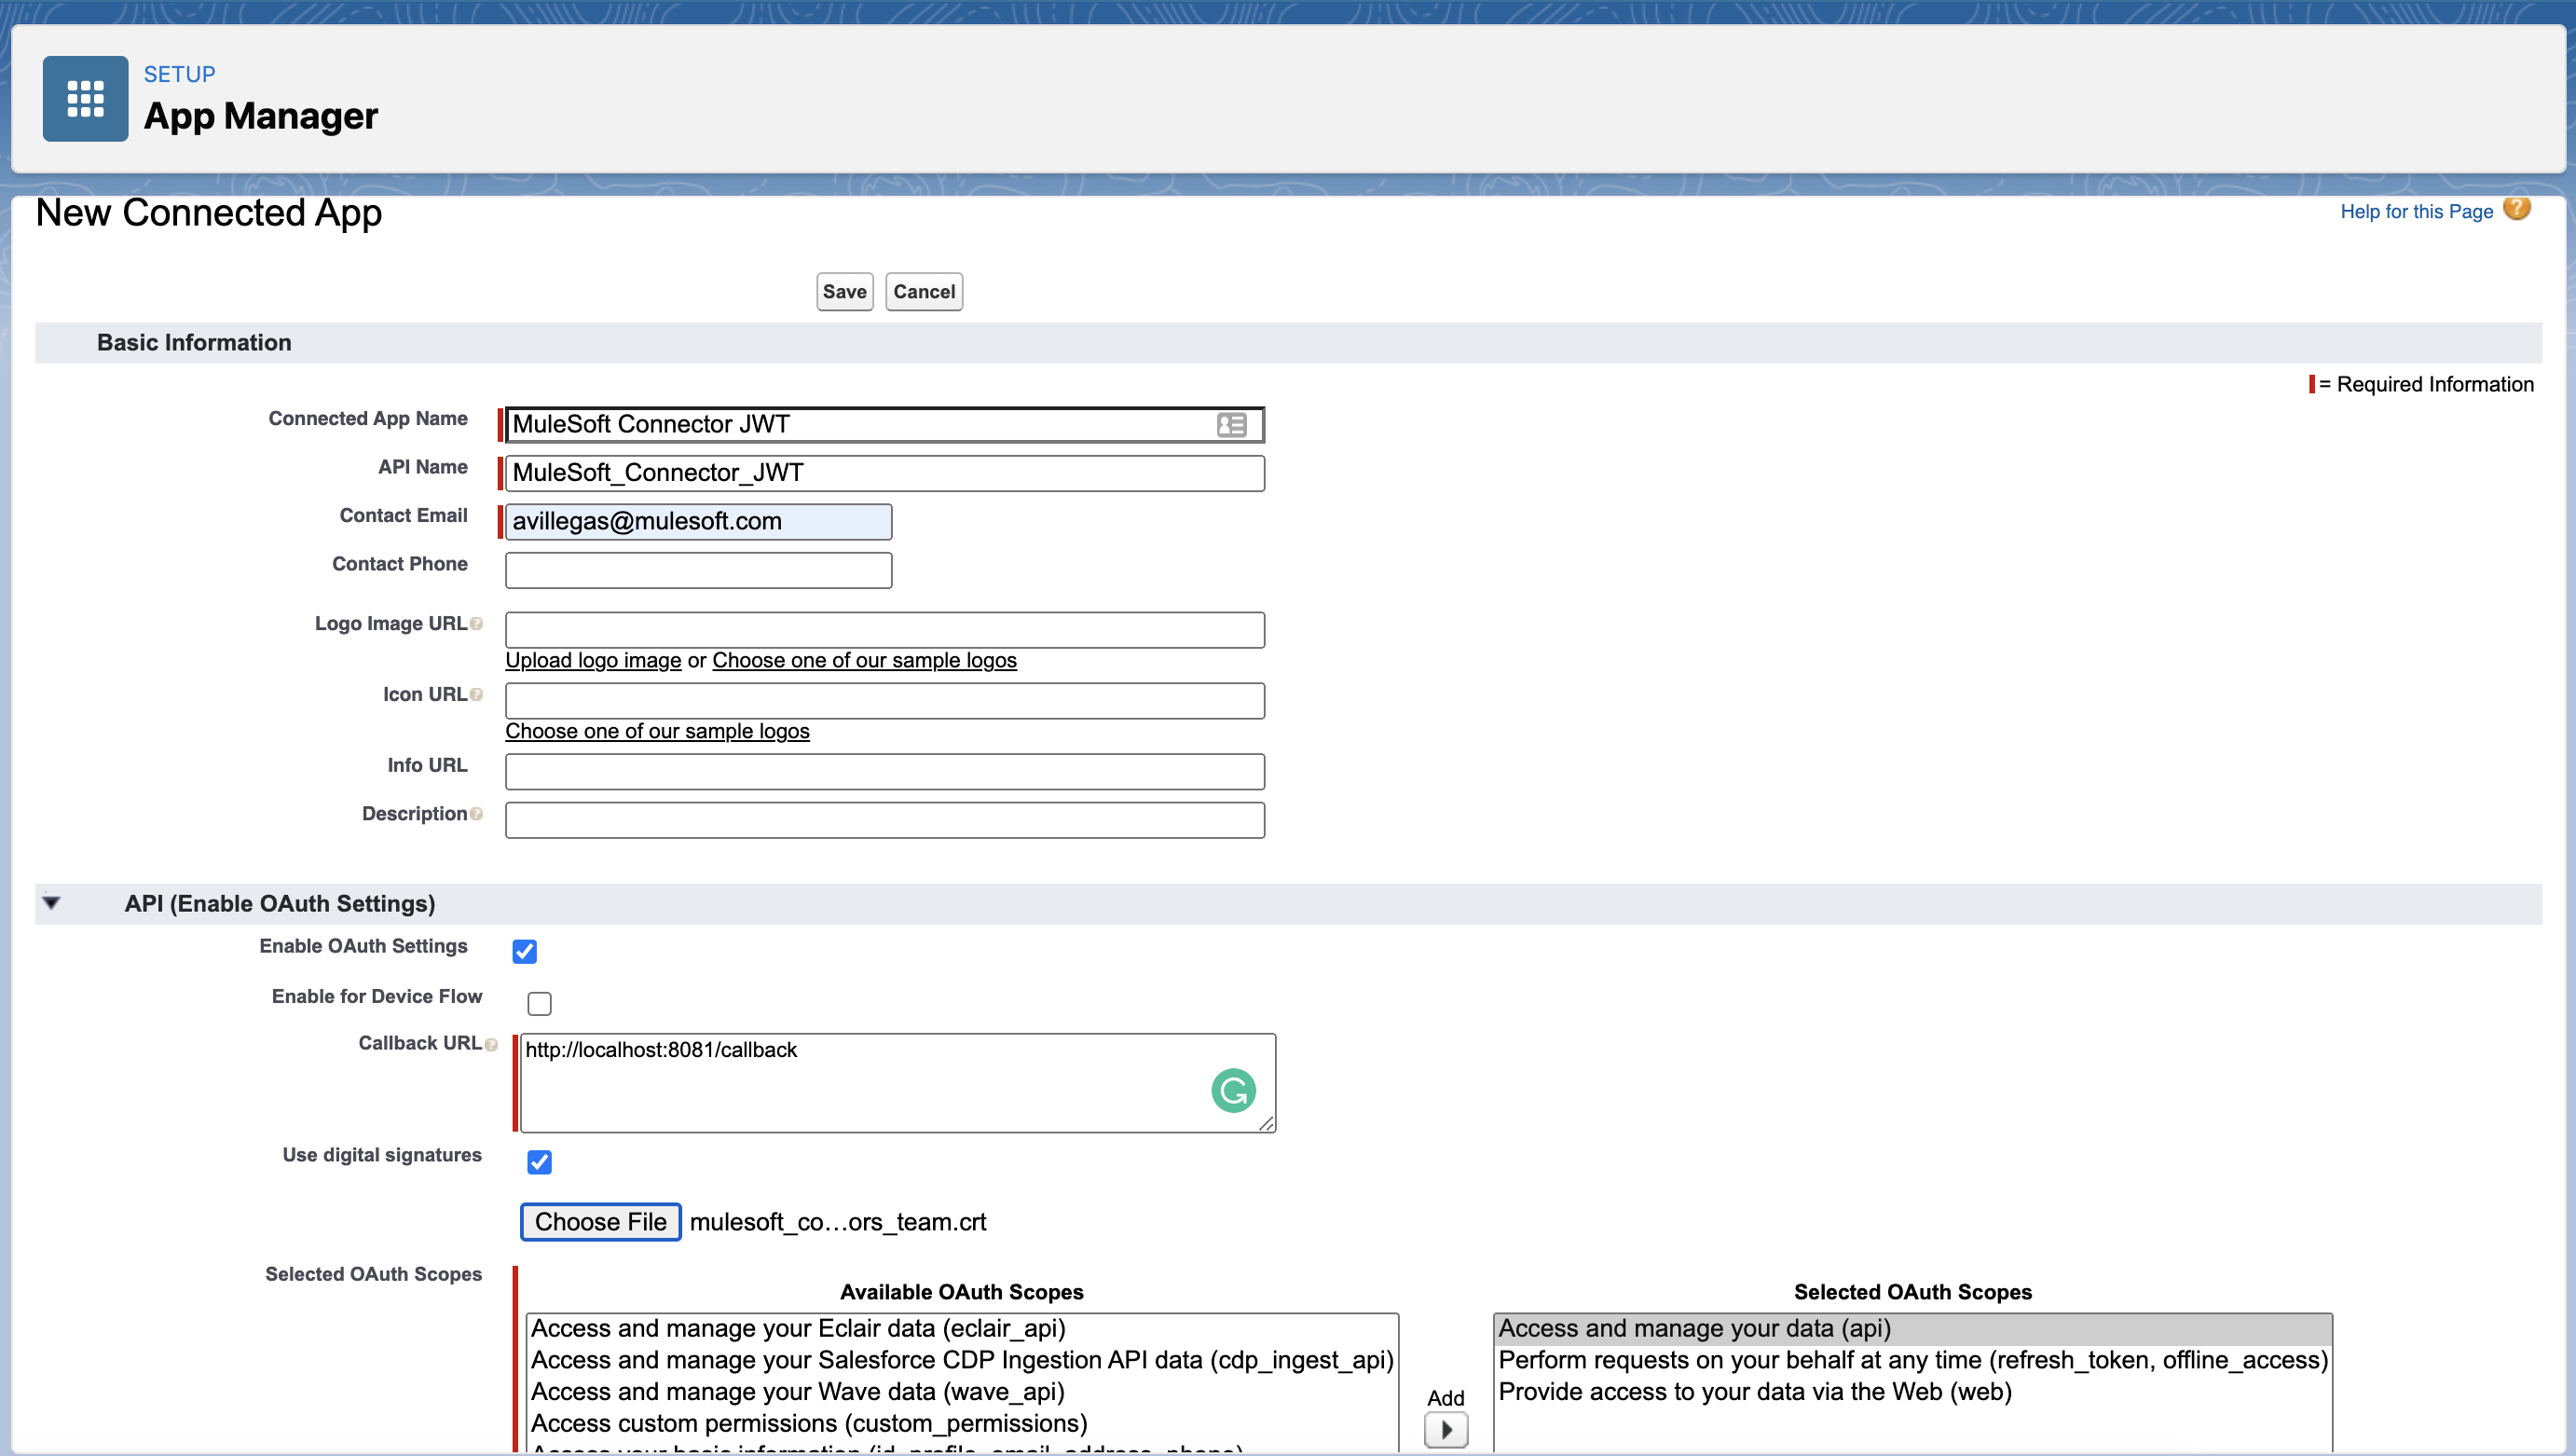
2.1 In your Salesforce Setup (switch to lightning mode if you haven't done so), go to App Manager and create a New Connected App and complete the information
- Connected App Name
- API Name: It will be autocompleted by Salesforce based on your App Name
- Contact E-Mail
- Callback URL: Can be any endpoint you like. We used http://localhost:8081/callback
- Tick the checkbox "Use digital signatures"
- Add the .crt certificate you exported in the previous step
- Add the permissions for the app
- Press Save
2.2 After Saving, press the Manage button and add the Profiles and the Permission Set. If you do not have a Permission Set defined, create a new one.
In this example, we gave the Connected App access to all the profiles and gave it all the permissions. For more information on what each profile o permission does, please contact Salesforce Support.
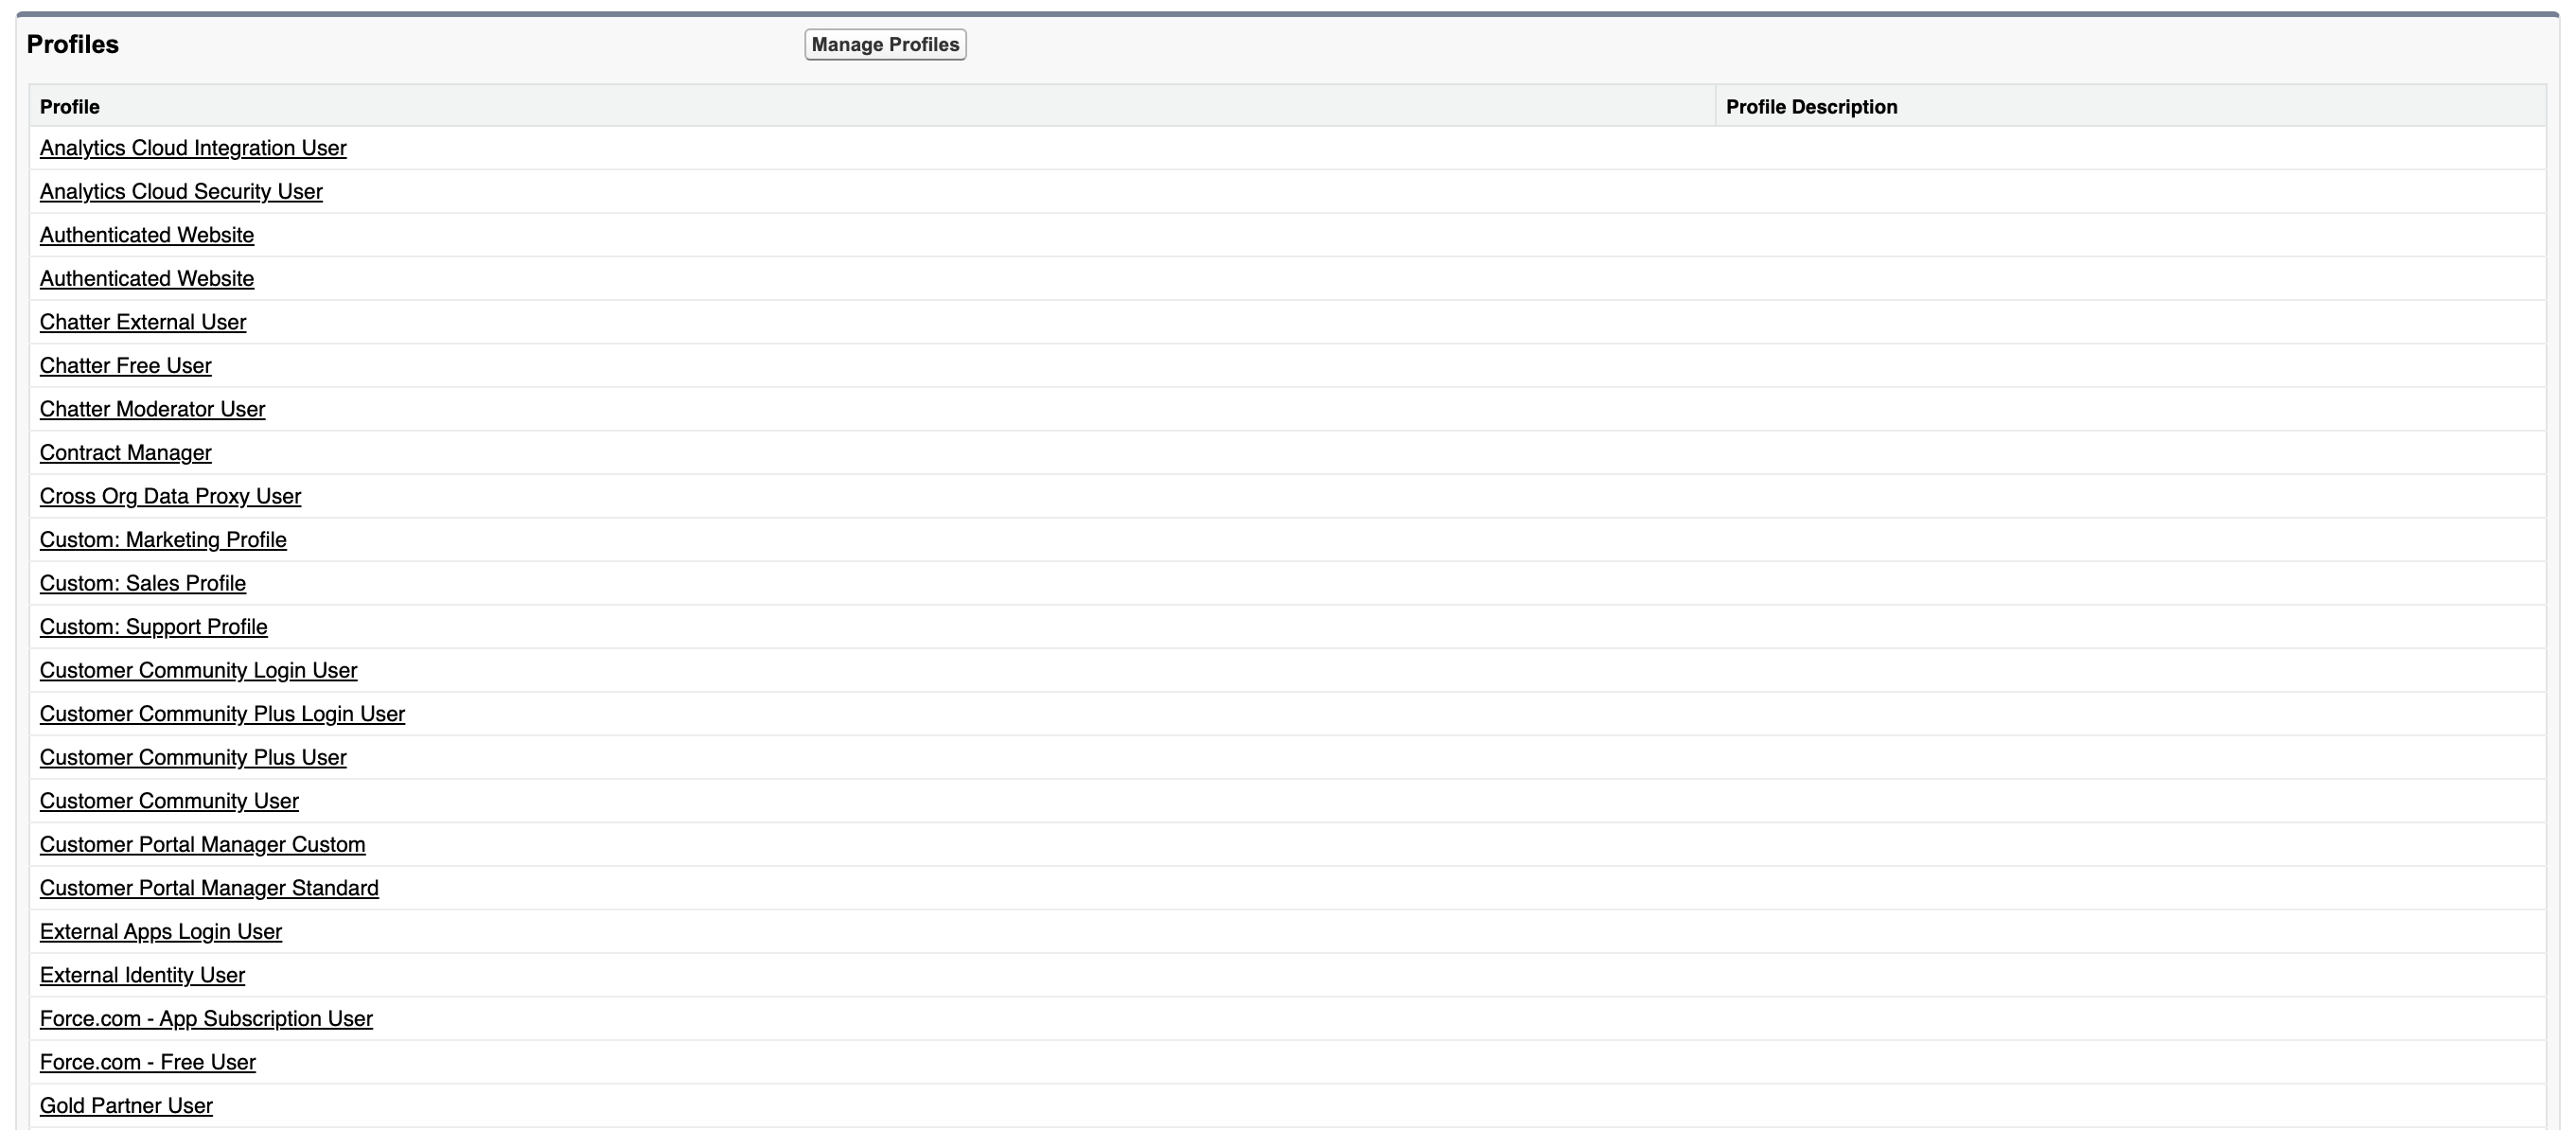
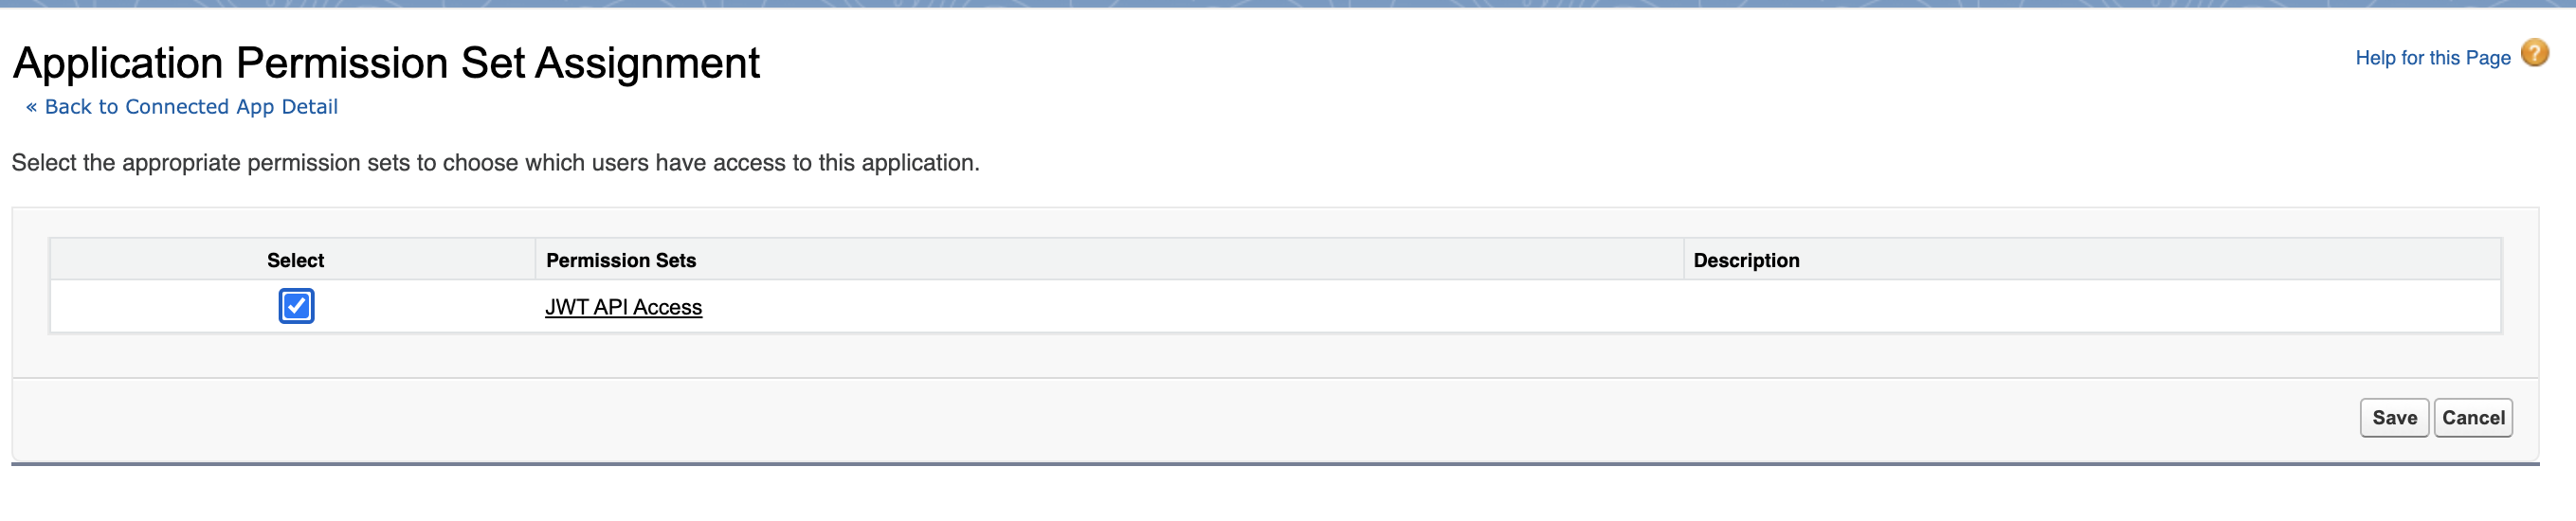
2.3 In the same Manage window you will see the button Edit Policies click it, and then make the following change:
Permitted Users: Admin approved users are pre-authorized
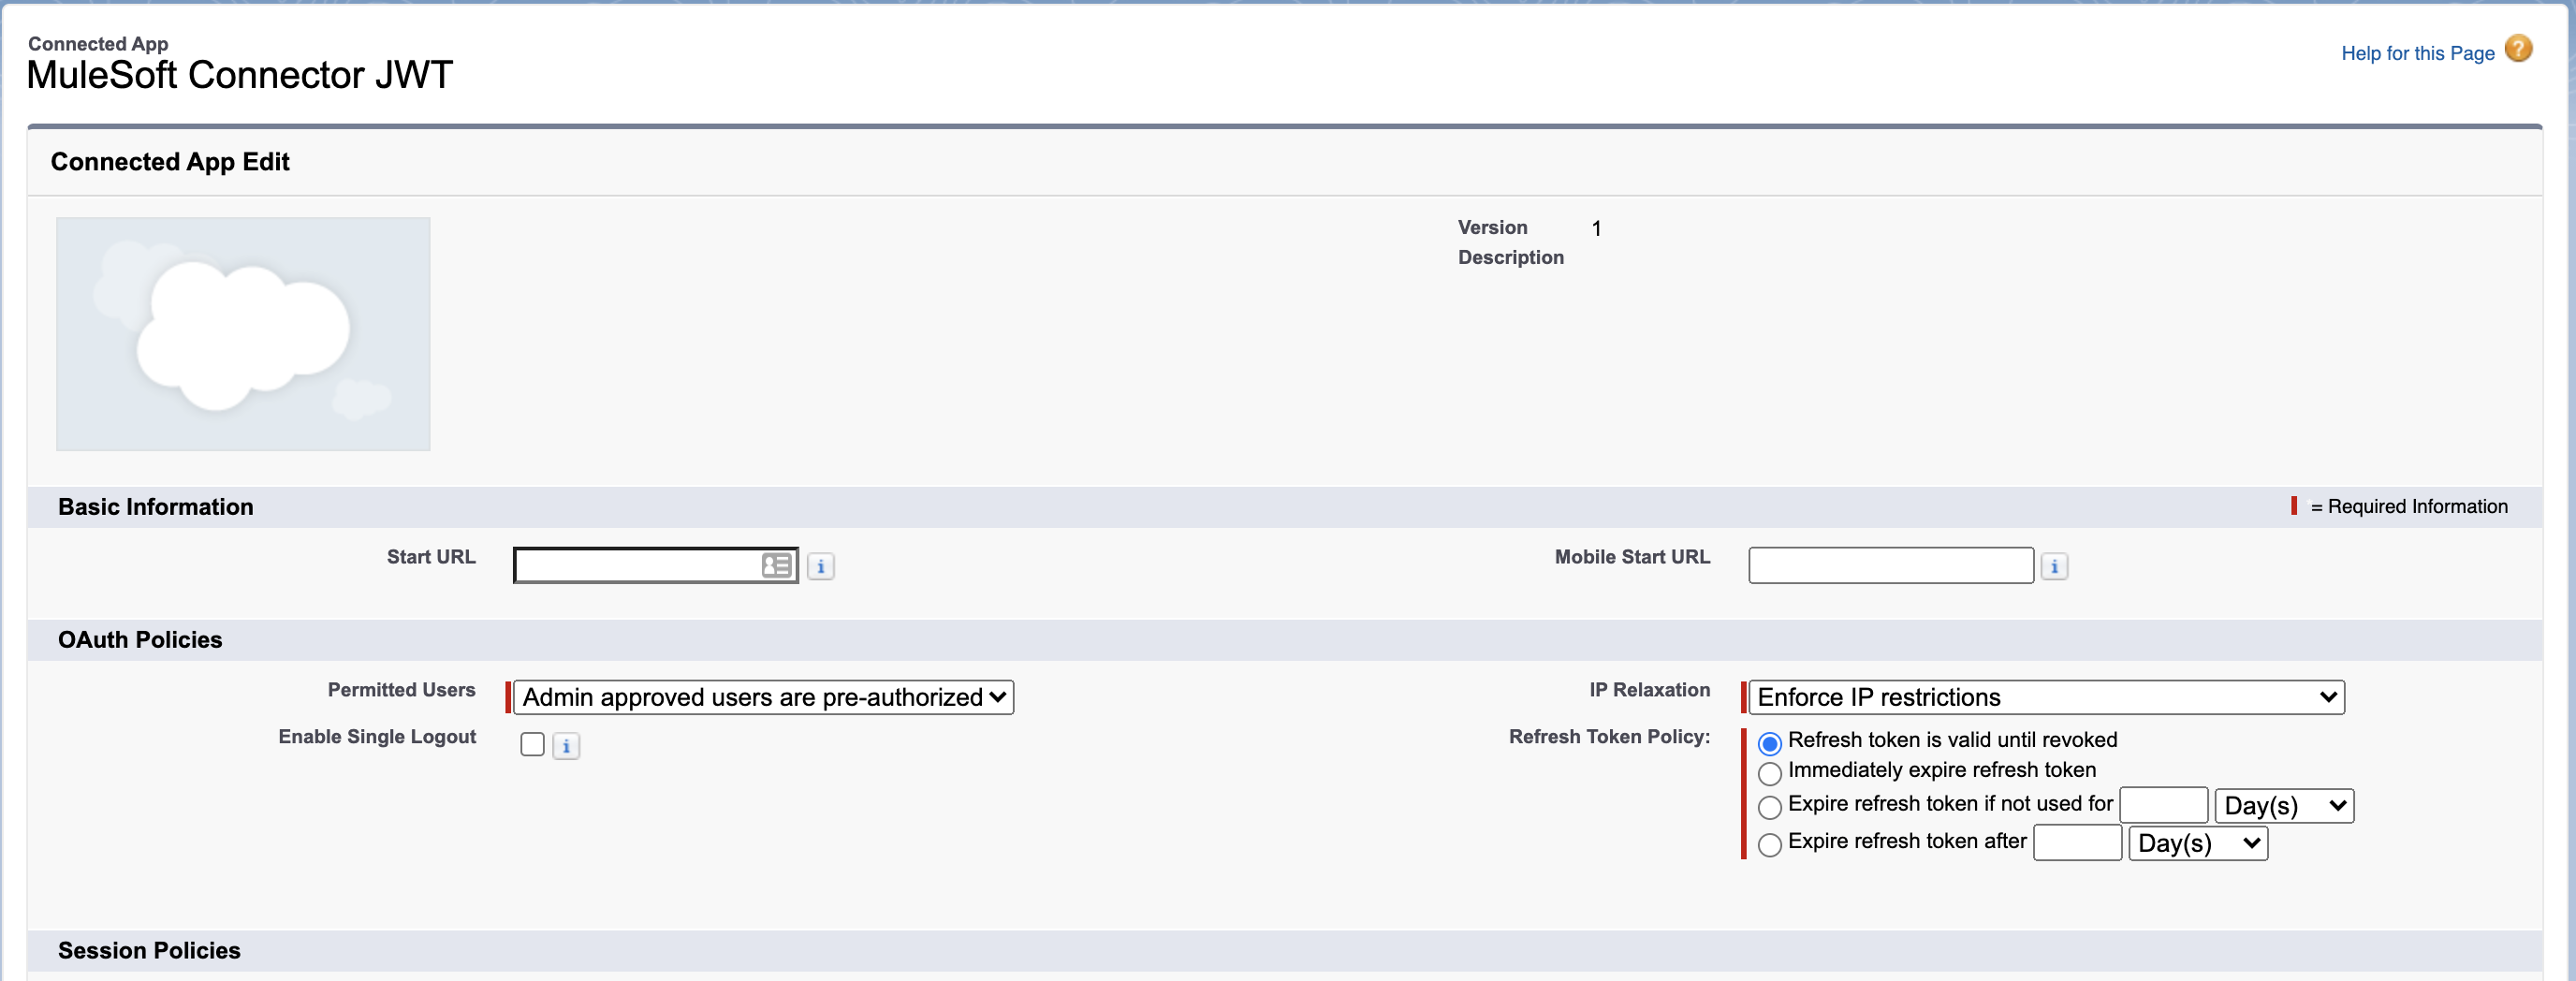
2.4 Press Save
In Summary, at this point, you should have a Connected App in which you have configured the OAuth Settings and added the certificated exported from your key pair. Also, you added the Profiles, the Permissions Set and changed the Permitted Users.
3. Go to your Connected App in "App Manager" in Salesforce Setup and copy your Consumer Key

4. Go to your Salesforce Application and follow these steps:
4.1 Add the Salesforce Connector to your project
4.2 Add the KeyStore to your /src/main/resources
4.2 Create a new configuration and select JWT as the authentication method
4.3 Fill the fields with the correct information
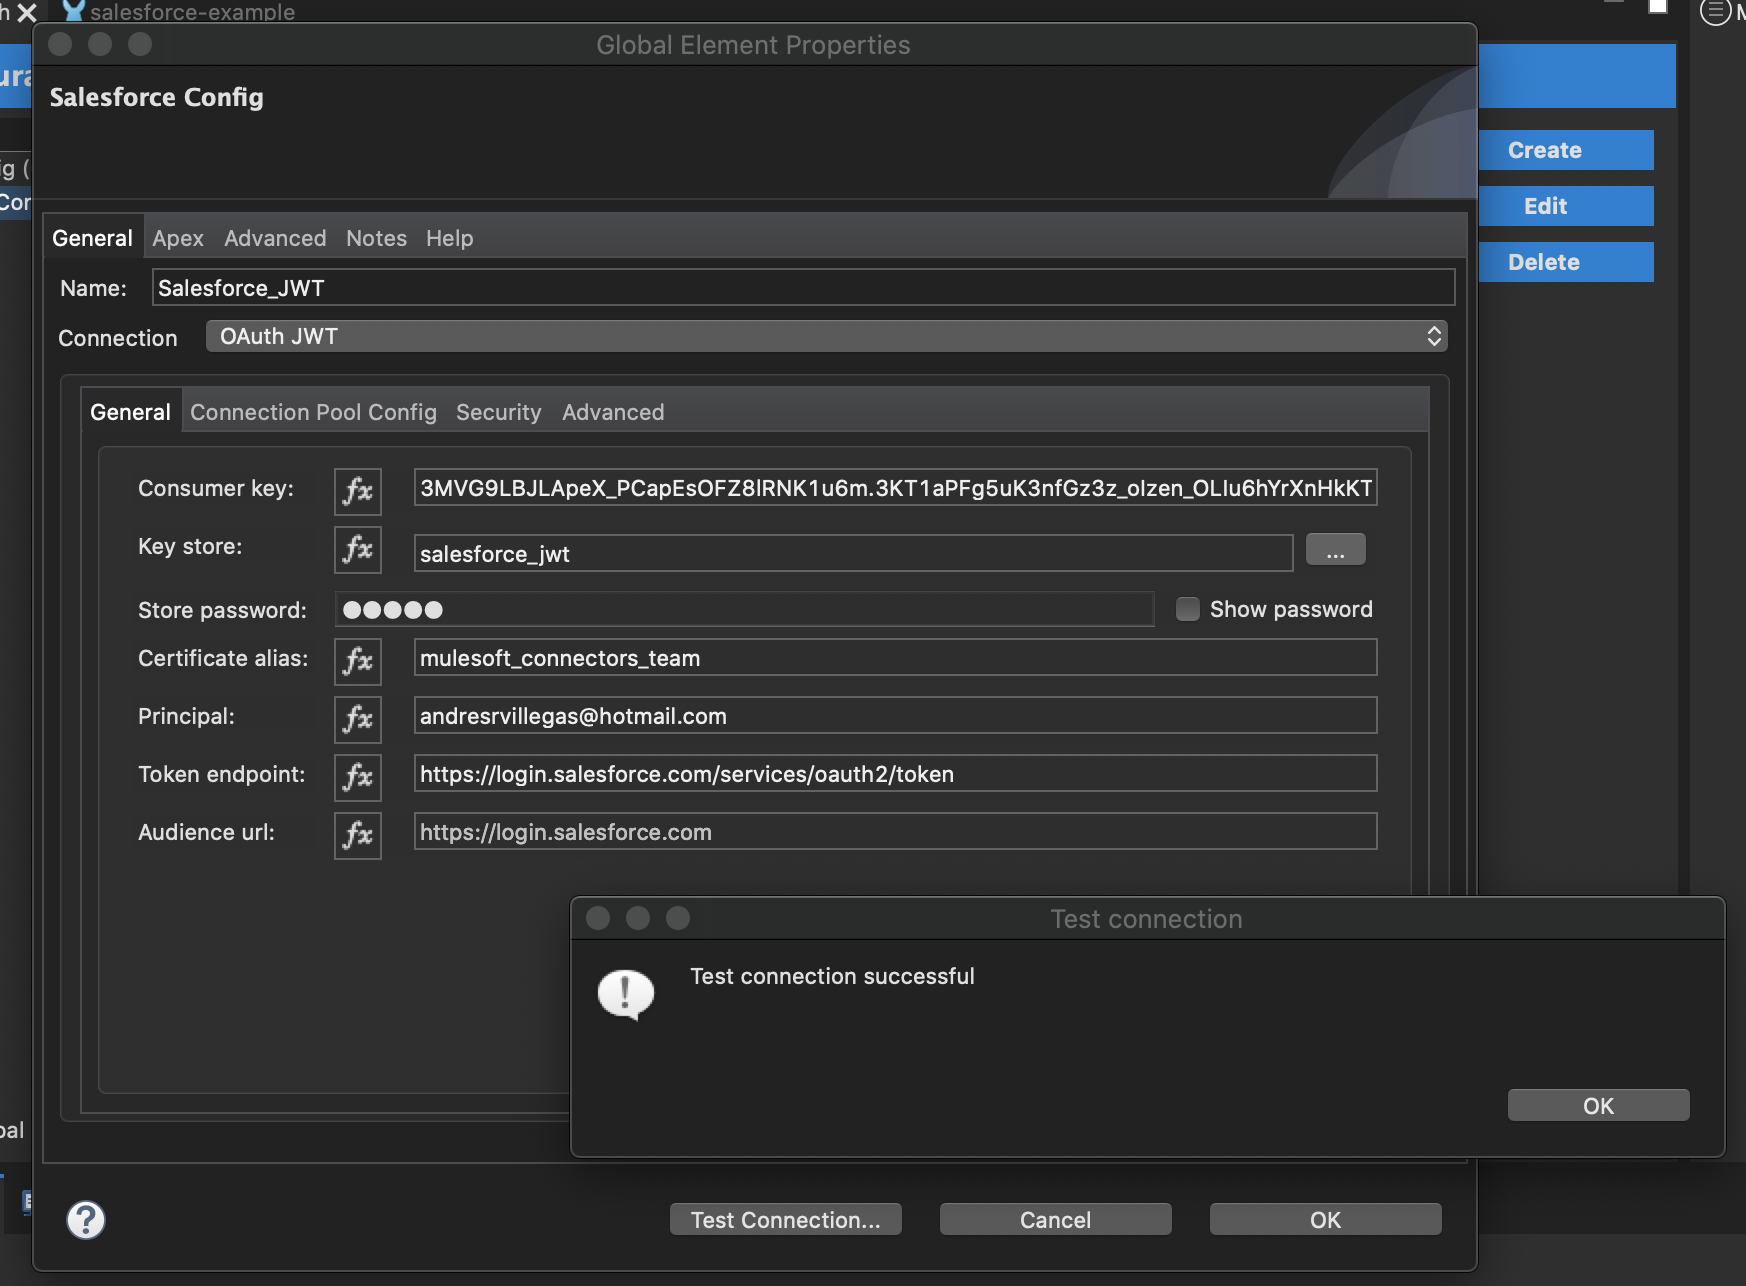
▸ Consumer Key: This is the key you copied in the previous step
▸ Key store: The path to your key store. It searches in your /src/main/resources
▸ Store password: If you protected your key store with a password, fill this field.
▸ Certificate Alias: This is the key pair alias you set in step 1.2
▸ Principal: This is the Salesforce user to impersonate
▸ Token endpoint: The Salesforce authentication token endpoint
▸ Audience URL: This is not required for this basic configuration
▸ Key store: The path to your key store. It searches in your /src/main/resources
▸ Store password: If you protected your key store with a password, fill this field.
▸ Certificate Alias: This is the key pair alias you set in step 1.2
▸ Principal: This is the Salesforce user to impersonate
▸ Token endpoint: The Salesforce authentication token endpoint
▸ Audience URL: This is not required for this basic configuration
After this configuration, you should be able to connect to Salesforce using JWT.
Número del artículo de conocimiento
001116755
¿Resolvió este artículo su problema?
¡Háganos saber cómo podemos mejorar!
