Valitse organisaatio
Externalize a DataWeave Script in Mule 4 Project
Julkaisupäivä: Jul 18, 2025
Tehtävä
GOAL
The objective of this article is to propose steps to follow in order to externalize DataWeave scripts from any Mule 4 project.
Externalization is usually required for the below reasons:
- Reusability: By externalizing a DataWeave script, the same script can be used at multiple places without code duplication.
- Maintainability: By externalizing a DataWeave script, its maintainability increases as a uniform structure is followed.
- Best practice: For complex applications, it is the best practice recommended by MuleSoft.
Vaiheet
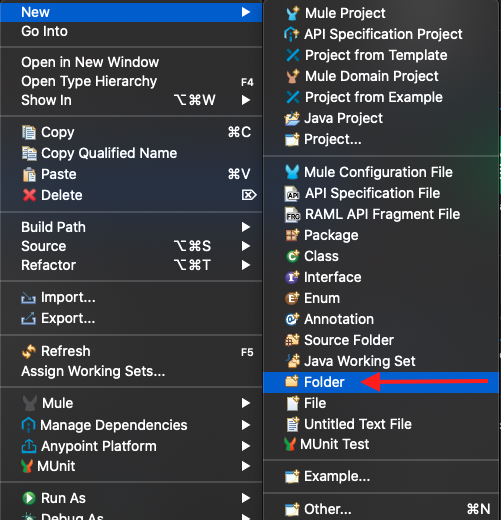
- Open the Mule Project and go to <src/main/resources/> folder location and create a new folder <give any name>. For example: <dwl>.
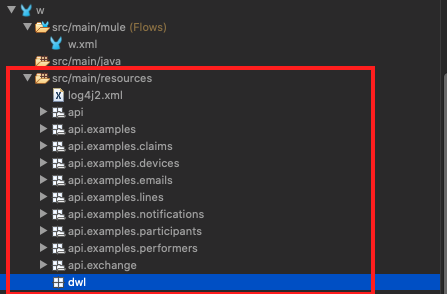
- Refresh the project root folder. A new folder is created under </src/main/resources/>. For example: test-message-transform/src/main/resources/dwl.
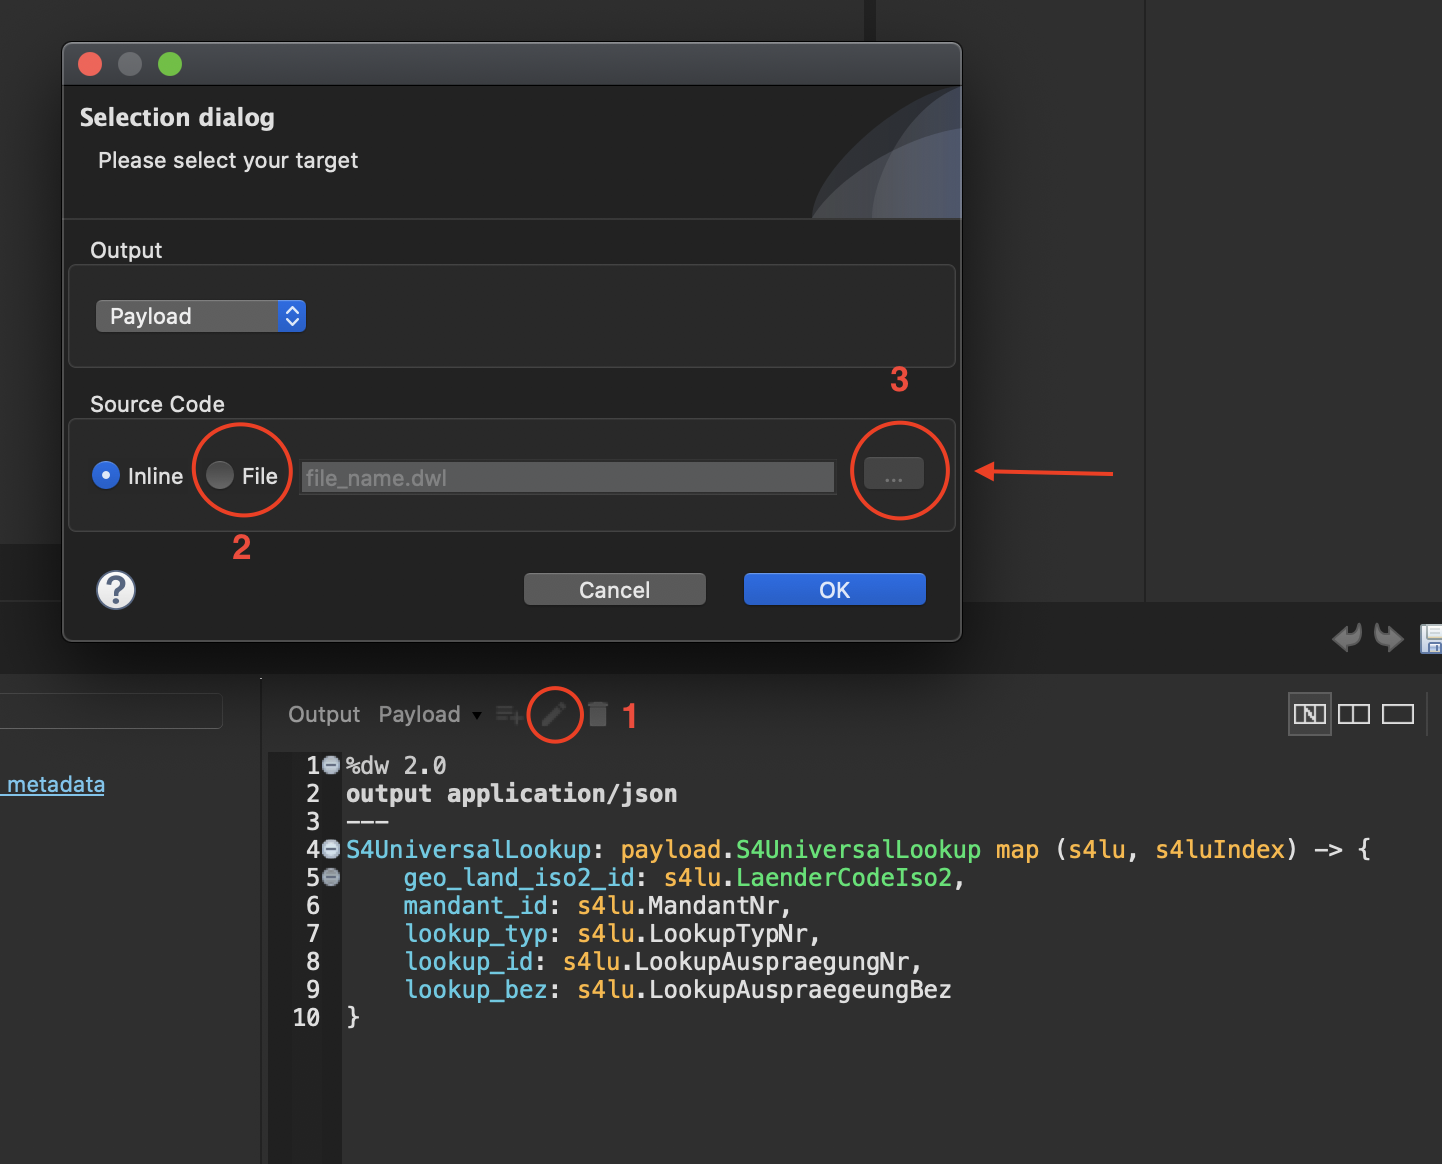
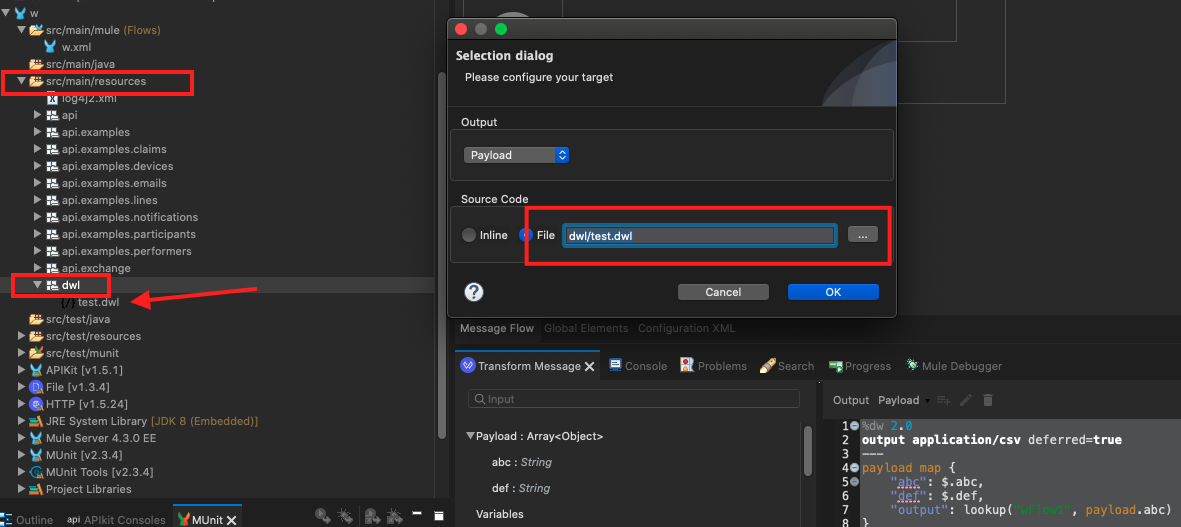
- Open the Transform Message properties and Click on the edit icon as shown in the image below (Select “File” instead of the default “inline”)
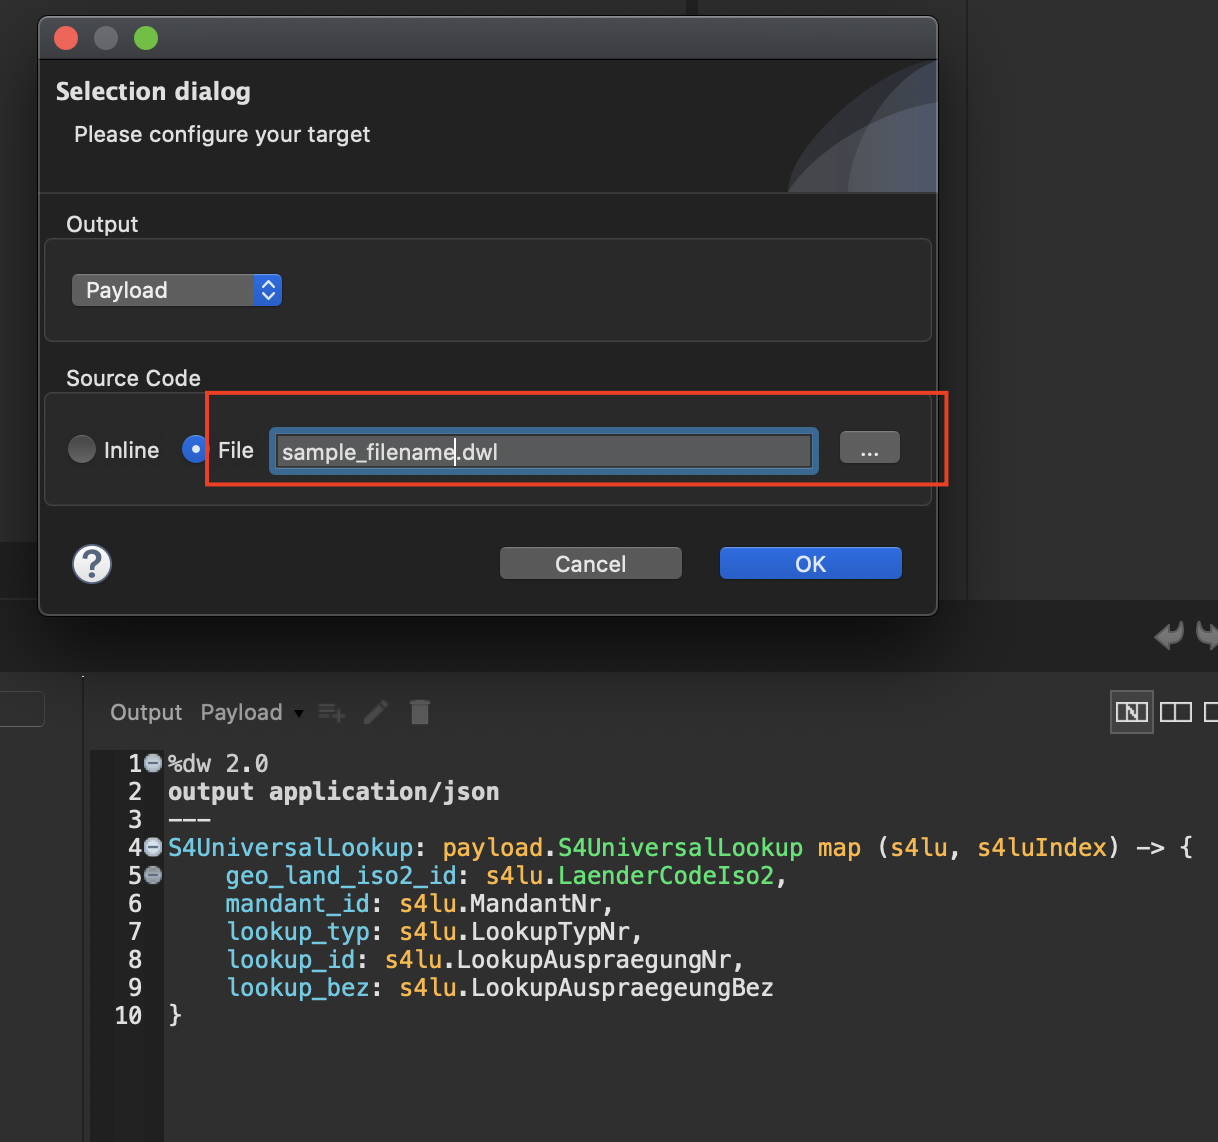
- Give an appropriate name with .dwl extension and click on “OK” for example <test1.dwl>. This DWL file should be created under </src/main/resources/> and can be seen in Package Explorer.
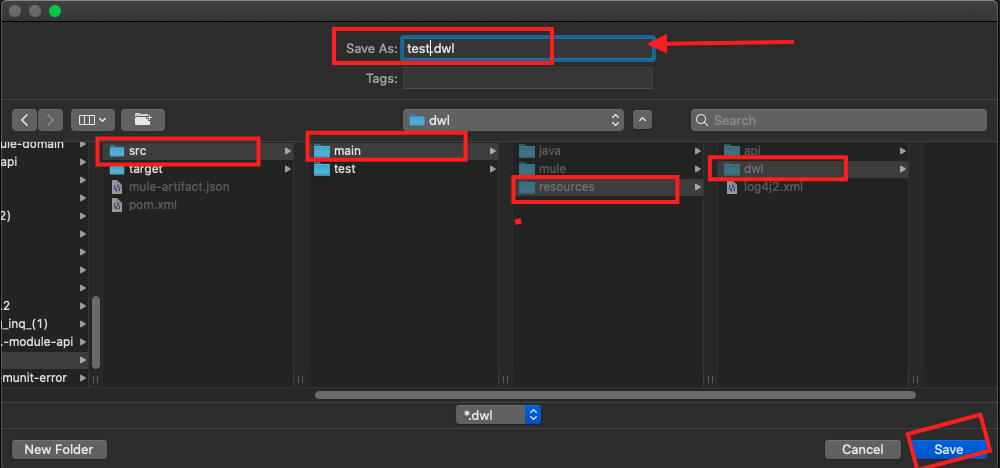
- Alternatively, you can create all externalized DWL files under the DWL folder previously created under src/main/resources. To do that, give a path while creating the file. Click on the three dots and select the path src/main/resources/theFolderCreatedPreviously. Select that and then give a name to the new DWL file (example : test.dwl) and click Save. An example is shown in the image below:
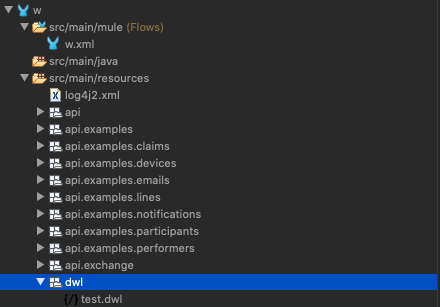
- It is good practice to externalize all DataWeave scripts under one package in src/main/resources as shown in the exhibit below - rather than all the DWL files in the /resources folder. Make it a habit to do this while creating any project. You may add a structure/hierarchy under the /dwl folder. For example: /dwl/space1, /dwl/space2, etc.
- In the "Configuration XML" preview, the Transform Message should look like:
<ee:transform doc:name="Transform Message" doc:id="80535608-aa8a-42fa-be7d-5cc7dd9600a7" >
      <ee:message >
				<ee:set-payload resource="dwl/test.dwl" />
      </ee:message>
    </ee:transform>
Note:
It is always recommended to create the folder structure that will store your DWL files first. Then create the DWL files under that folder structure.
If DWL files were created before the folder structure, it is possible to move all these files to the newly created structure, however, please note that the path to the scripts will need to be modified in the Transform Messages where these are used.
Knowledge-artikkelin numero
001116841
Ratkaisiko tämä artikkeli ongelmasi?
Anna palautetta, jotta voimme kehittyä!