Seleziona un'organizzazione
How to use Anypoint CLI with a connected app
Data pubblicazione: Mar 14, 2025
Risoluzione
GOAL
Here are some step-by-step instructions to use Anypoint-CLI with a connected app.
PROCEDURE
- Download Anypoint CLI: https://docs.mulesoft.com/anypoint-cli/4.x/install
- Create a connected app and get the client ID and client secret:
- In Anypoint Platform, navigate to Access Management -> Connected Apps
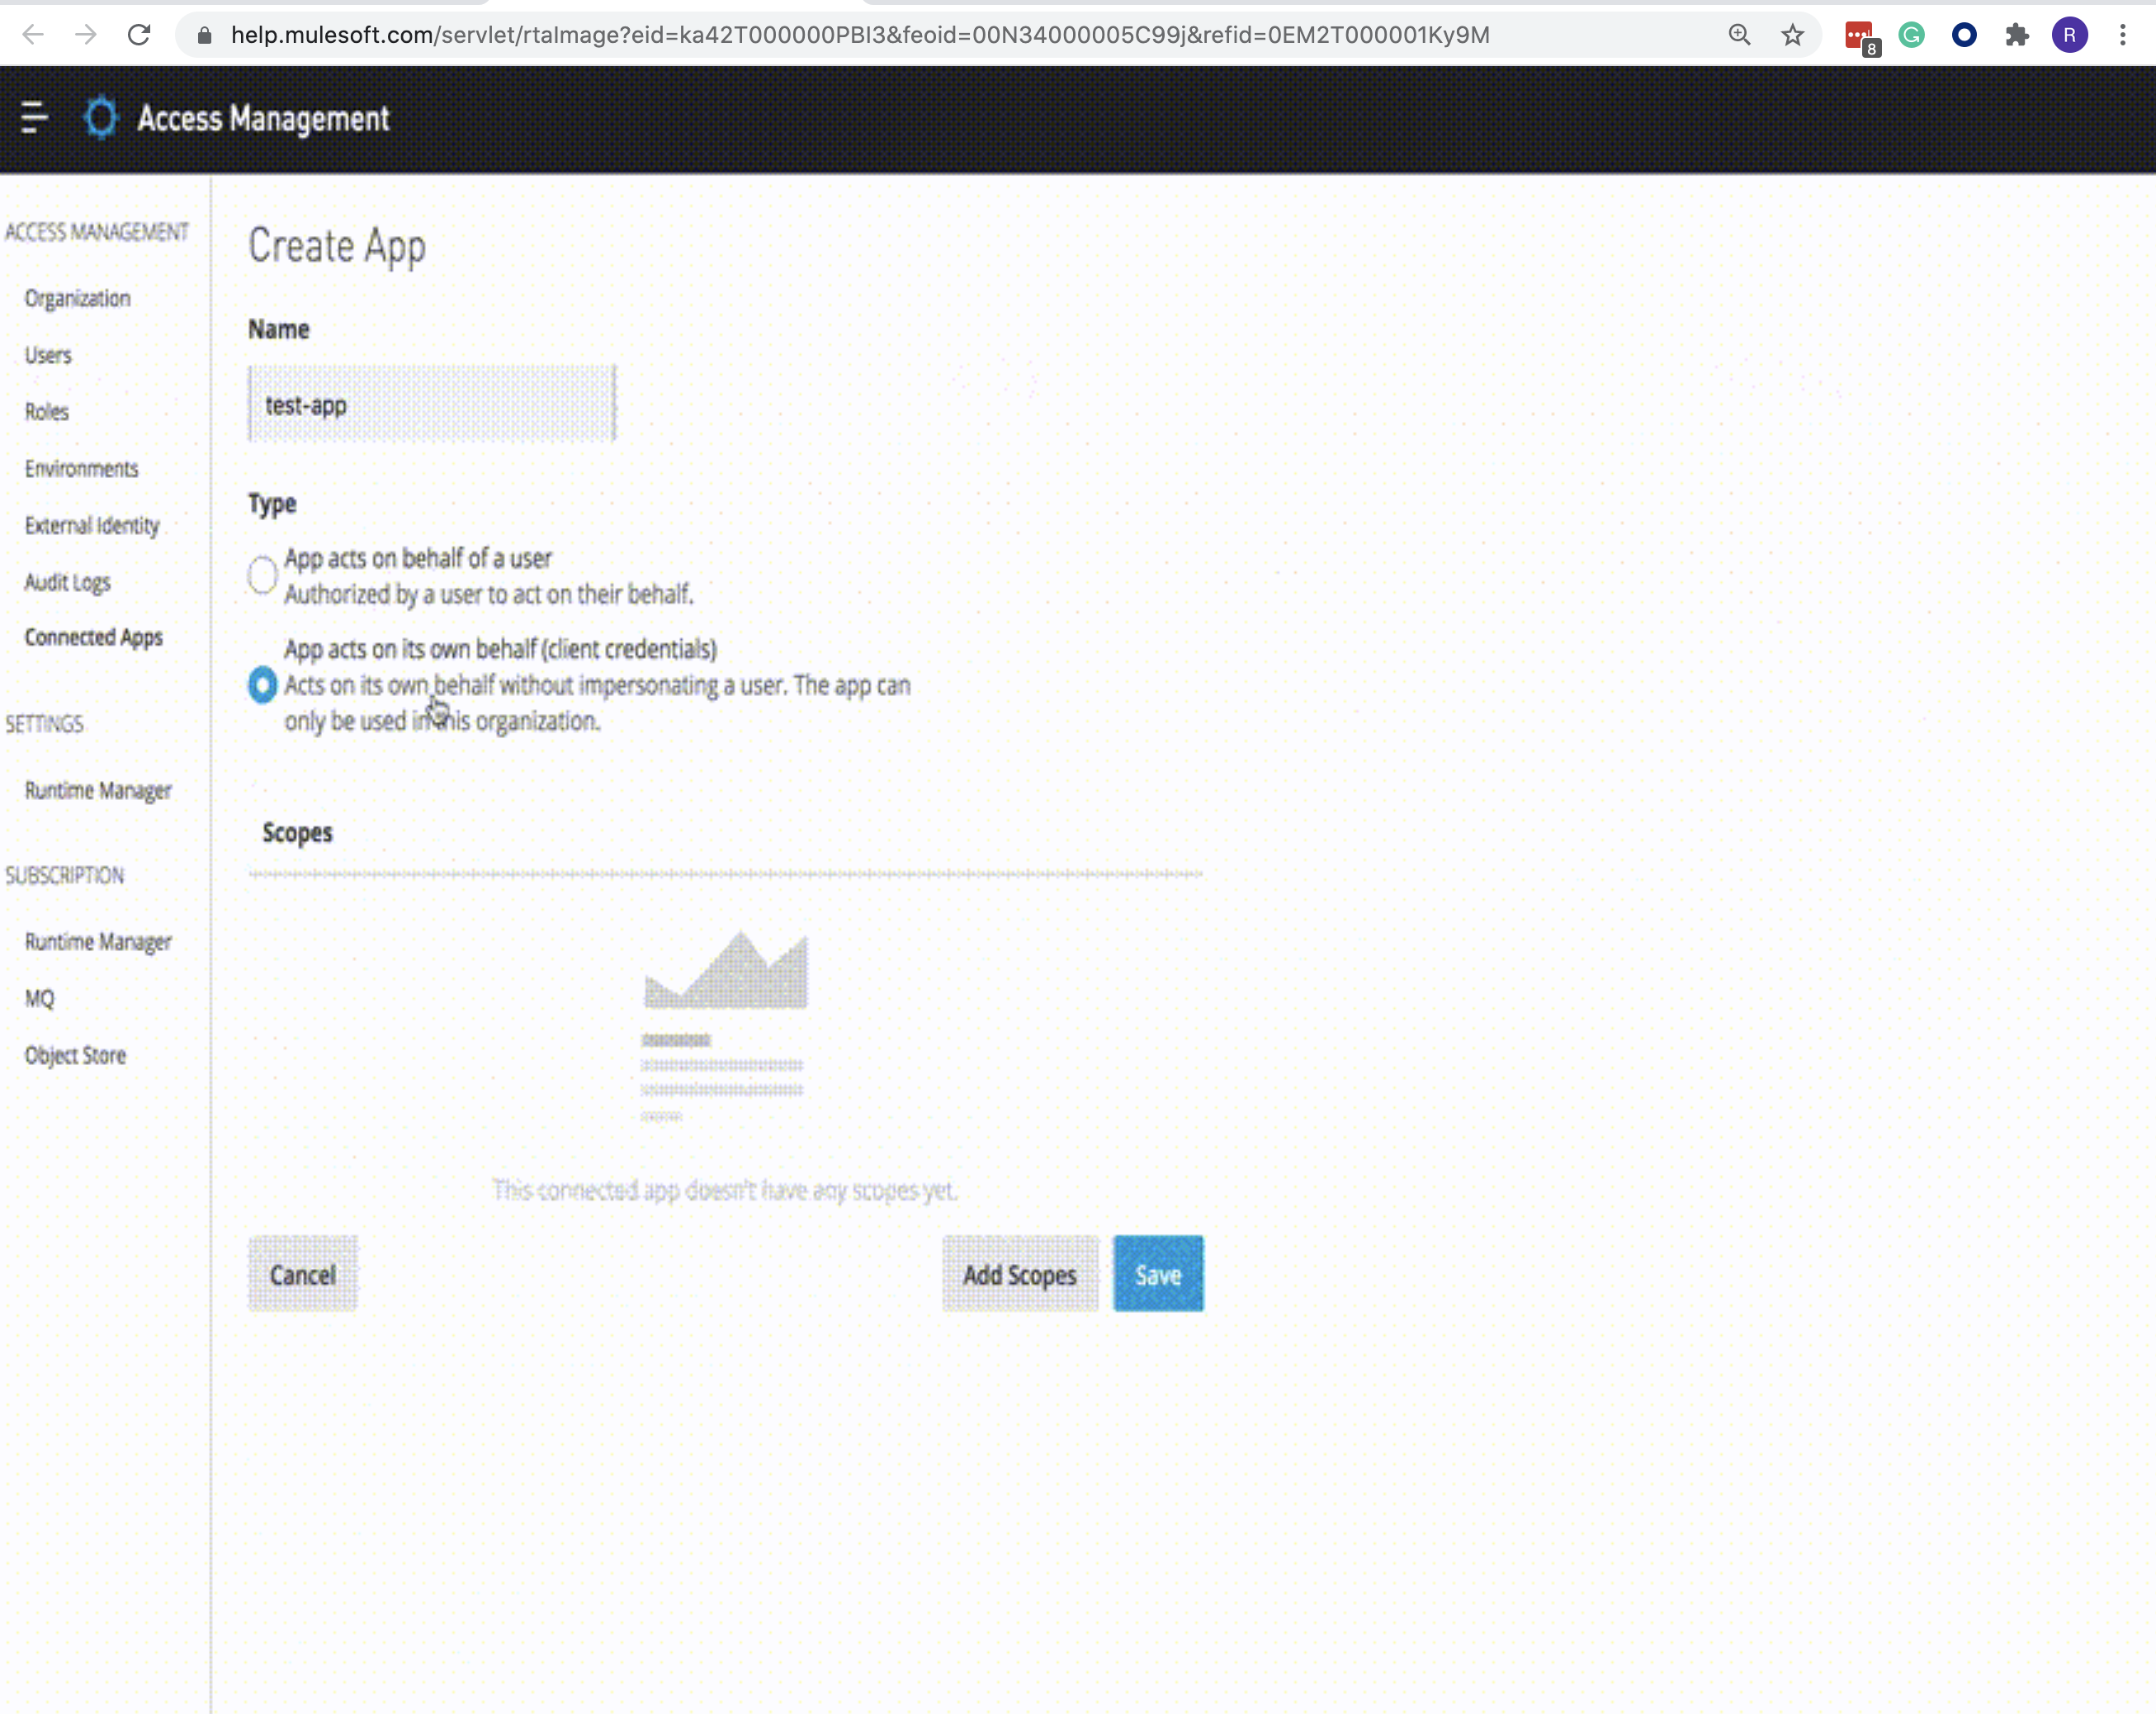
- Click on "Create app"
- Enter a name for the App.
- Choose "App acts on its own behalf (client credentials)"
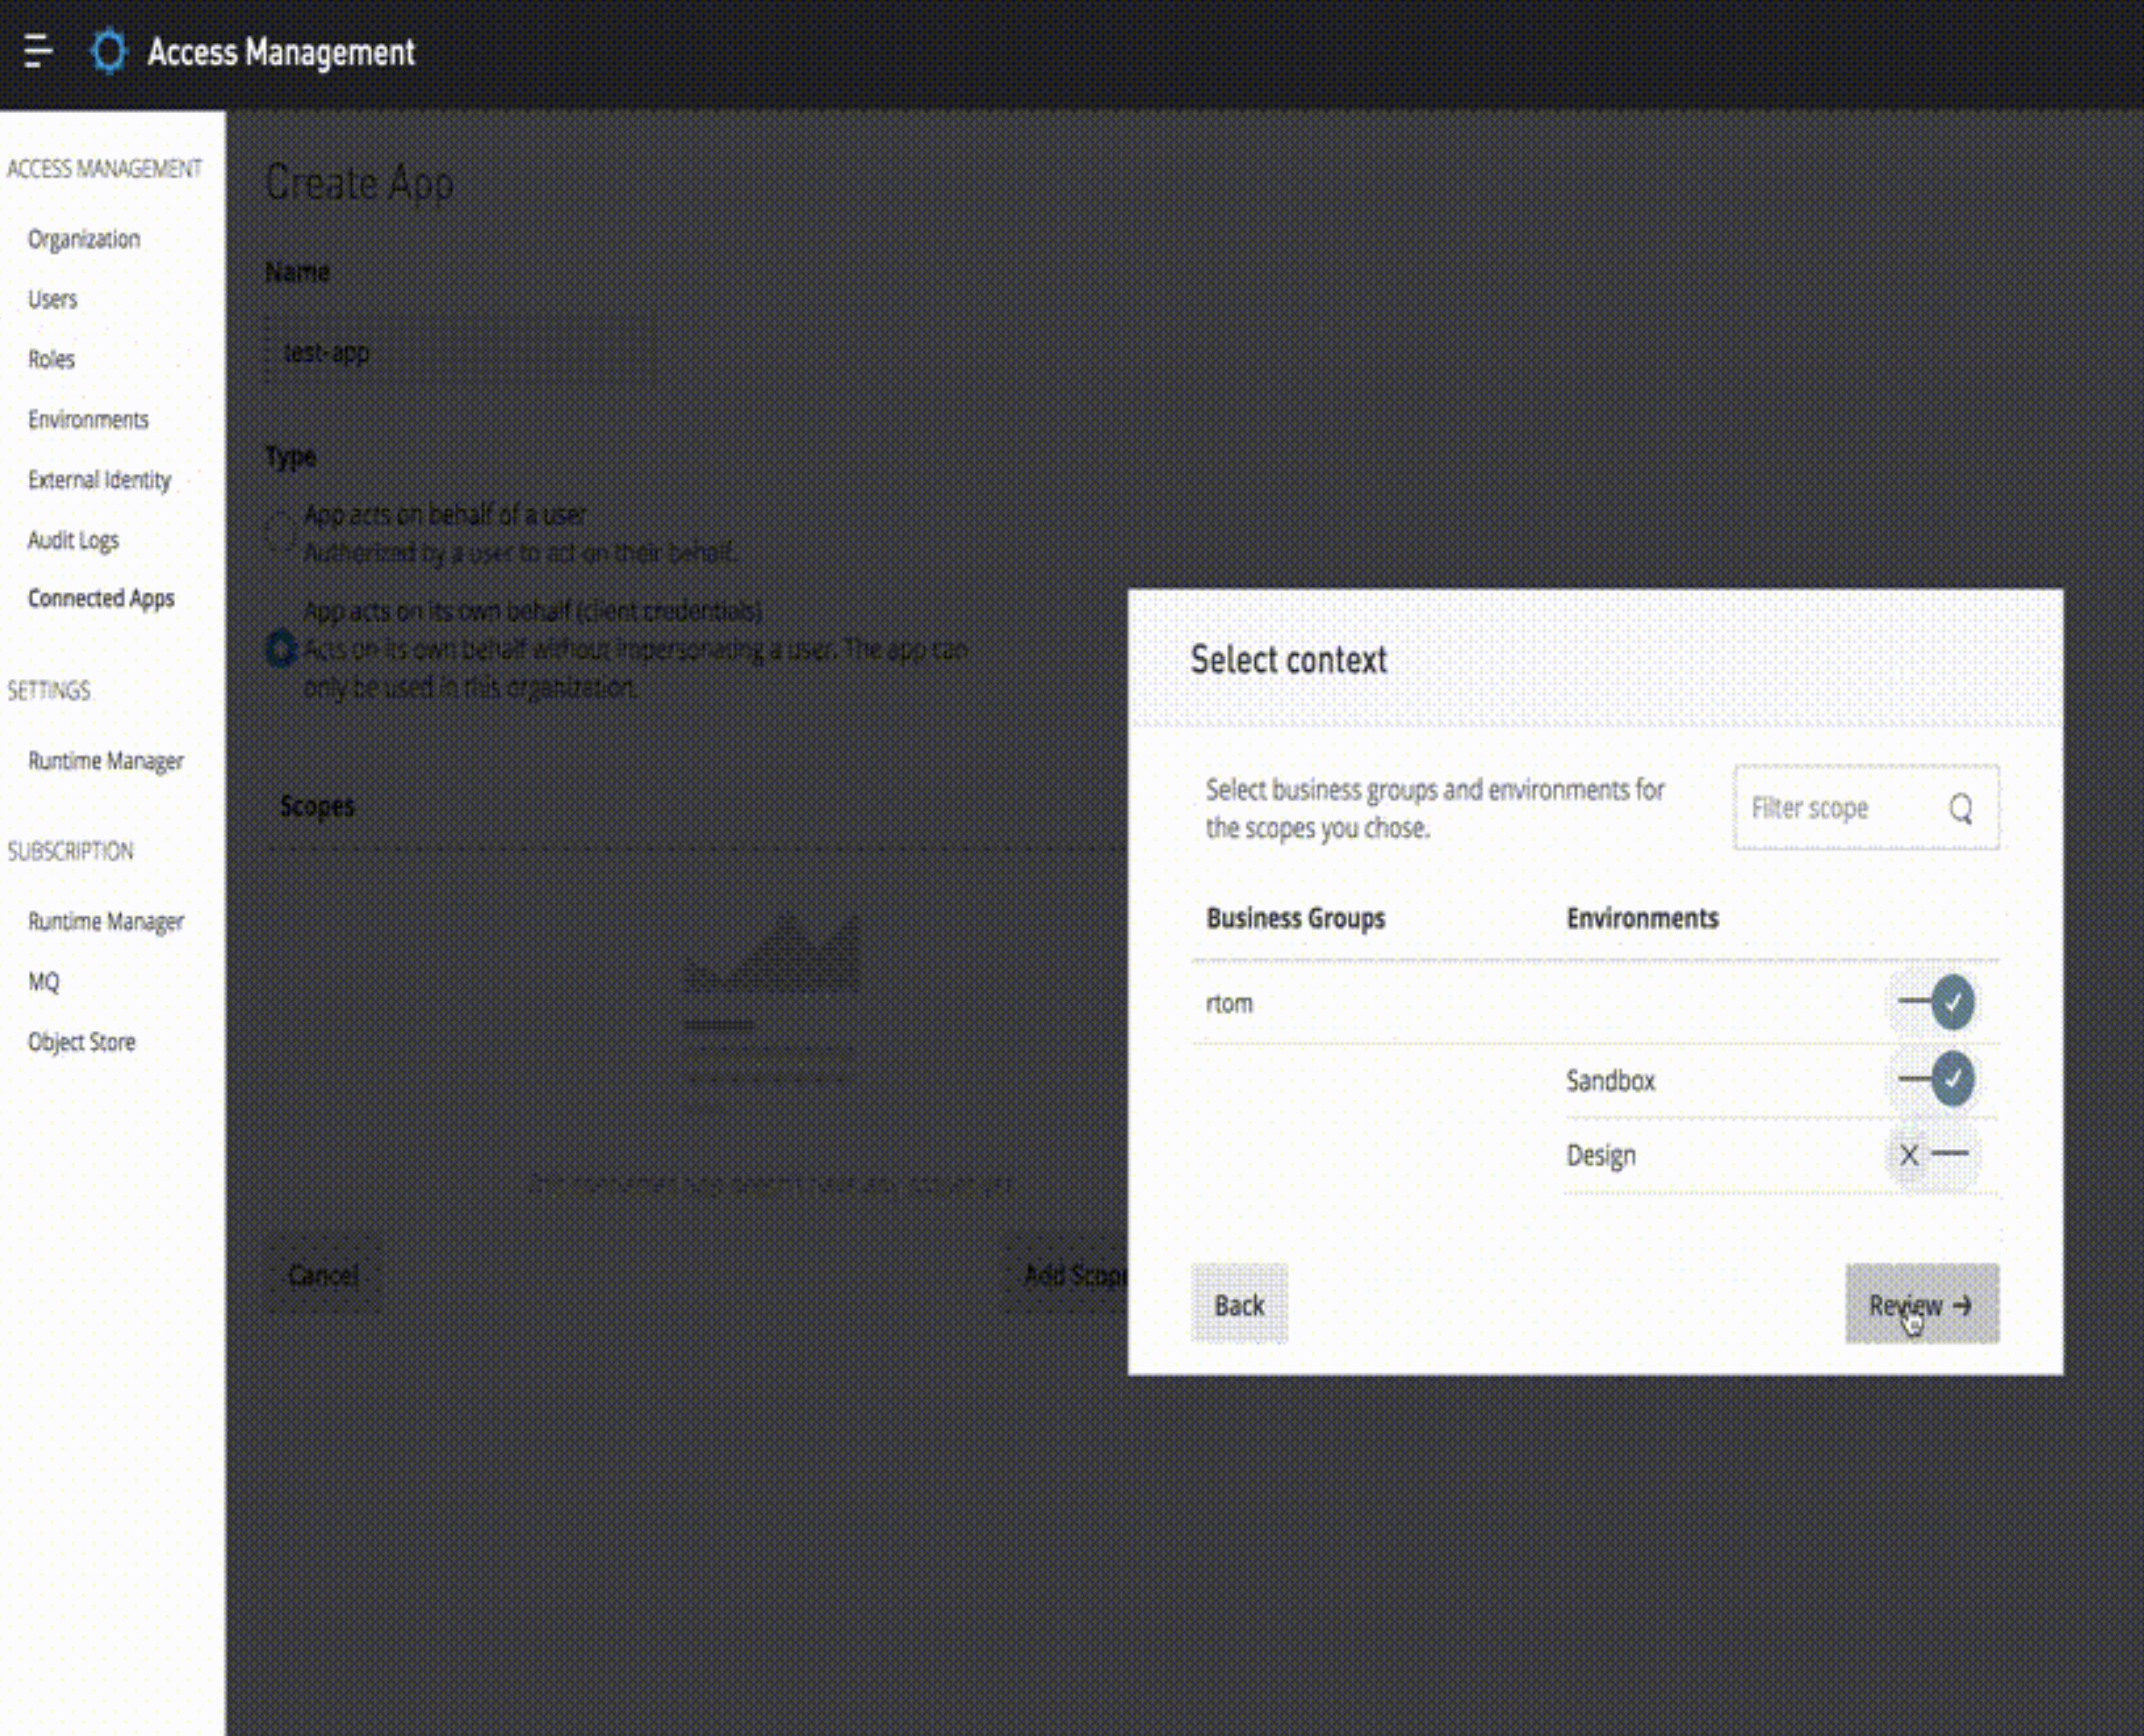
- Hit "Next" on the dialog and select the Environments for this app to have permission to access these scopes.
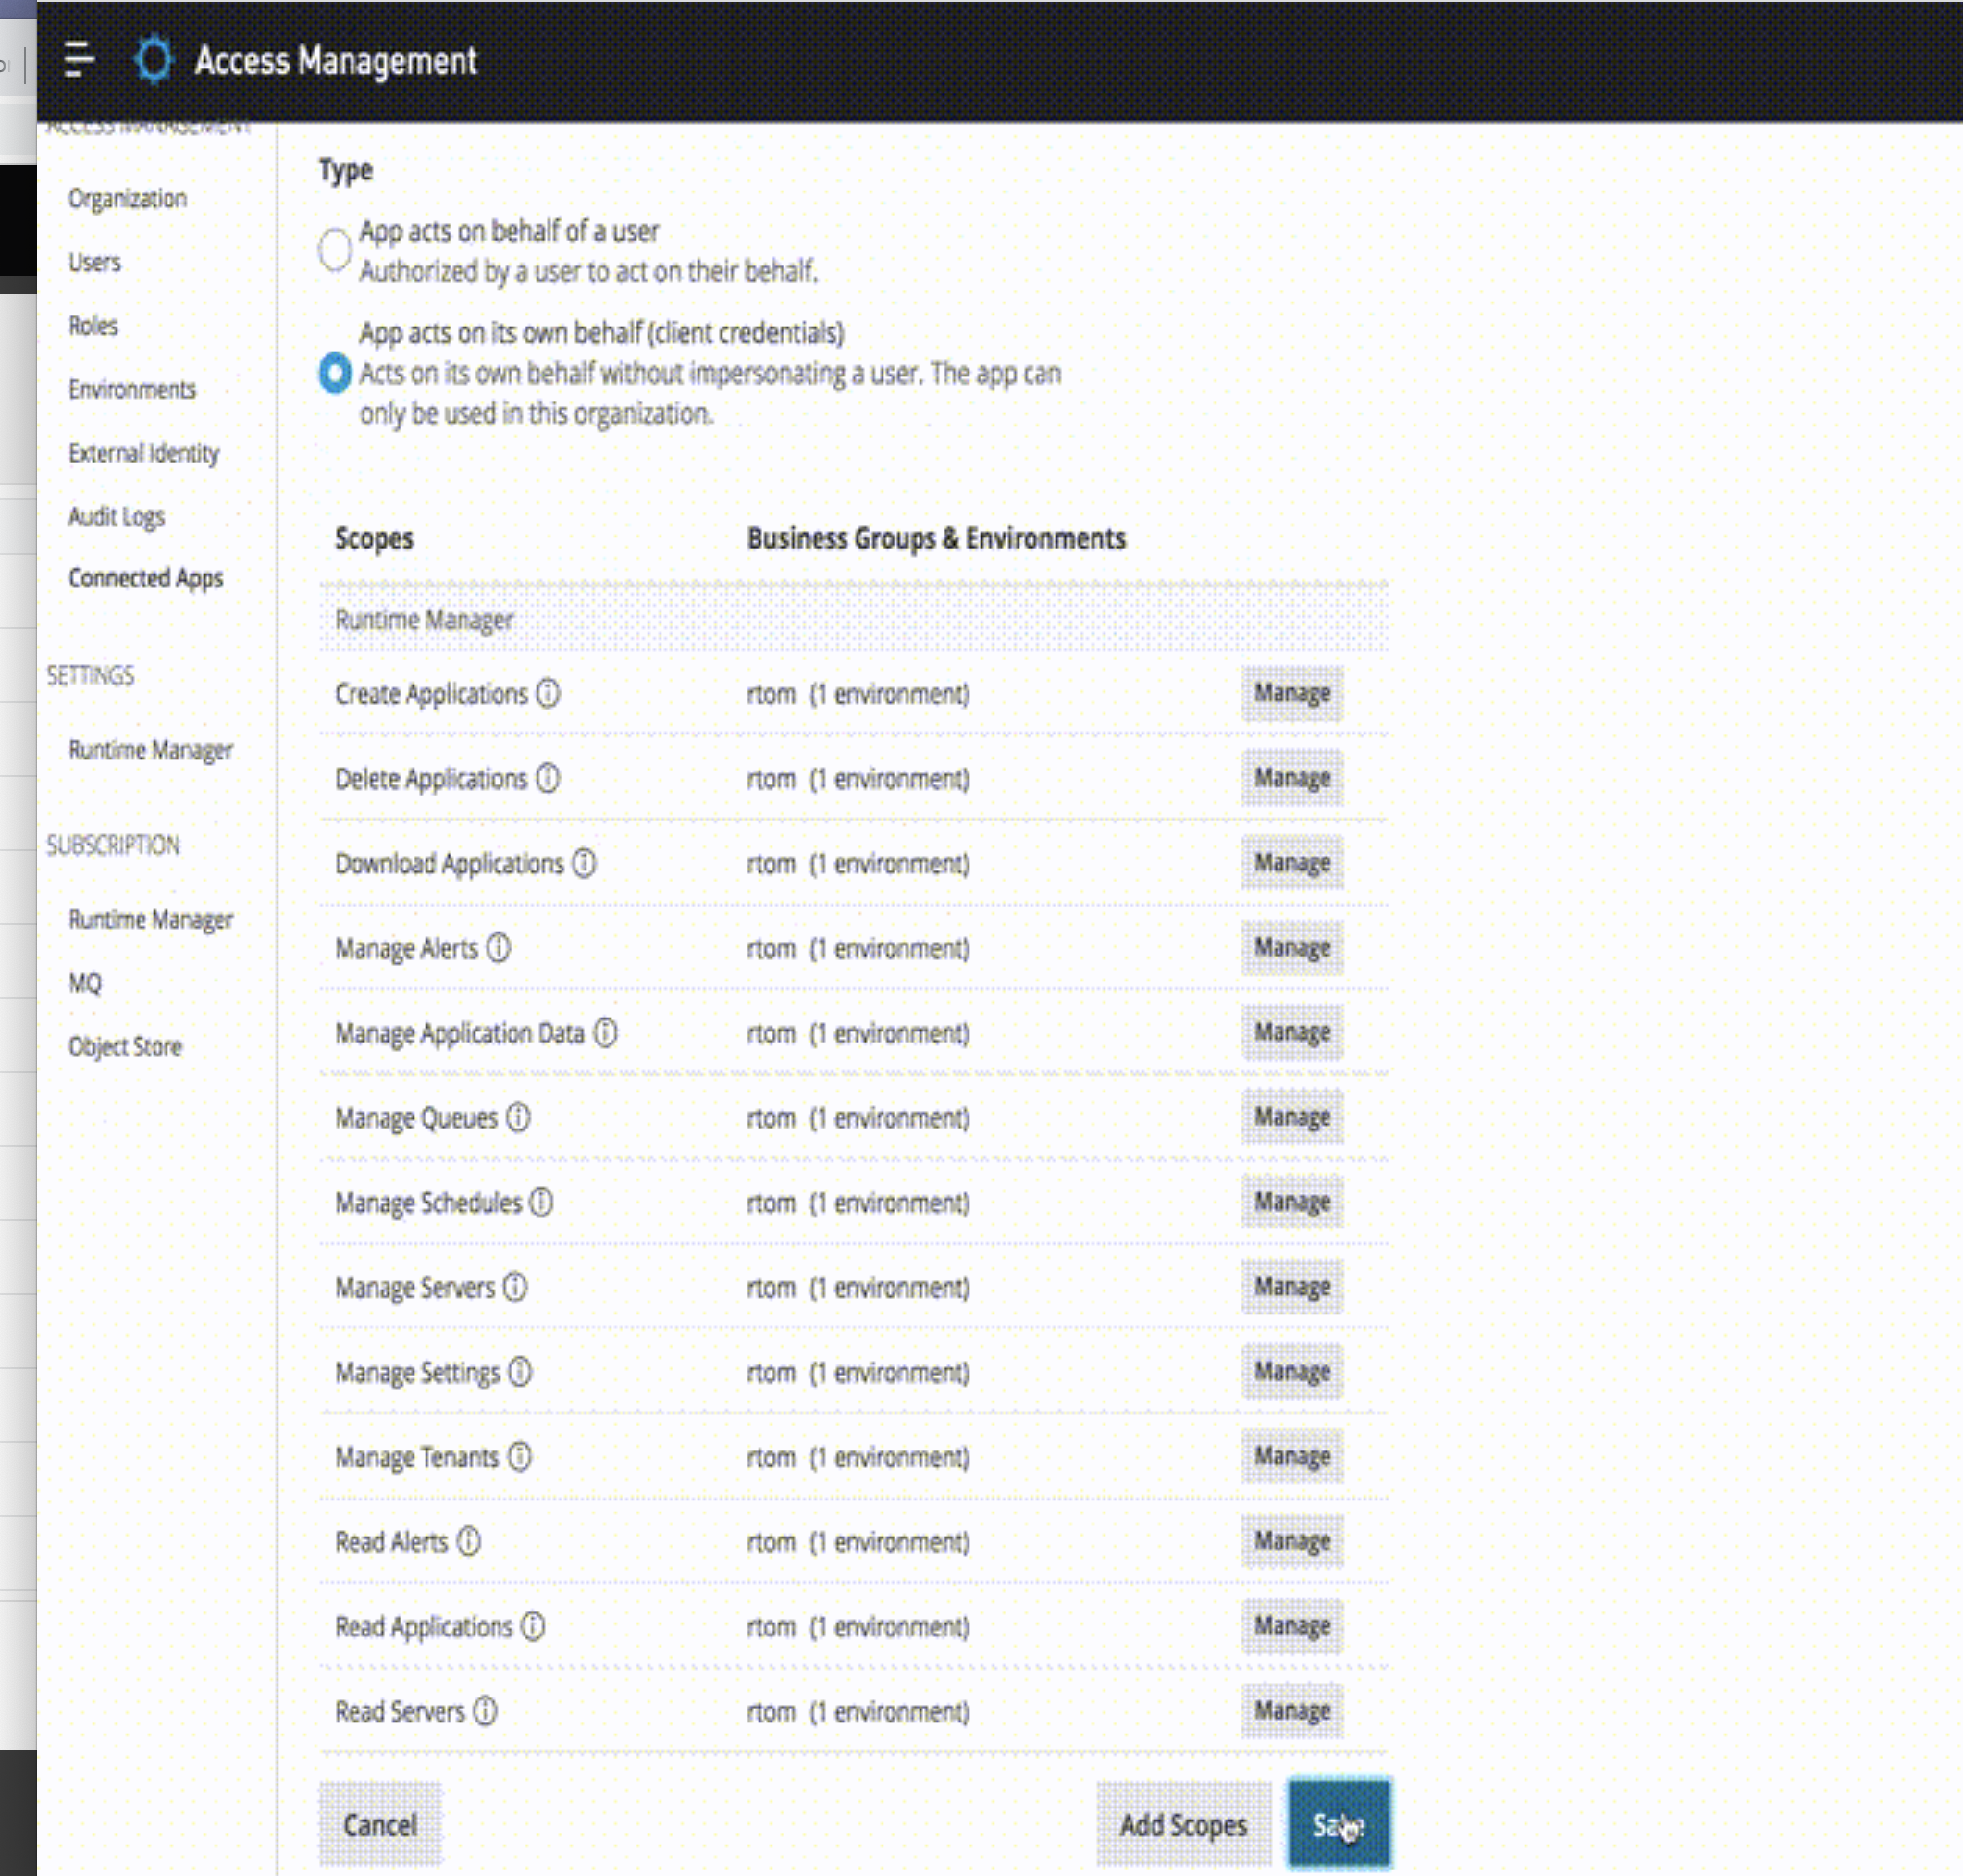
- Finally, click "Add Scopes" to exit the dialog and then click on "Save"
Example:
To deploy to Cloudhub you will need to give Cloudhub Organization Admin, Read Servers, View Environment and View Organization permissions
Here is an animated gif for the above steps: - Now, you can return to the screen from step 1. On the right-hand side of your app, click on "Copy Id". Please notate this down somewhere.
- From step 7, on the right-hand side of your app, click on "Copy Secret". Please notate this down somewhere.
- Article referred: https://help.salesforce.com/s/articleView?id=Creating-connected-app-and-getting-the-bearer-token-example&type=1&language=en_US
- Open a command prompt or terminal and set the client ID and client secret environment variables.
- Open a command prompt or terminal and set the client ID and client secret environment variables as per documentation: https://docs.mulesoft.com/anypoint-cli/4.x/auth#env-variables
- Here are some example commands below. Replace yourclientid, yourclientsecret, and myOrgId (get myOrgId from Access Management - Business Groups - settings - Business Group ID).
export ANYPOINT_CLIENT_ID=yourclientid
export ANYPOINT_CLIENT_SECRET=yourclientsecret
export ANYPOINT_ORG=myOrgId
- Alternatively, you can create a credentials file using this guide: https://docs.mulesoft.com/anypoint-cli/4.x/auth#credentials-file
- Note for Windows users: For Windows 10, if you use a credentials file make sure there's no file extension because Windows Notepad automatically appends .txt when you save the file as credentials.txt, so you have to rename it to credentials:
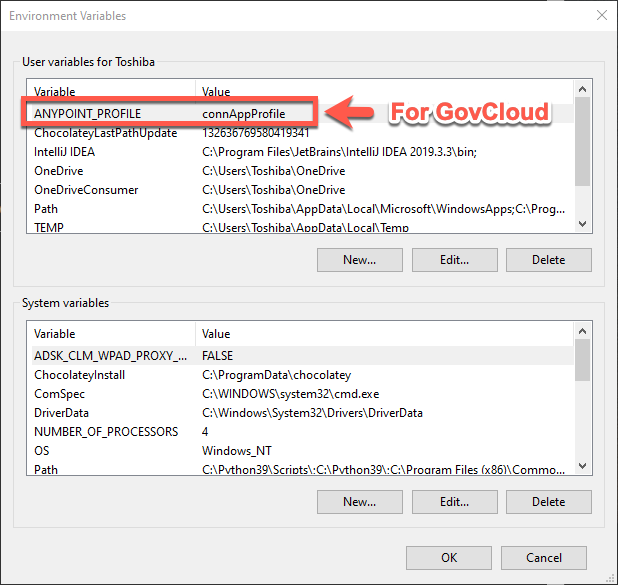
When you set the environment variable in Windows set ANYPOINT_PROFILE value in the User variables section: - After you finish the steps to add your credentials, open a command prompt or terminal and validate that it is installed: https://docs.mulesoft.com/anypoint-cli/4.x/install#view-core-version
- Try a command!
https://docs.mulesoft.com/anypoint-cli/4.x/anypoint-platform-cli-commands - Example command:

anypoint-cli-v4 exchange:asset:list
Numero articolo Knowledge
001117606
Questo articolo ha risolto il problema?
Facci sapere, così possiamo migliorare!