Organisation auswählen
CloudHub 2.0 - Private Space Degraded after Adding or Updating the TLS Context.
Veröffentlichungsdatum: Oct 5, 2025
Beschreibung
You may experience an issue where, when a new Certificate is added or an existing certificate is updated in the Private Space Domains and TLS section, the Private Space enters a Degraded status, and all of your Applications/APIs deployed to the Private Space will return 5xx Errors.
This happens because an Invalid TLS Context is uploaded into the Domains & TLS option of your Privatespace. You can find the following error logs in the Ingress logs:
[2025-xx-xx 19:xx:xx.772] ERROR EdgeSystem [EdgeRuntime]: CAPath(Name[Virtual-Server-35089237540729-0], Certs[/opt/edge/runtime/1.0.b/settings/security/DefaultSecurityPackage/certificates/Virtual-Server-24364236417517537-0.ca.crt]): Unable to read file in either PEM or DER format, reason=no valid PEM CA or self-signed format certificate in certificate chain: Embedded_Failure{No error condition logged)

Initialization Exception: readConfigFile() returned false /edge/cbrcore/src/rtc/embedded/http_is/HttpInputServer.cpp:359

[2025-xx-xx 19:xx:xx.772] ERROR EdgeIngress [EdgeRuntime]: HttpInputServer(State[Active], Id[100003]): readConfigFile(): Can't correctly load configuration file with reason[HttpInputServer(State[Active], Id[100003])readConfigFile(): Creating the SSL context failed.]
The Invalid TLS certificate includes: an Incomplete Certificate Chain, an Invalid Certificate Chain, and invalid private key, an Incorrect Certificate chain order in the CA PATH Certificate, an Invalid Public Certificate, etc.
If this scenario occurs, please verify your TLS Context before uploading it to the Private Space.
Lösung
Verify the Certificate Chain:
You can verify the Certificate chain in various methods of your choice, also with the following OpenSSL commands
openssl verify -verbose -show_chain -CAfile <Root Certificate> -untrusted <Intermediate Certificate> <Leaf / Domain Certificate>
Example:
openssl verify -verbose -show_chain -CAfile root/rootCA.crt -untrusted intermediate/intermediateCA.crt server/muletest.crt
Server/muletest.crt: OK
Chain:
depth=0: C=IN, ST=Tel, L=Hyd, O=SFDC, OU=Mulesoft Leaf Certificate, CN=*.muletest.com (untrusted)
depth=1: C=IN, ST=TN, L=CHN, O=Salesforce, OU=Mulesoft, CN=Mulesoft Intermedaite CERT , emailAddress=ak@muletest.com (untrusted)
depth=2: C=IN, ST=TEL, L=HYD, O=Salesforce.com, OU=Mulesoft, CN=Mulesoft Self Signed ROOT CERT , emailAddress=akshay@mulestest.com
The example shown above illustrates a successful certificate chain verification.
For the unsuccessful certificate chain output, please verify the following example.
openssl verify -verbose -show_chain -CAfile root/rootCA.crt -untrusted wrong_intermediate/intermediateCA.crt server/muletest.crt
C=IN, ST=Tel, L=Hyd, O=SFDC, OU=Mulesoft Leaf Certificate, CN=*.muletest.com
error 20 at 0 depth lookup: unable to get local issuer certificate
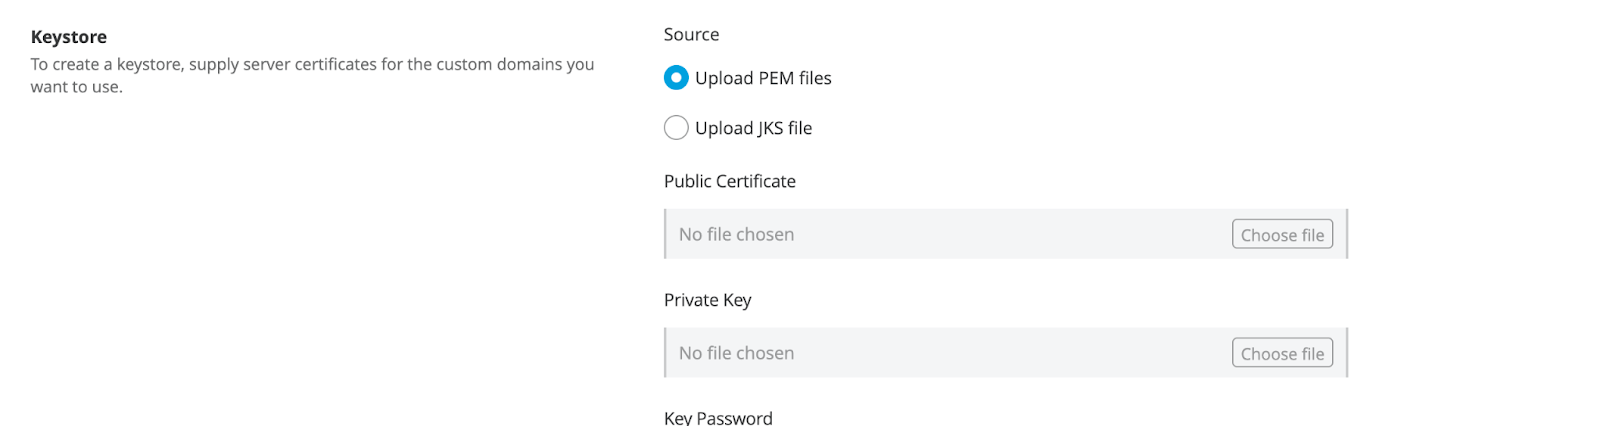
error server/muletest.crt: verification failedHow to upload the SSL/TLS certificate to the CH2.0 Private Space:
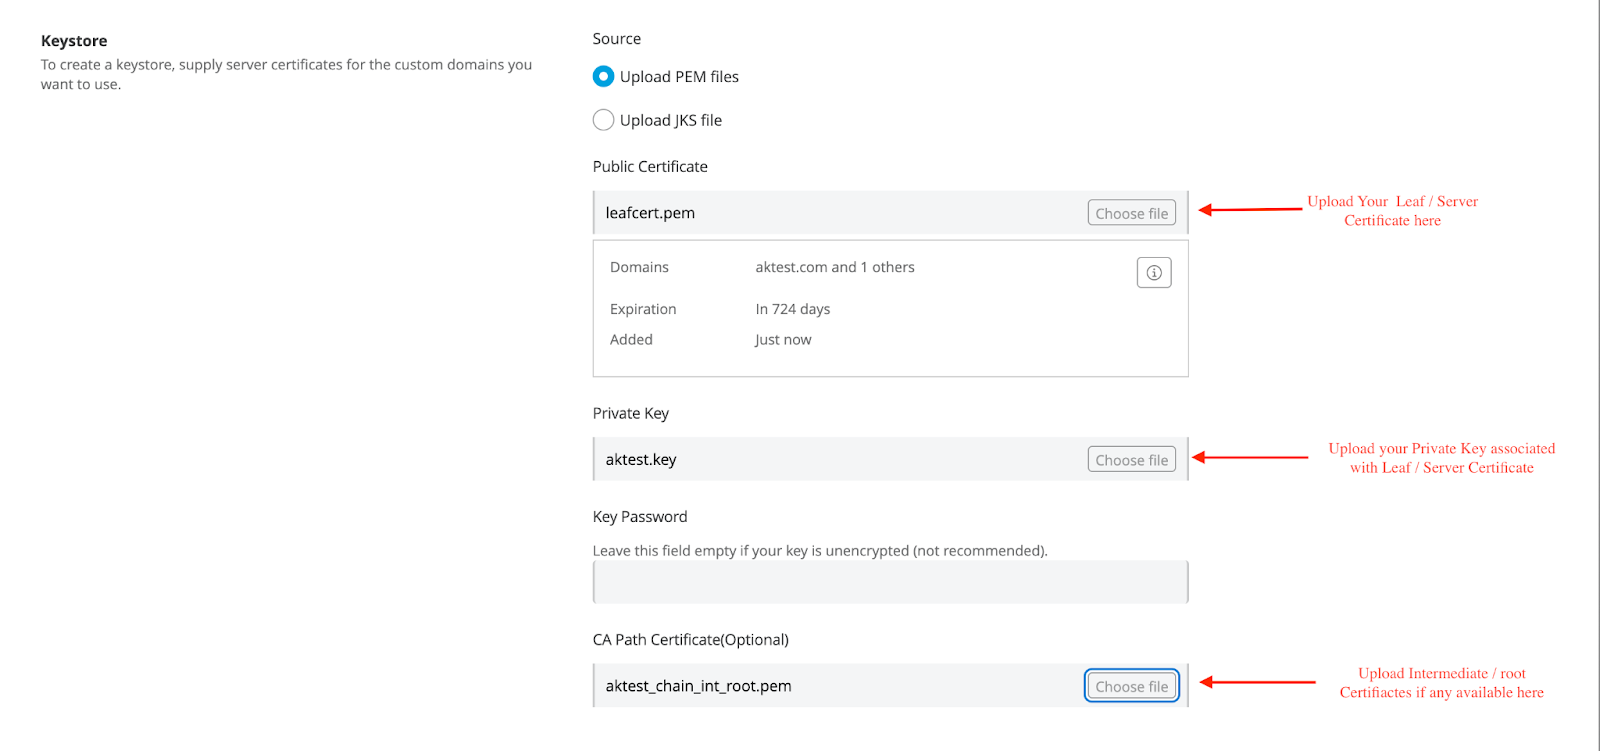
Upload your Leaf or Server Certificate in the Public Certificate Option, and upload the respective Private Key for your Leaf/Server Certificate in the Keystore Settings.
Provide the Key password if you have one, or if you don't have one, you can ignore this (it is recommended to have a Key Password for additional security) and make sure no characters are added into the provided Text Box if the key password is not available.
The Intermediate Certificates and the root certificates (if any are available) must be added to the CA Path Certificate(Optional).

Note: If you have multiple intermediate and root certificates, please create a single PEM file using any Plain text editor and combine the certificates in the order below. After saving the file, upload it to the CA Path Certificate(Optional).
-----BEGIN CERTIFICATE-----
(Intermediate certificate 1 - issuer of your Primary Leaf or Server certificate, which has been uploaded to the Public Certificate)
-----END CERTIFICATE-----
-----BEGIN CERTIFICATE-----
(Intermediate certificate 2 - issuer of the Intermediate certificate 1 )
-----END CERTIFICATE-----
-----BEGIN CERTIFICATE-----
(root certificate  - issuer of the Intermediate certificate 2 )
-----END CERTIFICATE-----
After adding the certificates, the page should resemble the example below.
After verifying the certificates page, please proceed with adding/updating the TLS Context by clicking the “Create TLS Context” / "Update TLS Context" Option, which will be available at the bottom of the page.
Verify the Private space Status:
After adding the correct TLS Context to the private space, it should return to an “Active” status, and all applications deployed in CH2.0 Private Space should be accessible. If issues persist, please contact Mulesoft Support.
Nummer des Knowledge-Artikels
005224907
Konnten Sie Ihr Problem mithilfe dieses Artikels lösen?
Geben Sie uns Feedback, damit wir uns verbessern können.