Seleziona un'organizzazione
Hyperforce Environment Provisioning & Access Process POS and CMS
Data pubblicazione: Jul 27, 2026
Prerequisito/i
Operazione
Provisioning and Customer POS enablement to access to their CMS instance
Fasi
1- Before enabling Retail Cloud from your Core Production org you need to create a Sandbox instance.
2- Create Sandbox org. (System Admin User)
-
Go to Setup in your Salesforce org.(production)
-
Search for "Sandboxes" in the Quick Find box.
-
Click "New Sandbox" and select the type of sandbox you need (e.g., Developer, Developer Pro, Partial Copy, or Full).
-
Provide a name and description for the sandbox.
-
If applicable, select a sandbox template to include specific data and metadata.
-
Click "Create"
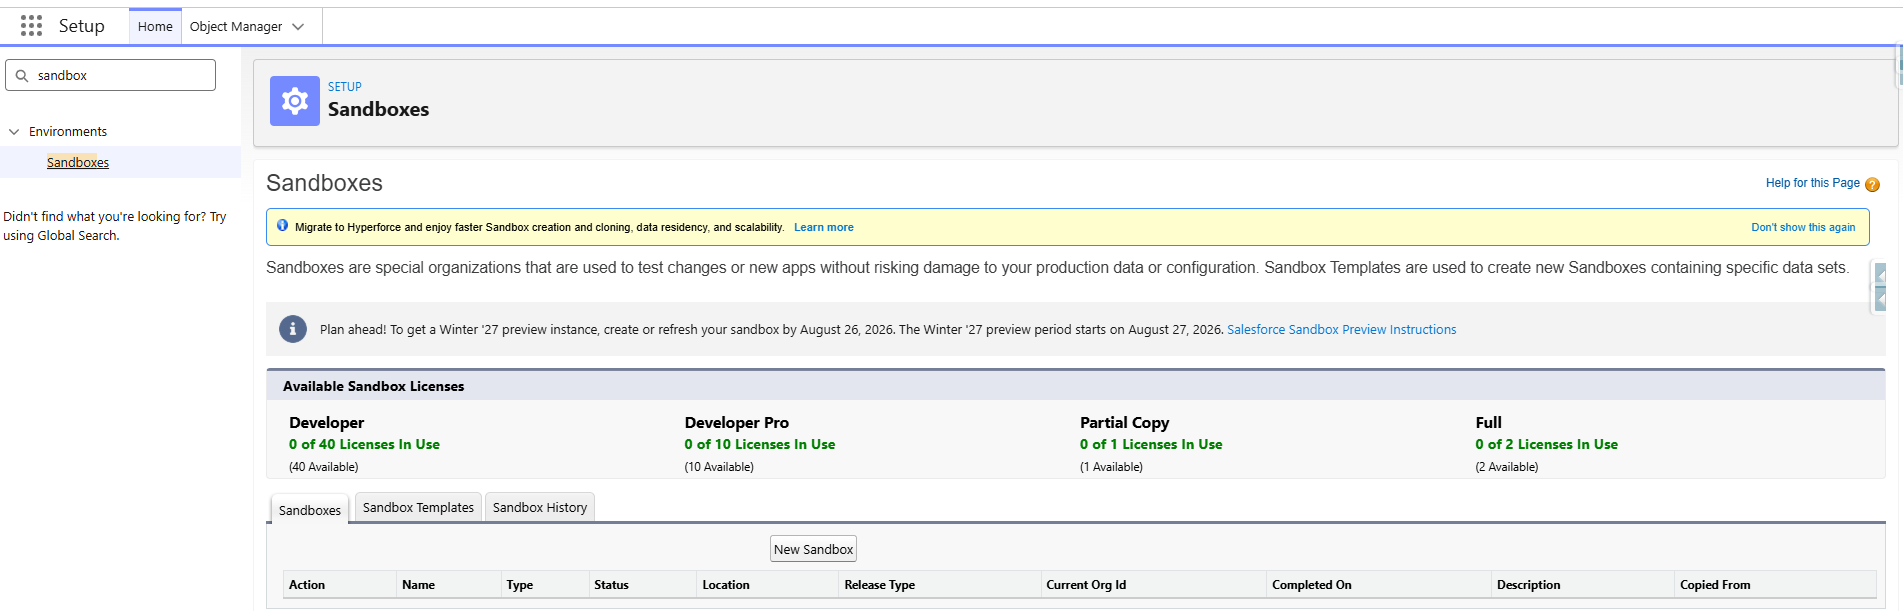
3- Enable Retail Cloud (POS): Production Instance (System Admin)
-
Go to Setup in your Salesforce org Core instance.
-
Search for "Retail Cloud" in the Quick Find box.
-
Confirm Retail Cloud setting is visible
-
Enable the setting. ( This may take 5-10min to complete)
4- Enable Retail Cloud (POS): Sandbox Instance (System Admin)
-
Go to Setup in your Salesforce org Core instance.
-
Search for "Retail Cloud" in the Quick Find box.
-
Confirm Retail Cloud setting is visible
-
Enable the setting. ( This may take 5-10min to complete)
NOTE- If this step does not set the value to ON or the Retail Cloud setting is not visible . Please create a support case under your Retail Cloud org through the SF Help Portal. Provide the core org id for each instance that the flag is not set to ON or visible

5- Enable connected Apps Oauth Usage- (This allows Non system admin access to CMS)
- Open core org, Go to setup
- Search Quick find - Connected Apps
- Select Connected Apps OAuth Usage
- Select PredictSprings CMS- PredictSpring CMS Authentication.
- Select install- (Once this is set then go to step 6)

6- First login to CMS
- To access your CMS instance the user( (System Admin) that completed step 3 and 4 is assigned as the default CMS Admin user. This user is required to login to CMS the first time. Once they have gained access they can then add additional CMS users.
- NOTE- Login is the same as you would use to log into your core org. (do not select custom domain)
Select url link for production/Sandbox
- NOTE- Login is the same as you would use to log into your core org. (do not select custom domain)
- Admin sign into CMS via SF Authentication(same as core org)
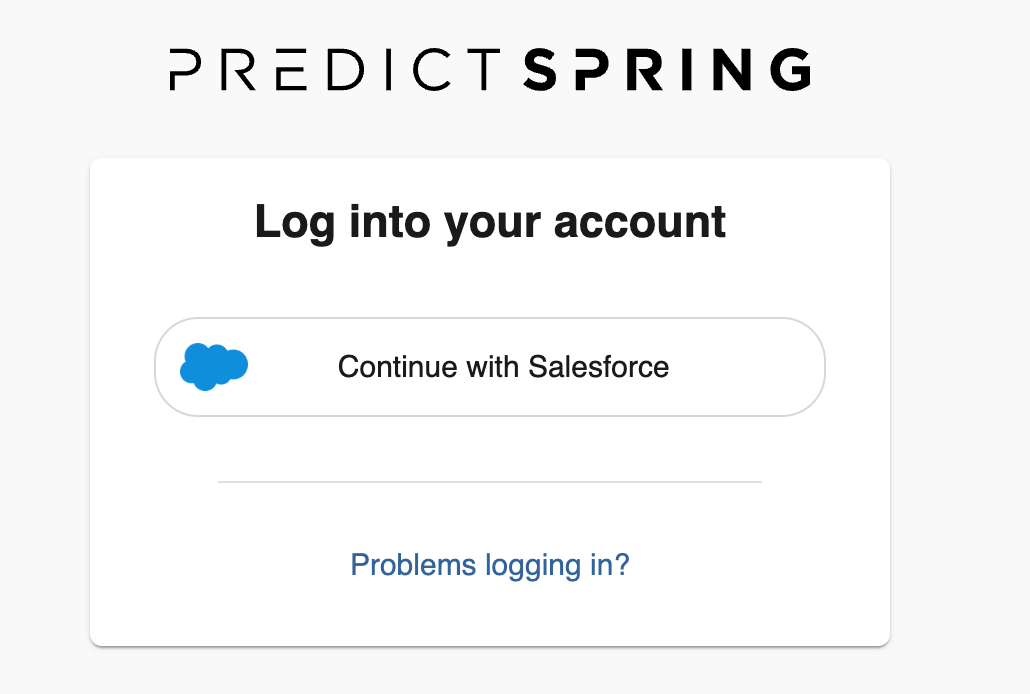
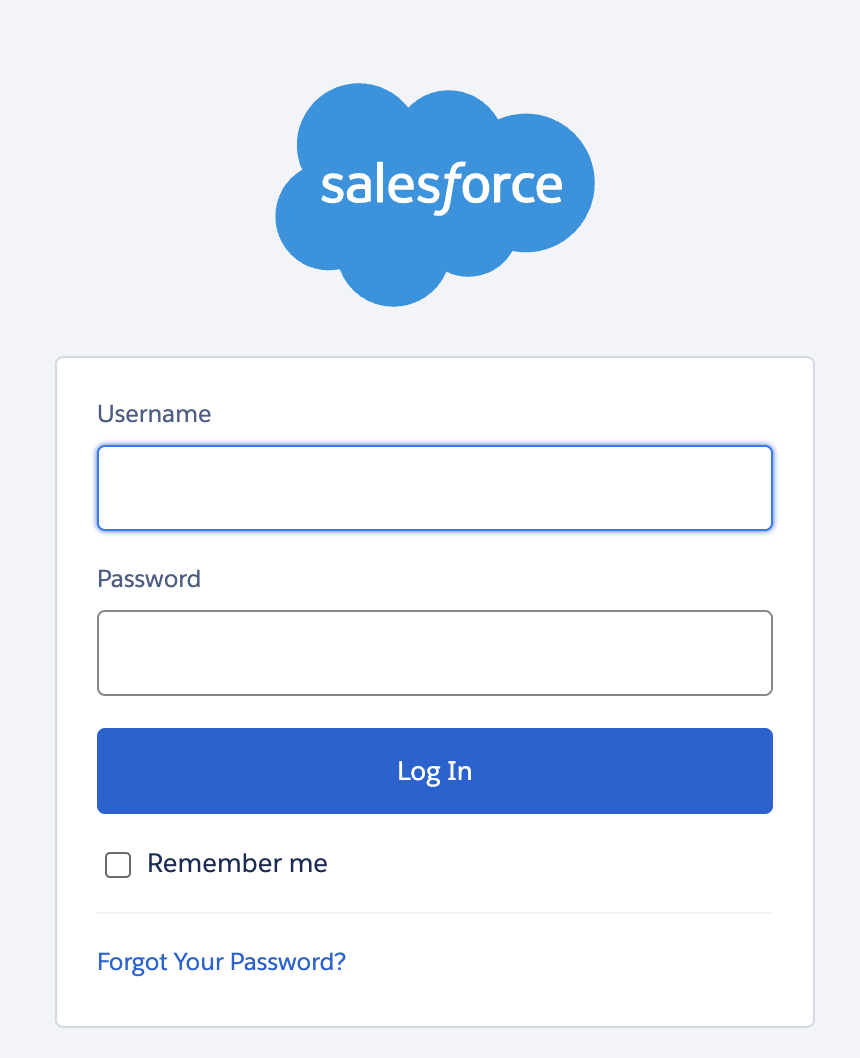
Note- use the url endpoints for your specific region listed under item 8.
7- CMS access. Required step ( Authentication)
-
Each user that requires access to CMS must also be added as a user within your Core org. This is required for Authentication.
-
Open core org go to Setup
-
Select New user
-
Add new user to the instance. Username will be the same value used/ added to CMS user module( this can be different then the email address)
- You will log into CMS with the value defined in the username field.
-
Set License as 'Identity' and profile as 'Identity User' This is used for Authentication. Does not give user access to the core org.
-
If user needs core org access then assign them the license required. Any license above Identity will also work for Authentication for CMS access
-
-
Save
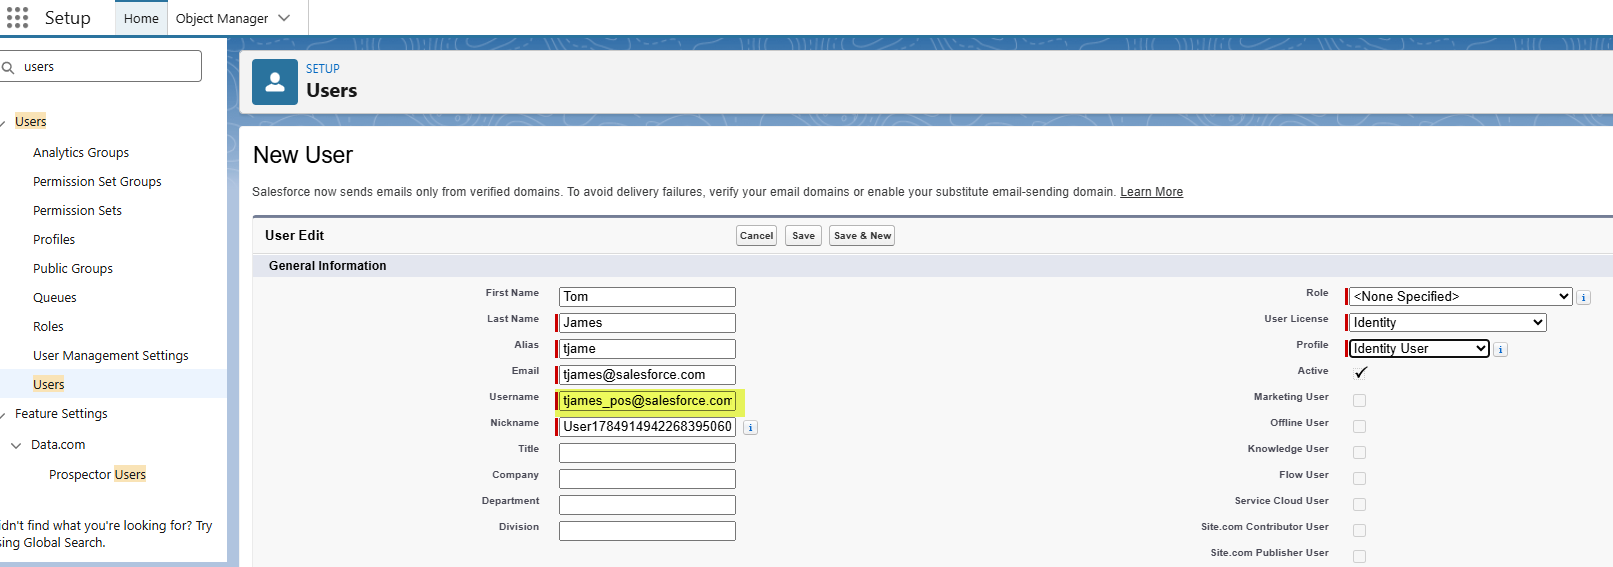
8- Access the Retail Cloud URL. Please use the listed url for your region.
US Cluster (New US customer)
- prod-pos201(prod): https://retail-cloud-cms-frontend4-ecom1.sfdc-8tgtt5.svc.sfdcfc.net/user/login
- prod-pos202s(sbx): https://retail-cloud-cms-frontend2-ecom1.sfdc-8tgtt5.svc.sfdcfc.net/user/login
-
NOTE- All exiting customers will use the US Cluster for CMS access.
EU Cluster (New EU Customers)
- prod-pos201(prod): https://retail-cloud-cms-frontend4-ecom1.sfdc-cehfhs.svc.sfdcfc.net/user/login
-
prod-pos202(sbx): https://retail-cloud-cms-frontend2-ecom1.sfdc-cehfhs.svc.sfdcfc.net/user/login
APAC Cluster (New APAC Customers)
- prod-pos201(prod): https://retail-cloud-cms-frontend4-ecom1.sfdc-vwfla6.svc.sfdcfc.net/cms/
- prod-pos202(sbx): https://retail-cloud-cms-frontend2-ecom1.sfdc-vwfla6.svc.sfdcfc.net/cms/
9- Confirm user can access CMS through the listed URL for their location
10- Access to sandbox org - Public Group
NOTE-
If any access issue please create a Support ticket through the SF help portal under your Retail Cloud org. Provide the user/users, core org id's for production and sandbox
Numero articolo Knowledge
005388918
Questo articolo ha risolto il problema?
Facci sapere, così possiamo migliorare!
