
Creating a Help Agent in Minutes with Quick Service Agent Configuration
With just a few quick steps, build AI-powered service channels grounded in your knowledge base using Quick Service Agent Configuration. This process can build your help portal, Voice channel, and web chat channel, and build a Help Agent to resolve customer issues in those channels. Help agent is based on the Agentforce Service agent template. Use these channels to provide 24/7 support and deflect cases.
Required Editions
| Available in: Lightning Experience |
| Available in: Enterprise, Performance, and Unlimited Editions with Einstein for Service, Agentforce for Service, and Agentforce 1 editions. It also requires the Help Agent add-on license. These editions come with other required licenses to set up and use Quick Service Agent Configuration, such as the Data 360 license. |
| User Permissions Needed | |
|---|---|
| To build and manage Service Agents: | Manage Agentforce Service Agents AND Manage AI Agents OR Customize Application |
| To build a Help agent using Quick Service Agent Configuration |
|
When you create an agent, the agent user account is assigned the AgentforceServiceAgentUserPSG permission set group. This permission set group enables the agent to execute subagents and actions, while granting it necessary access to Data Cloud, generative AI features, and data governance tools.
If a customer issue is escalated to a human rep, but the escalation request fails, the agent remains in the session to help the customer. Escalation requests can fail when no agents are available, the business is closed, queues are full, the Help agent isn’t assigned an active escalation flow, or the LLM times out. During this fallback, the conversation reverts to the escalation subagent to offer alternatives, such as creating a case or scheduling an appointment, while maintaining full context of the prior conversation. If needed, update the escalation subagent instructions to specify what the Help agent should do if the escalation fails.
Launch the Help Agent Salesforce Go Page
To quickly create a Help agent, use the Salesforce Go page.
- From Setup, in the Quick Find box, enter Salesforce Go, and then click Salesforce Go.
-
In the Search box, enter Help Agent, and then click
Help Agent.
The Help Agent page appears.
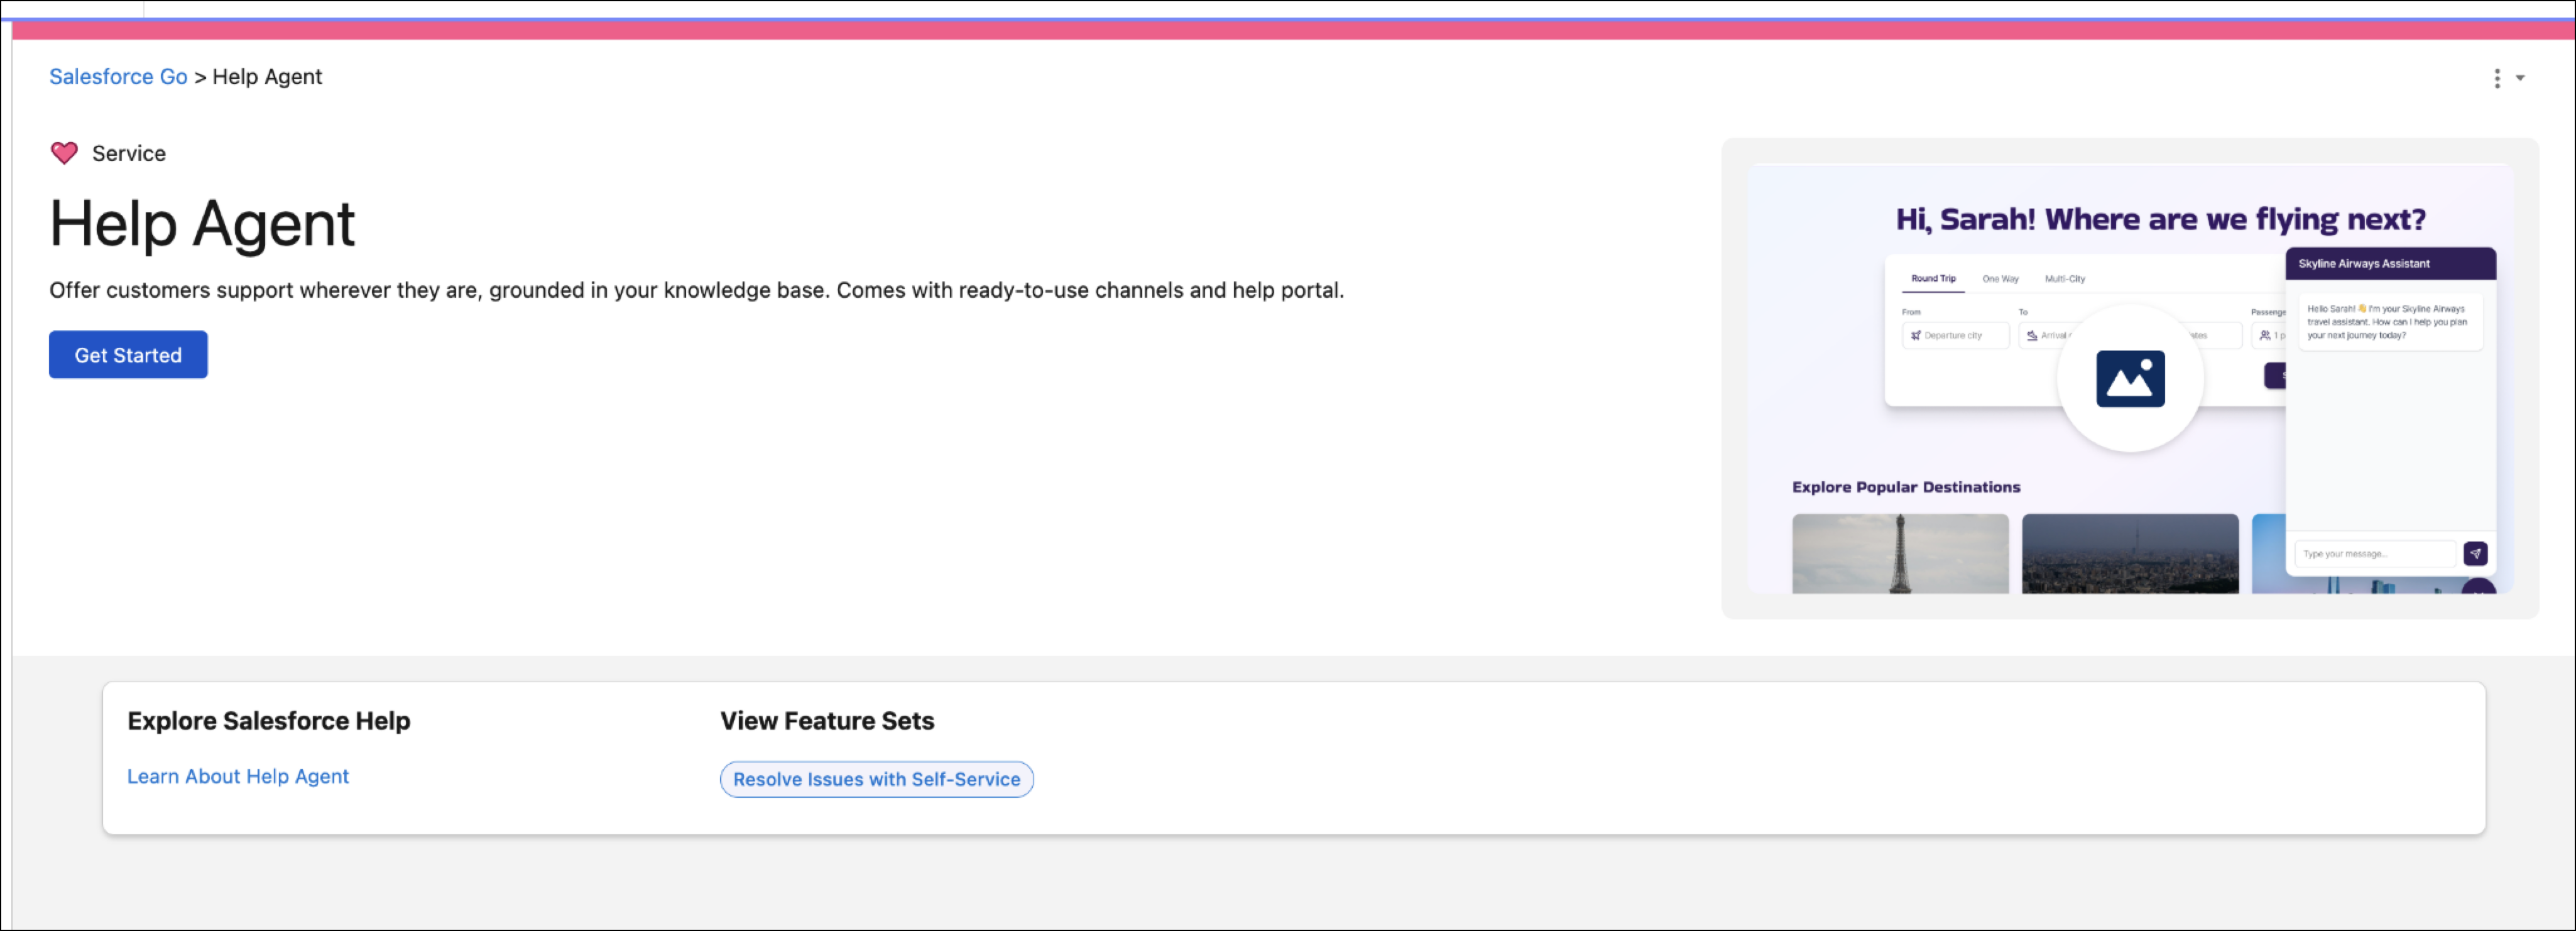
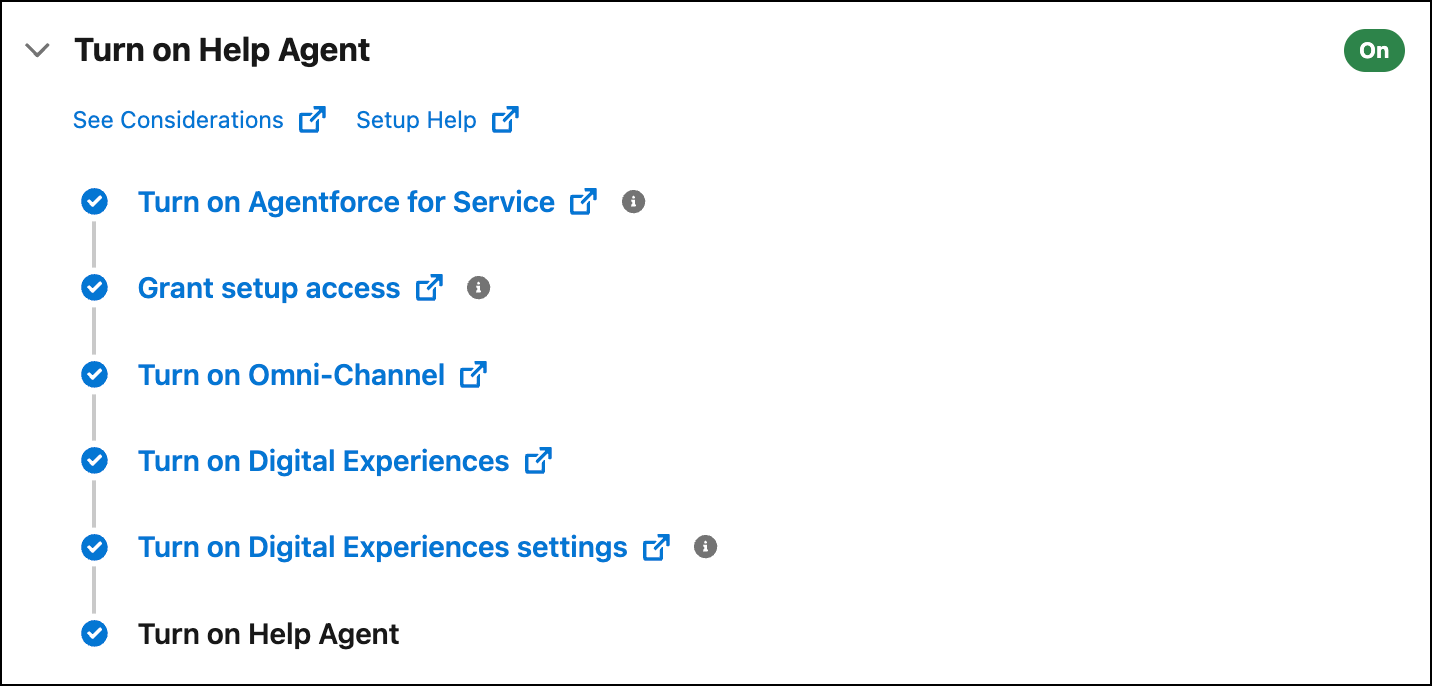
Turn On Help Agent
In the Help Agent Salesforce Go page, turn on Help Agent.
Build the Help Agent and Add it to Channels

- In the Help Agent Salesforce Go page, scroll down to the Complete the Required Steps section.
-
In the Build a Help Agent step, click Go.
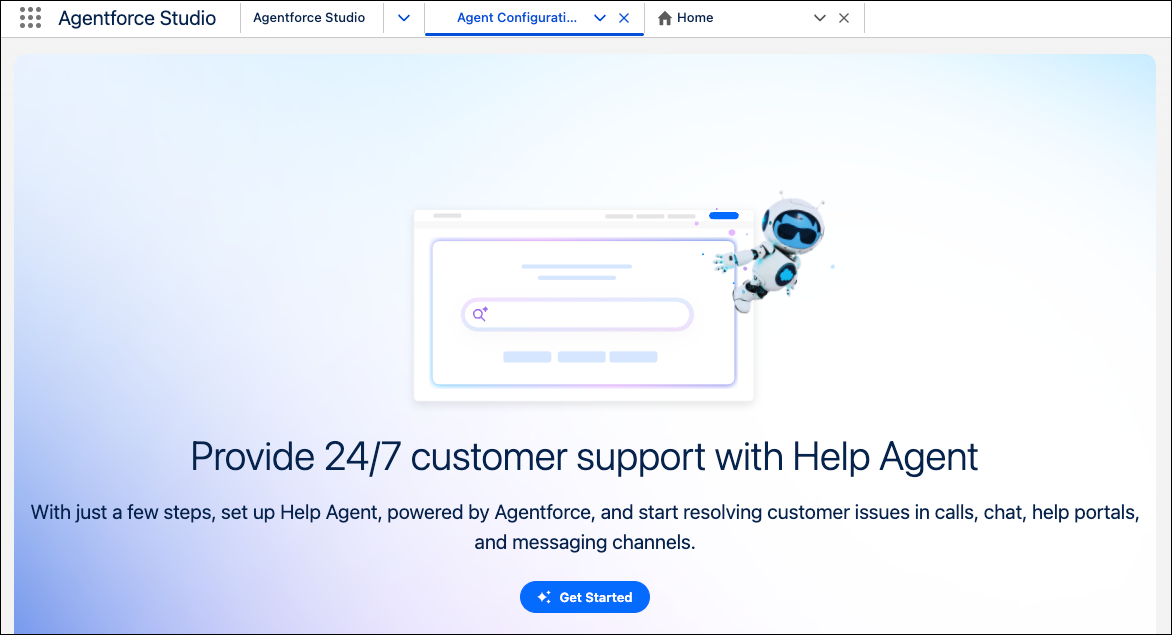
Agentforce Studio opens.
-
Click Get Started.
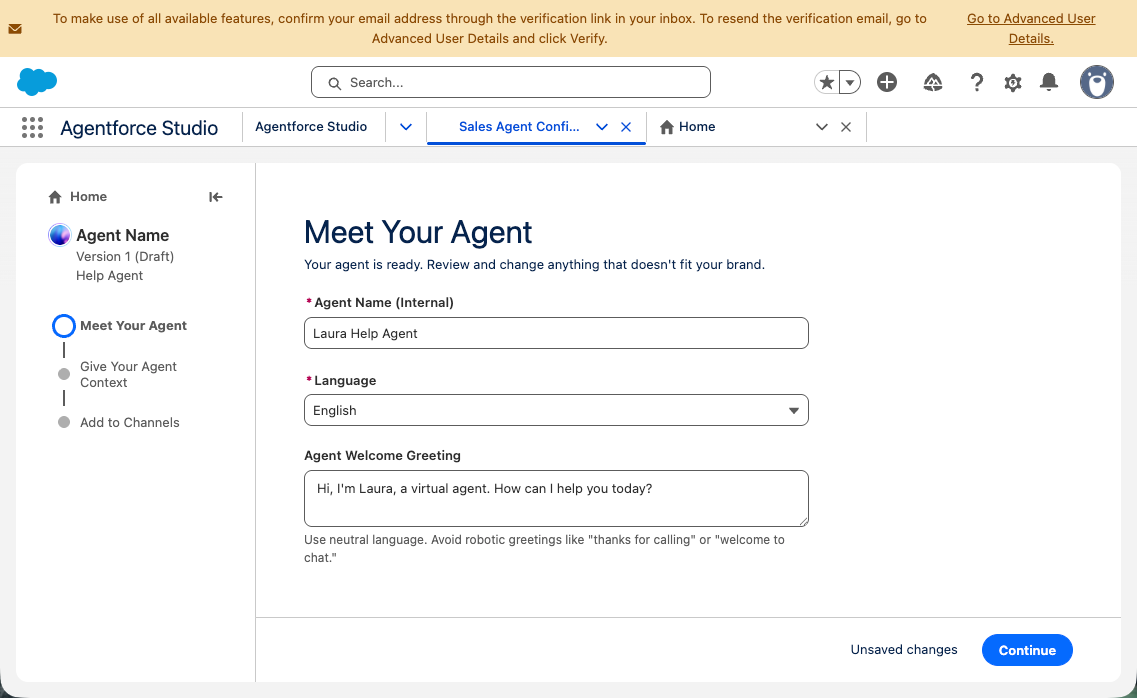
In the Meet Your Agent screen, enter the agent details. If you add multiple agents, provide them with unique names. In the Agent Welcome Greeting field, include a message notifying customers that they are chatting with a virtual agent.
-
Click Continue.
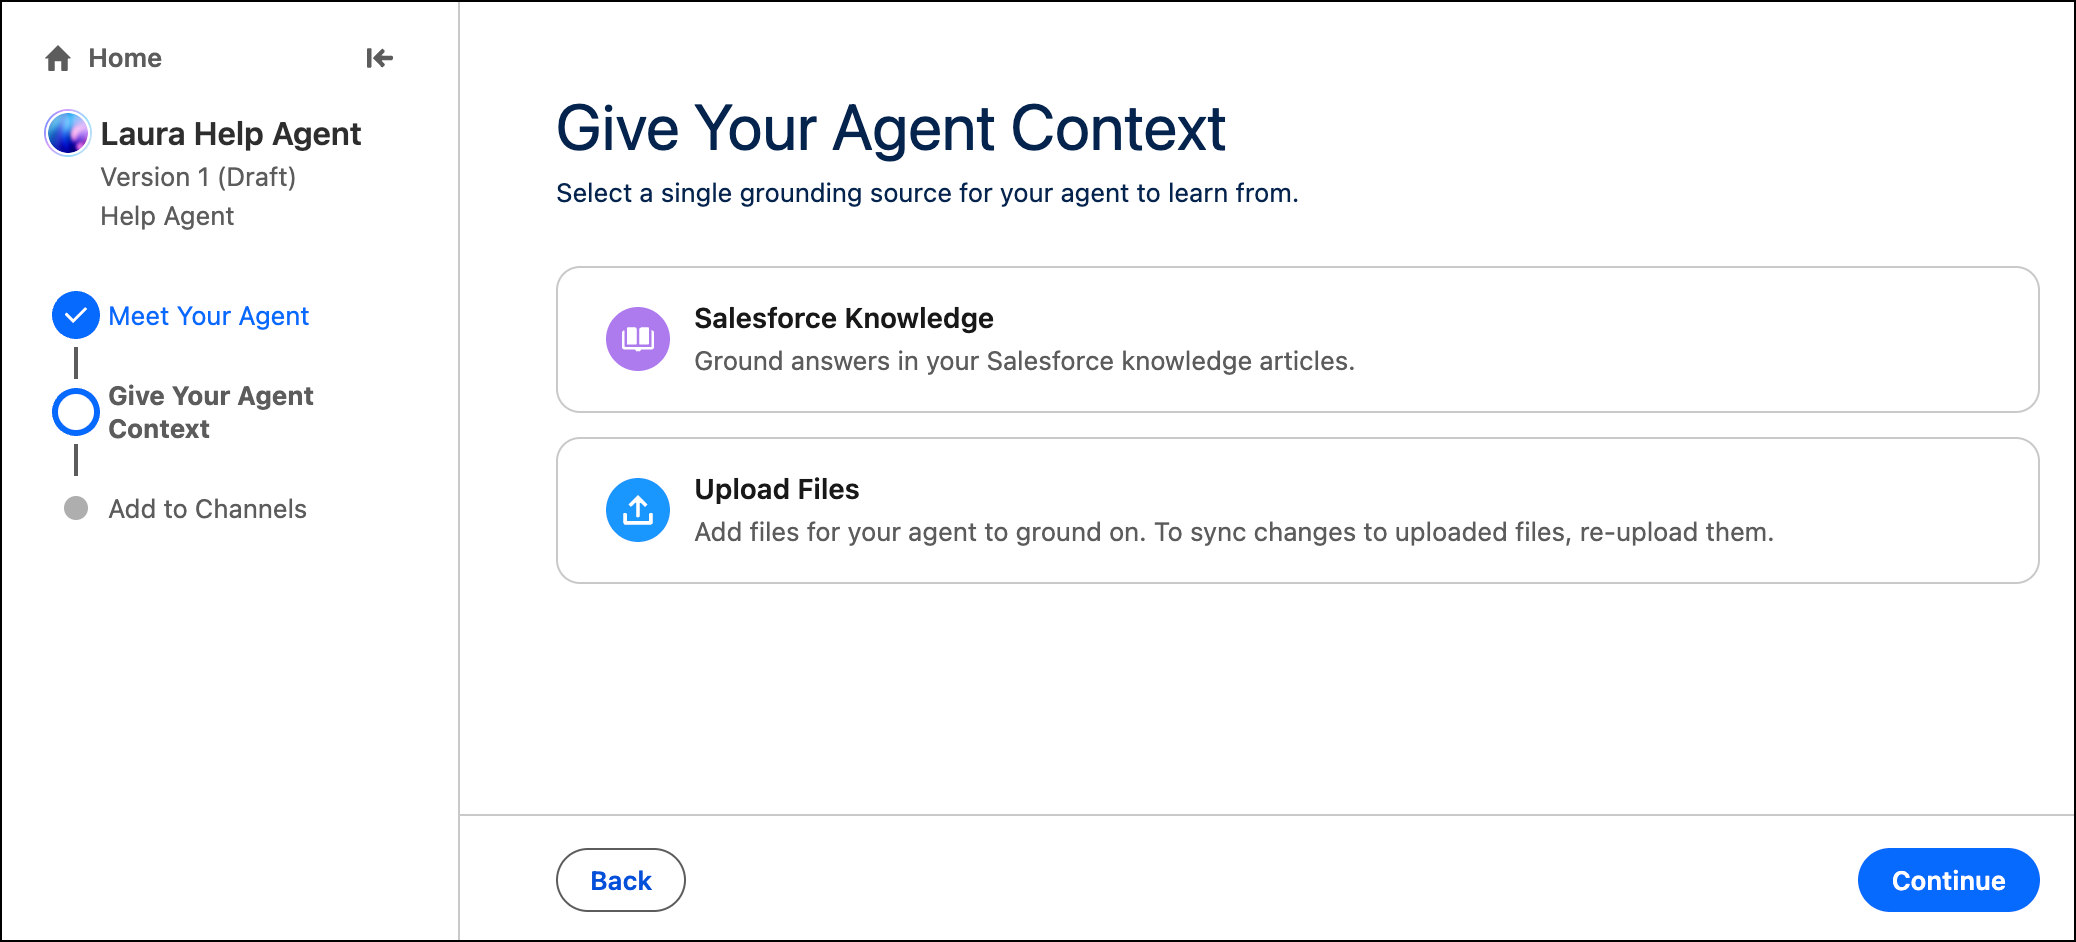
The Give Your Agent Context page appears.
-
In the Give Your Agent Context screen, you can optionally add public-facing knowledge
sources, such as FAQs or troubleshooting guides, to ground the agent's responses. You
can choose one of the following types of knowledge sources.
- To use your existing knowledge base available in Salesforce, select Salesforce Knowledge. If Knowledge isn’t already set up, this option isn’t available. To set it up, click Set Up Knowledge and select the data category groups.
-
To add knowledge from files, select Create a Data Library
or Use Existing Data Library. To create a data library, and
then upload the files. To use an existing data library, select the library.
Note To make changes to previously uploaded files, upload the latest files.
-
Click Continue.
The agent is now activated. Salesforce creates an Agentforce data library for each knowledge source that you added. Agentforce data libraries enhance the accuracy of AI features by connecting them to your trusted data sources. To enable the agent to efficiently retrieve content from the libraries, we index them.
 Tip Before you can preview the agent, we have to index the knowledge sources. Indexing doesn’t begin until after the content is ingested. To grant us more time to finish indexing, we recommend that you add the agent to channels before you try to preview the agent. You can start previewing the agent with one or two data categories.
 -
In the Add to Channels screen, add your agent to channels. To add web chat to your
website, in the Web Chat box:
- Click Copy Code.
- Enter your website domain.
-
To add the code snippet to your website, in the Add Web Chat to Your Site dialog,
follow the on-screen instructions, and then click Done.
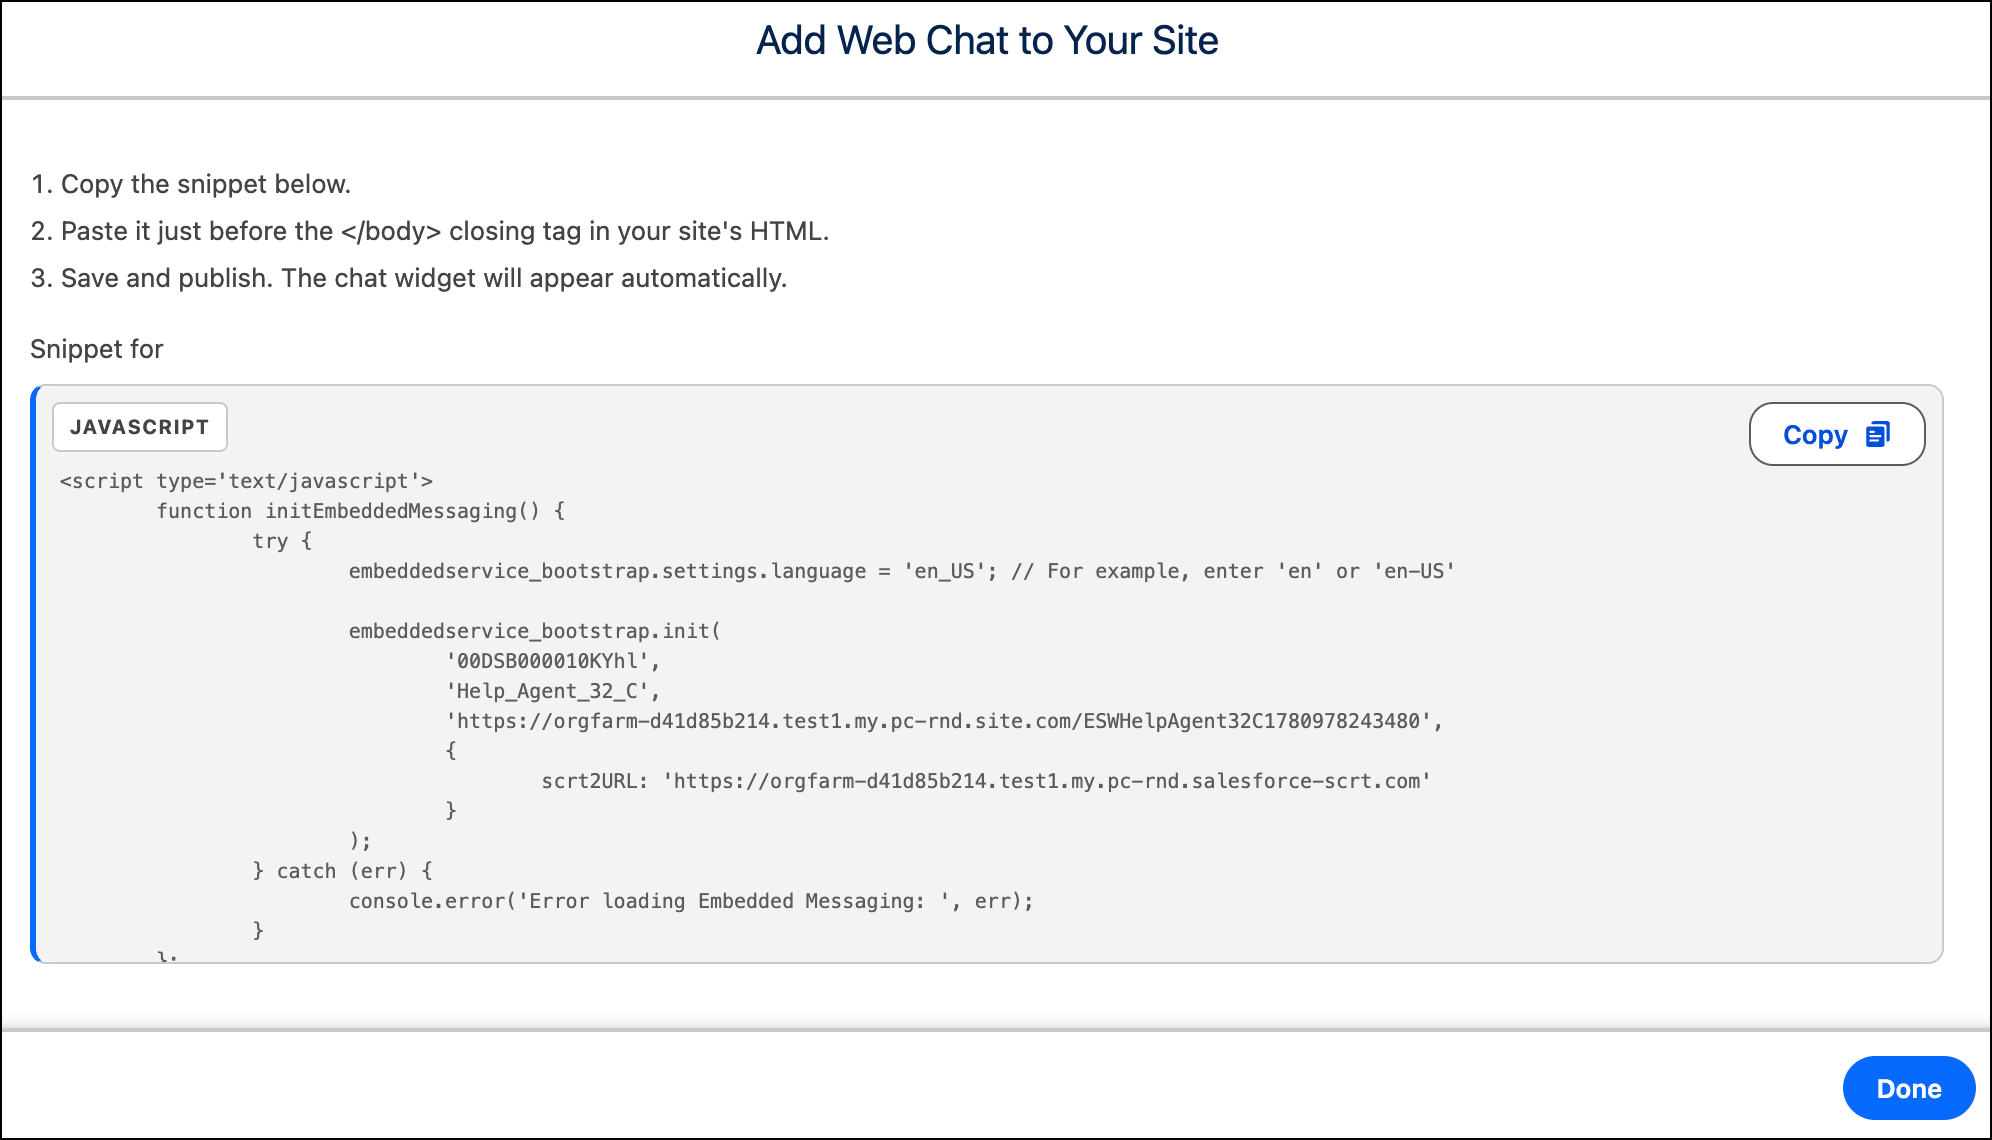 Note The code snippet doesn’t work in authenticated websites or sites with client-side rendering.
-
To create an AI-driven help portal, in the Help Portal box:
- Click Manage.
- Enter a name for this site, and optionally upload a logo.
- Click Create and Deploy.
-
To add the agent to a Voice channel, in the Voice box:
-
Click Manage.
You can add an agent to Voice channels with this telephony model only:
- Salesforce Voice (Native Voice)
Note This option requires a Voice license. - Scroll down.
-
In the Call Handling field, select a phone number for your Voice channel.
Tip To use a phone number that’s not in the list, click New Number. You can select a number from a supported country. Follow the prompts to get a new number.
- Click Create Channel and Attach Agent.
-
Click Manage.
-
Click Continue.
The Take Your Agent for a Spin page opens.
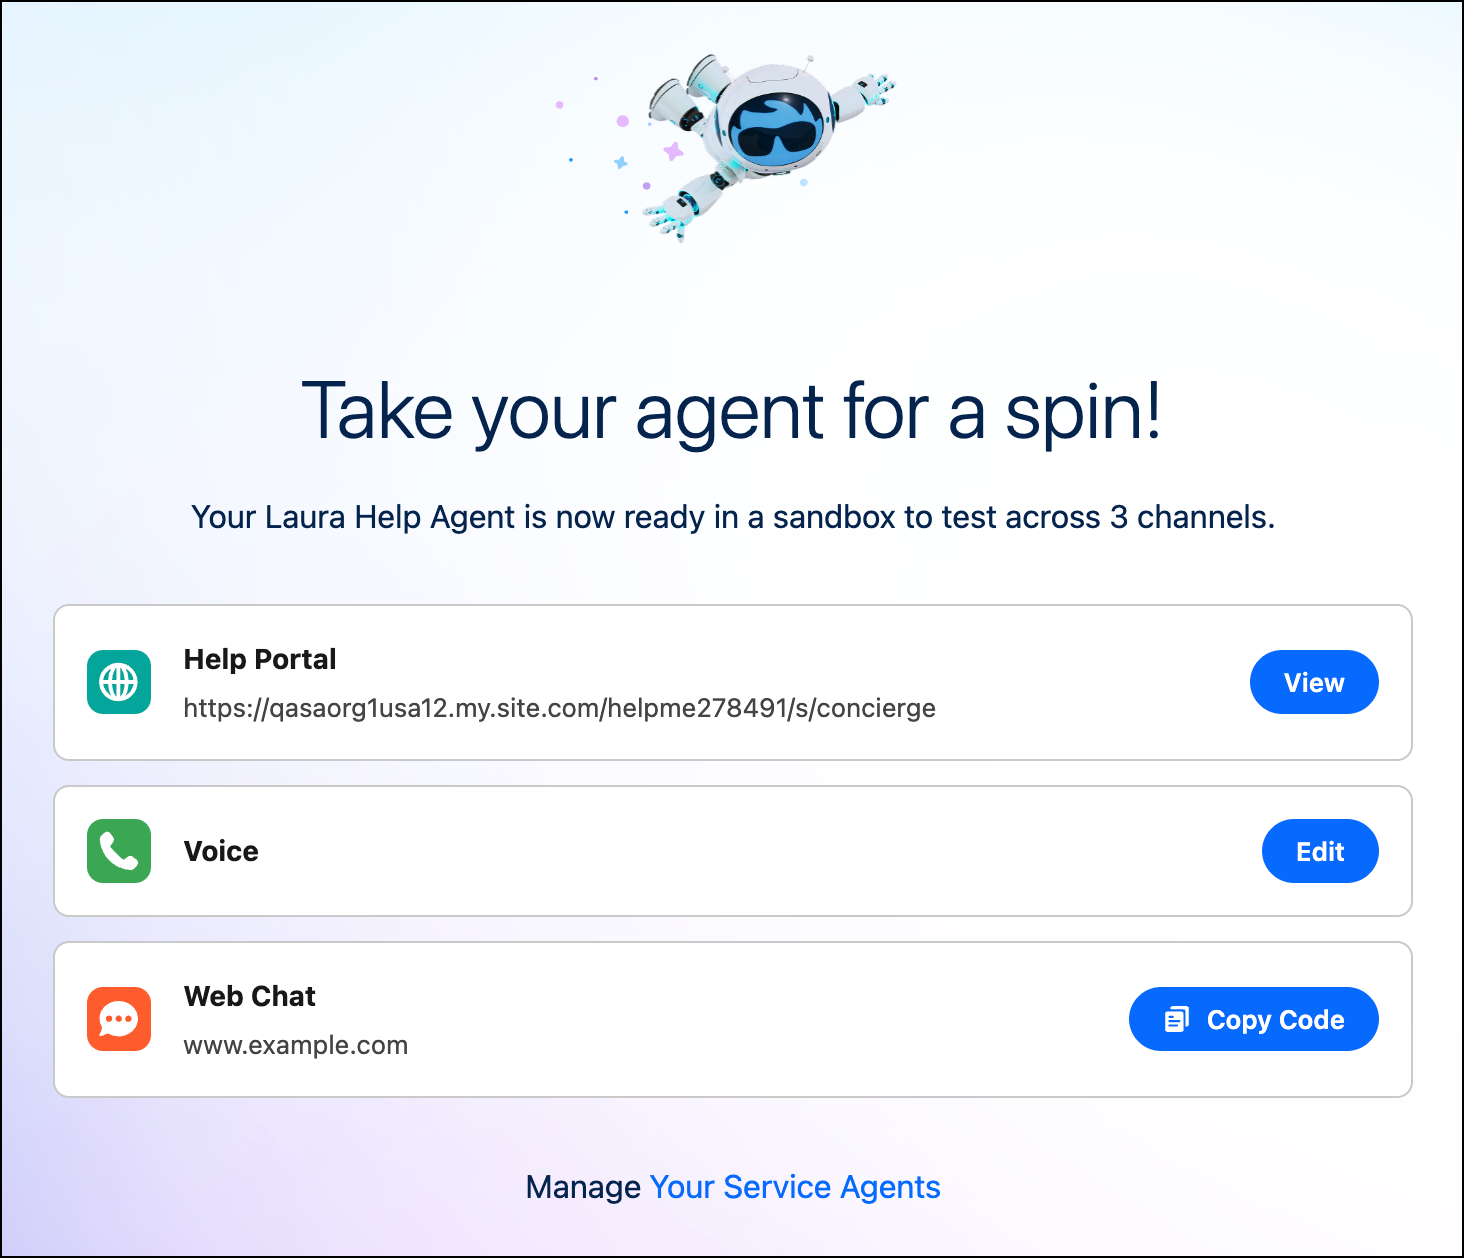
- To review the help portal, click View.
Considerations for the Help Agent
Review these considerations before using the Help Agent.
- The Help Agent is created with default permissions that enable it to do specific tasks. To give the agent access to additional features, such as prompt templates, create a custom permission set that gives the agent user the access it needs. Custom permission sets that you assign to the agent user must be associated with the Einstein Agent license and Einstein Agent User profile. For a list of agent features and their required permissions, see Best Practices for Agent Users.
- To use Quick Service Agent Configuration in a sandbox, you must manually set up Data 360, and then assign the Data Cloud permission sets to users.
For additional considerations, see Considerations for Agentforce Service Agent and Best Practices for Agent User Permissions.
