You are here:
Configure Call Escalation When Using SIP
If the agent call is escalated to a rep, the agent is disconnected and the telephony system resumes the call. If supported, configure the telephony system to handle the escalated call, including resuming the call when it’s escalated and transferring the call to the appropriate rep. To illustrate how this works with SIP, this topic describes how to accomplish this task using Salesforce Voice with Partner Telephony from Genesys. Specifically, configure the Genesys inbound flow to resume the call where it left off, which is after the original call is transferred to the agent, and route it to a service rep.
Create a Queue in Genesys
Create a queue for escalated calls that will be accepted and handled by service reps.
- In Genesys Architect, go to User Management | Queues.
- Click New.
-
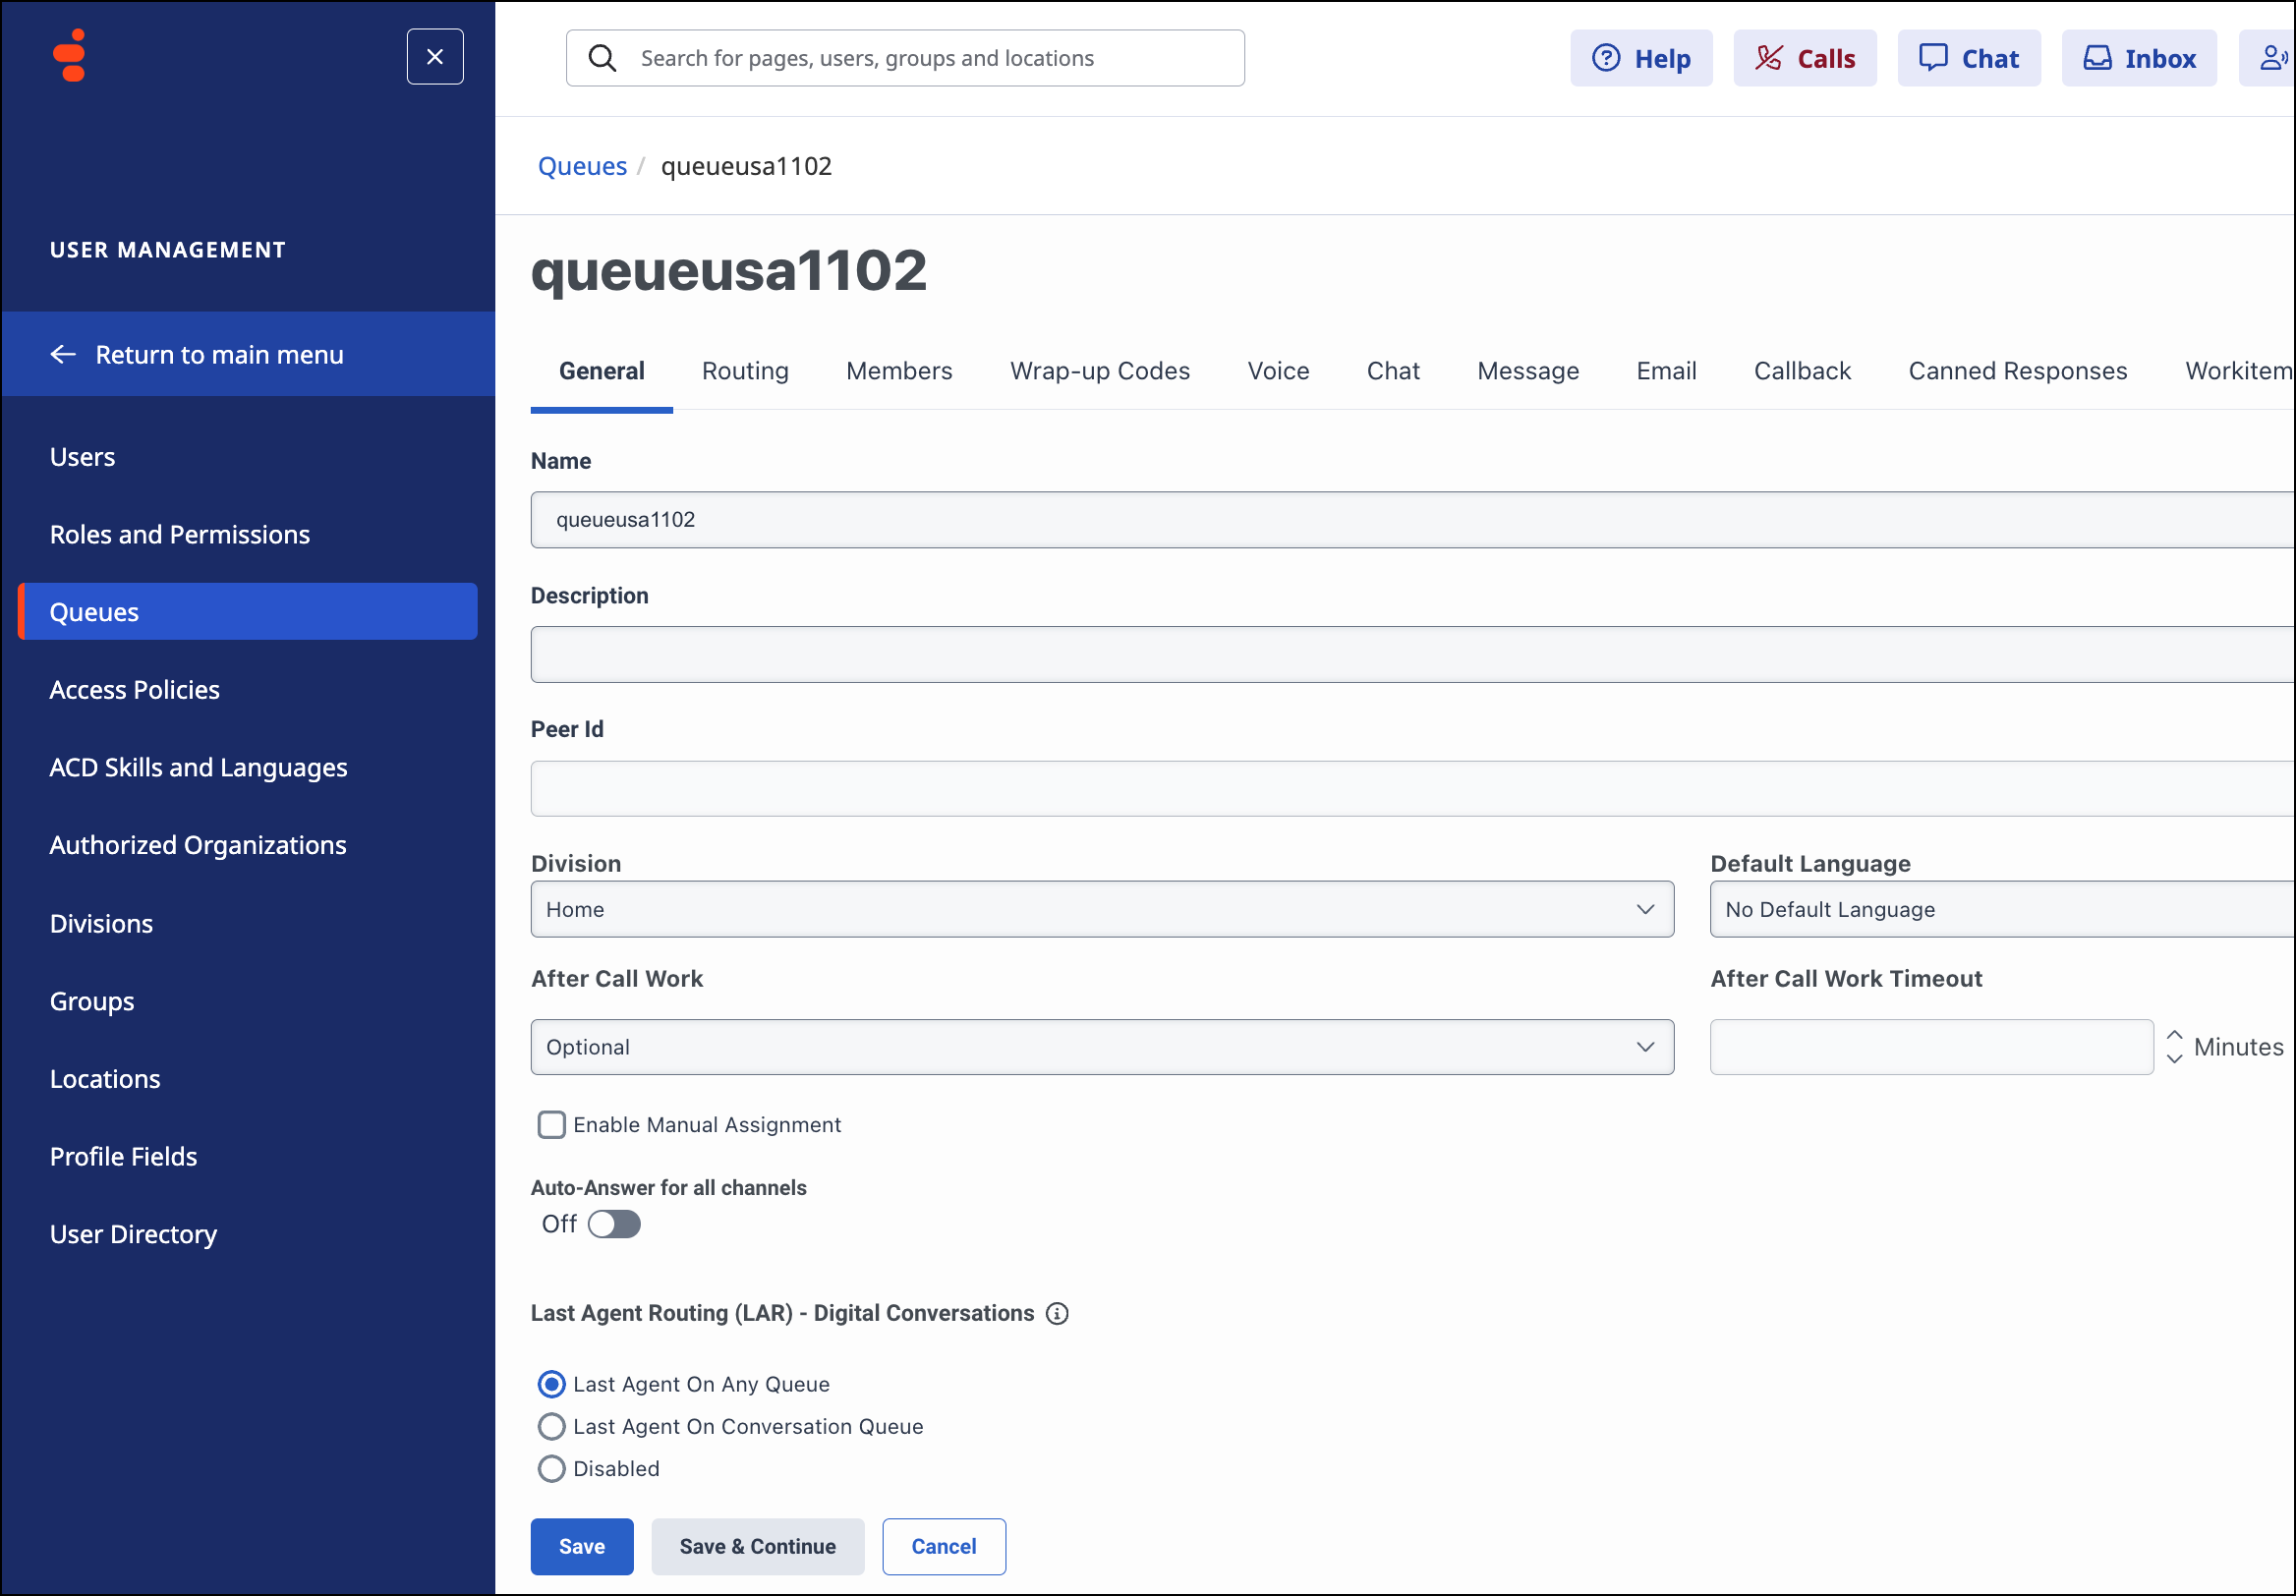
Enter the general properties for the queue.
-
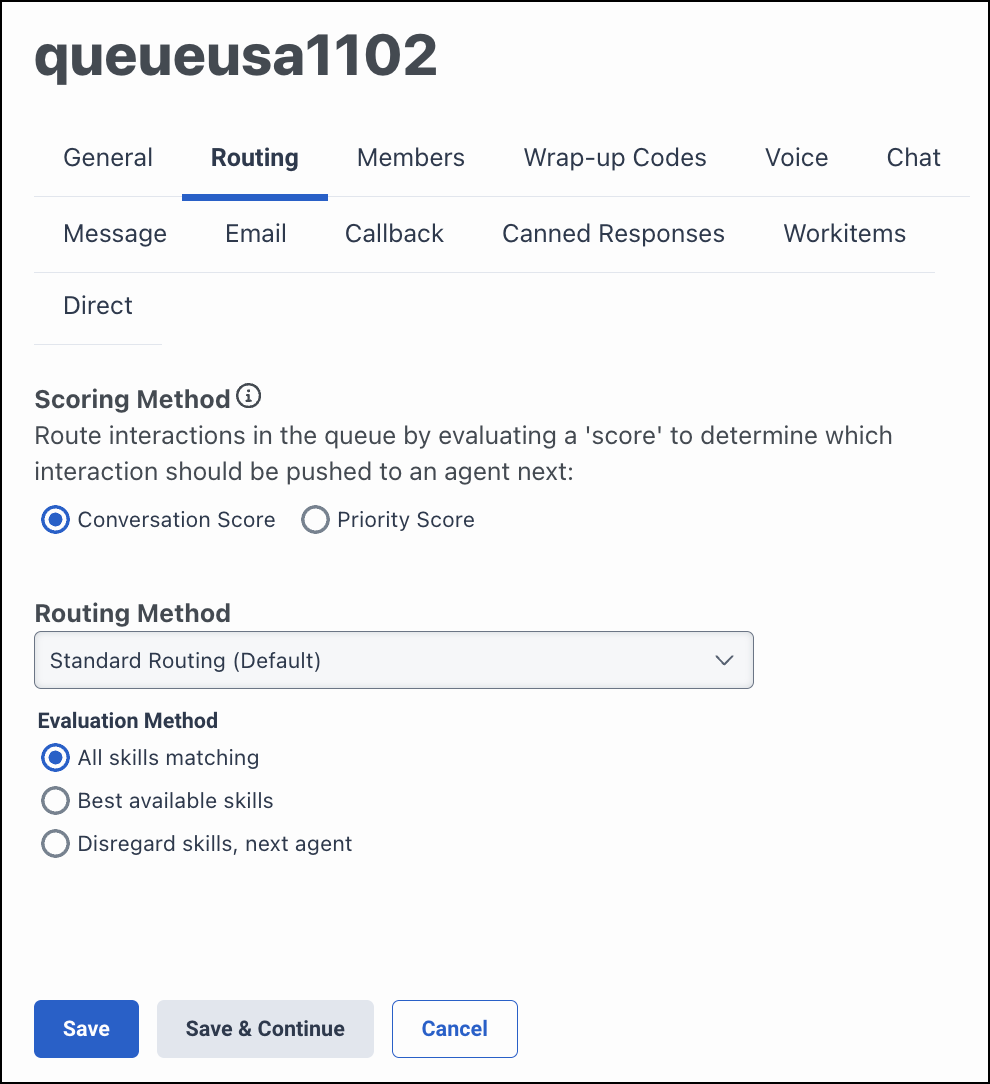
In the Routing Method field in the Routing tab, select Standard Routing
(Default).
- In the Members tab, add users to the queue.
- In the Voice tab, turn on recording and transcription.
- Save the queue.
Configure the Escalation Flow
Create a flow that routes escalated calls to service reps.
-
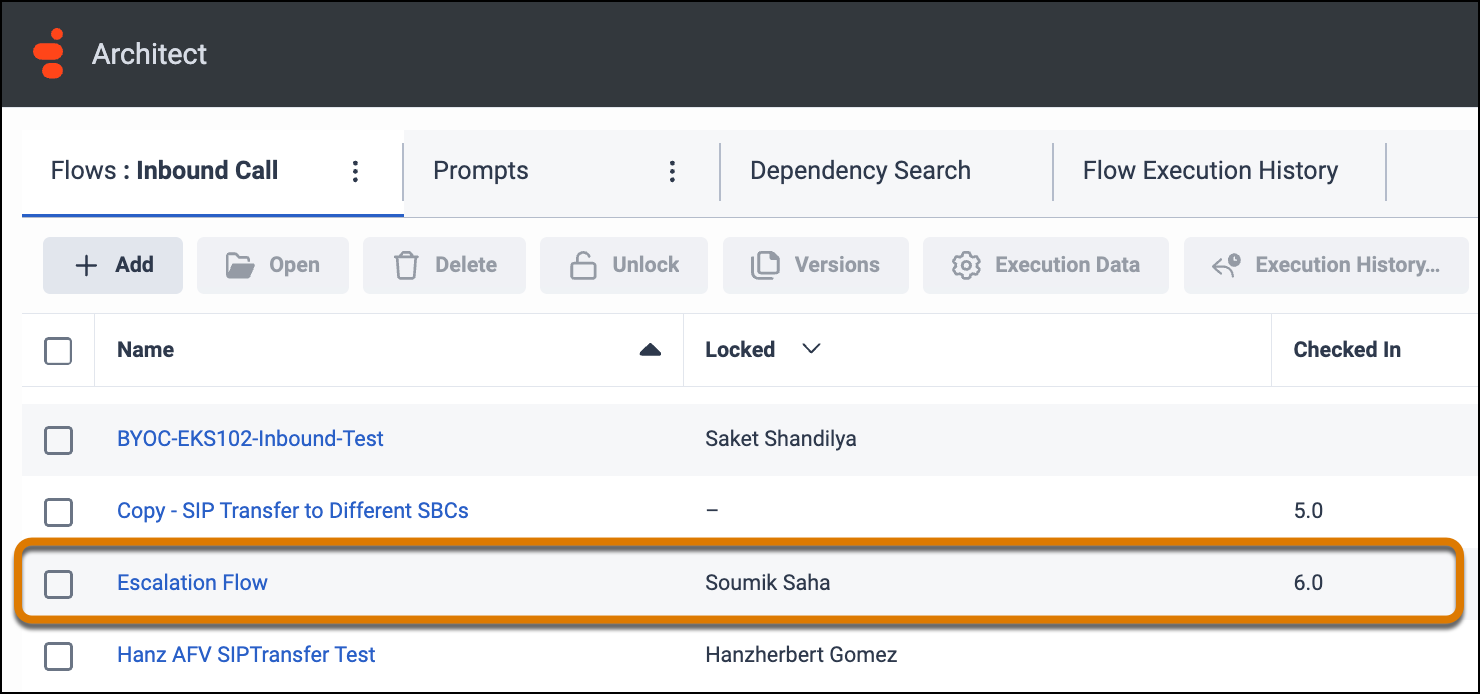
In Genesys Architect, edit the escalation flow.
-
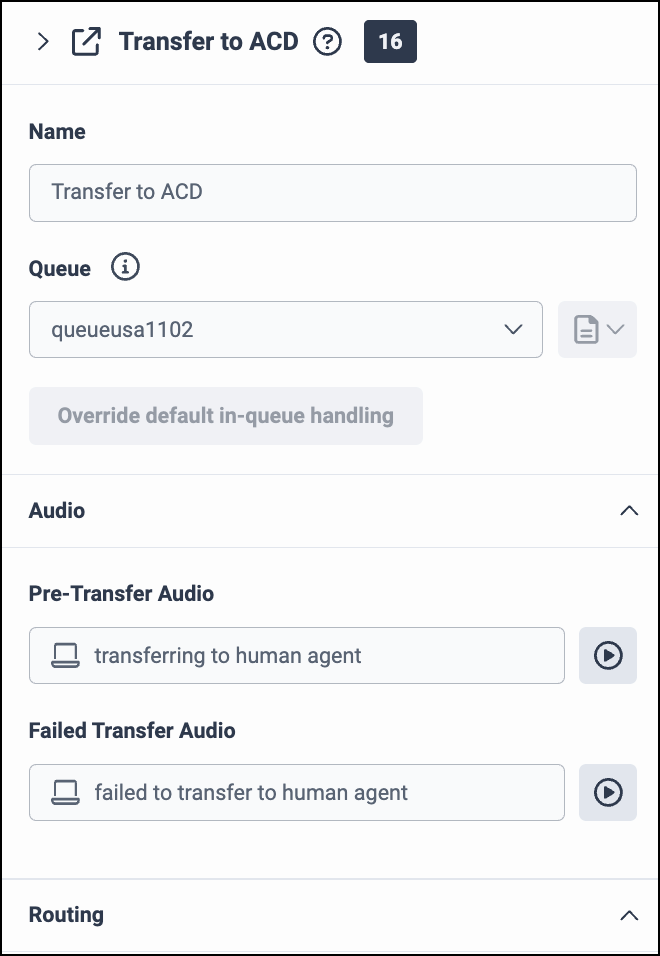
To transfer the call to a new destination, add a Transfer to ACD block with these
properties.
- Enter a name for the block.
-
To transfer the call to a queue, select the escalation queue that you created in the
previous step.
- Save the flow.
Configure the Inbound Flow to Trigger the Escalation Flow
Ending a call triggers the post-call flow. To kick off the escalation flow that you just configured, configure the post-call flow.
- In Genesys Architect, open the inbound call flow that routes incoming calls.
-
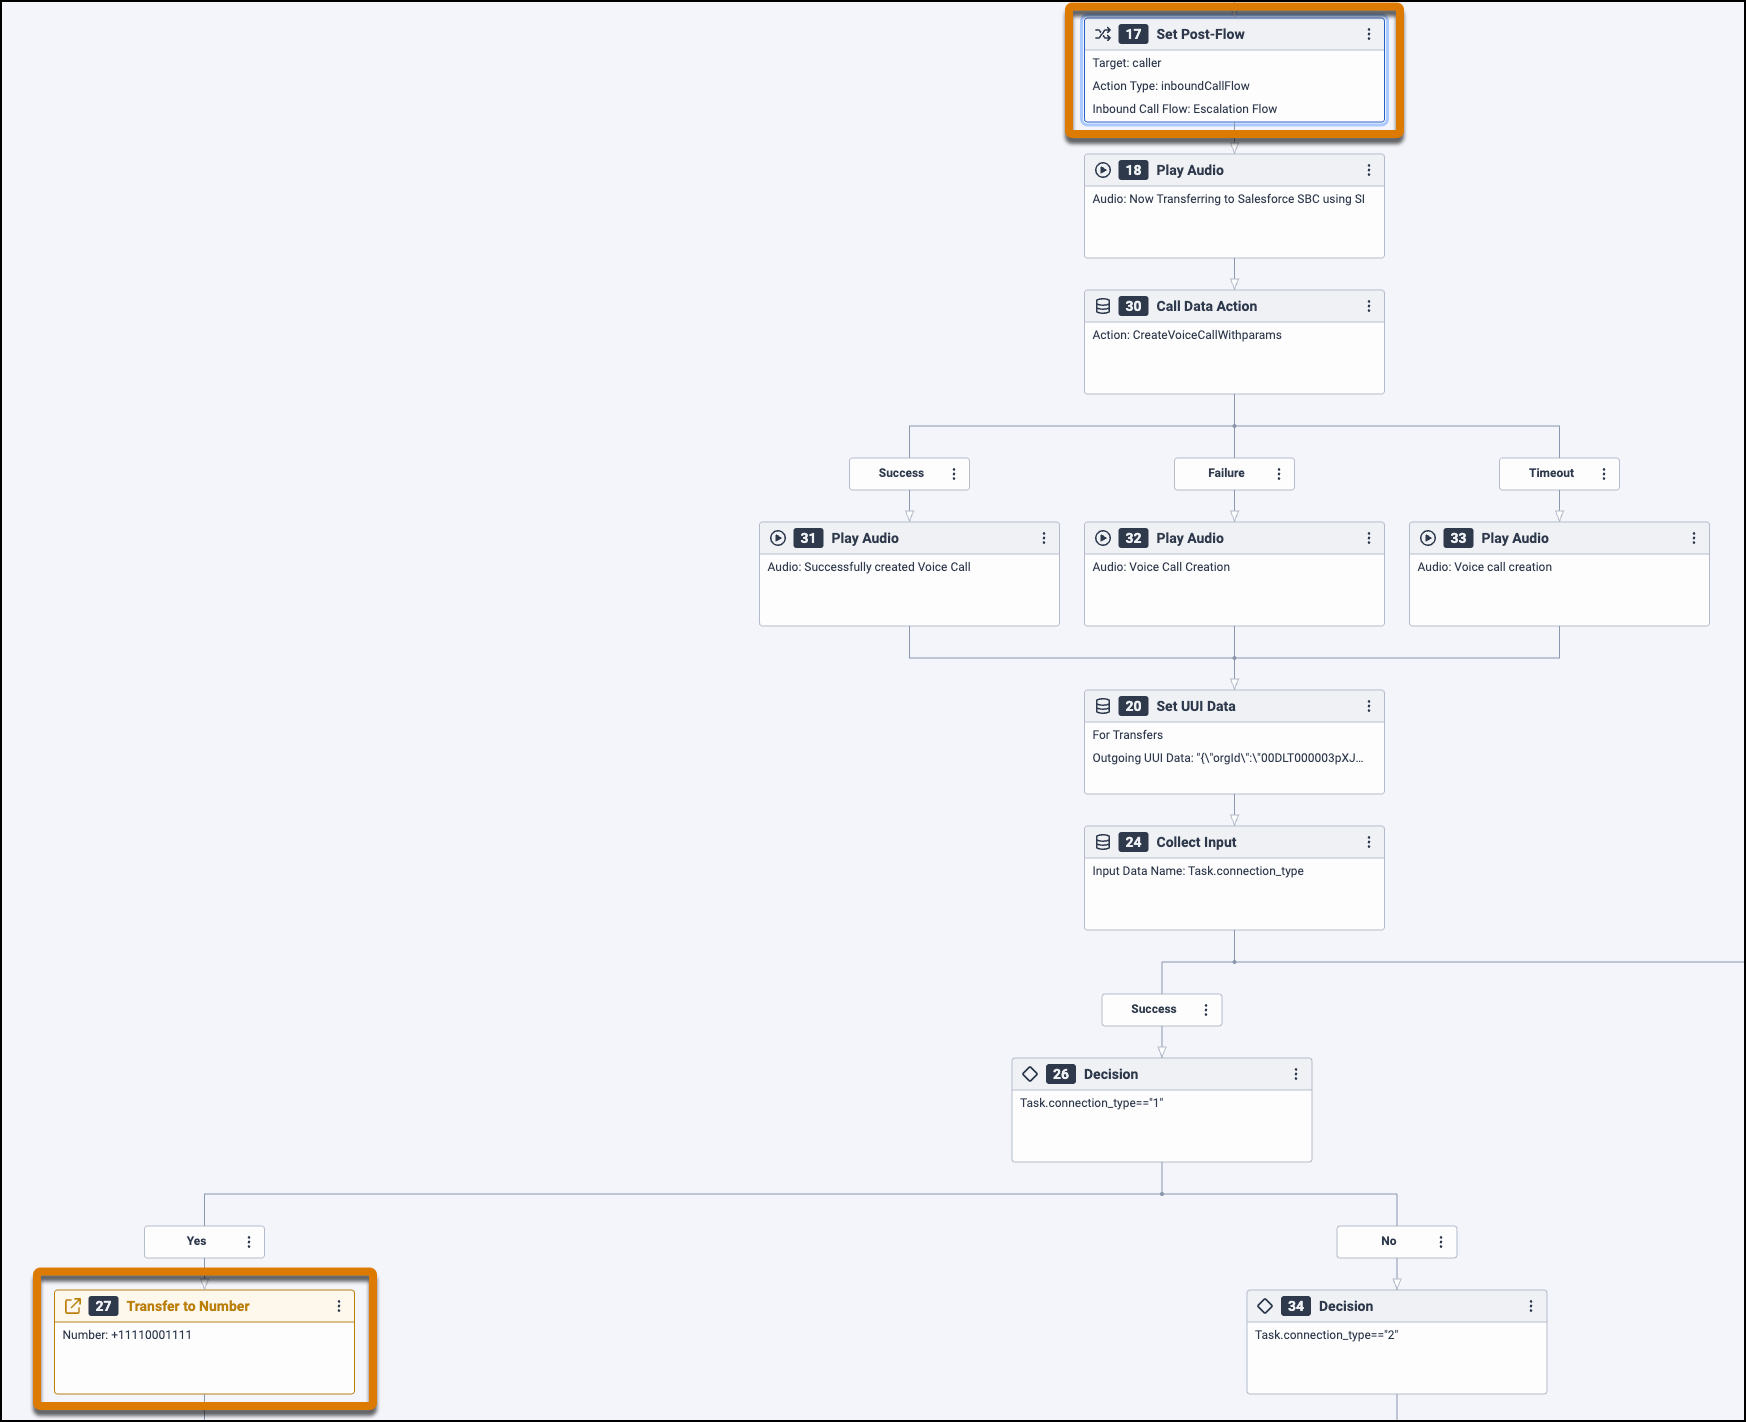
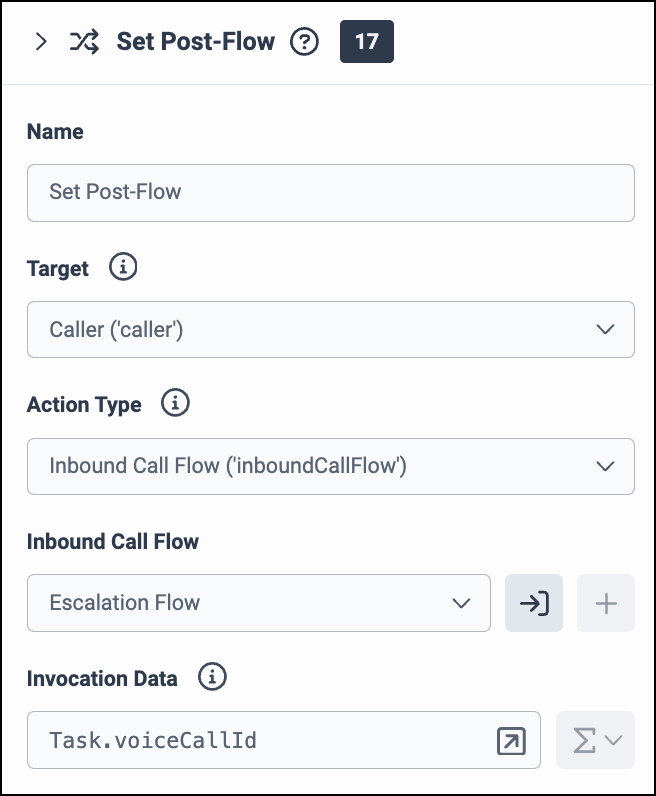
In the Set Post-Flow block, complete these steps.
- In the Name field, enter a name, like Set Post-Flow.
- In the Target field, select Caller.
- In the Action Type field, select your escalation flow, which triggers after the inbound flow.
-
In the Invocation Data field, add the voice call ID.
- Save the flow.