
You are here:
Add More Components to the Vehicle Page
Customize the Vehicle record page layout by including more components that are designed to show important information to users. The connected vehicle console helps users track all stakeholders, activities, events, milestones, and related records of a vehicle on a single page. You can customize the Vehicle page layout based on your business requirements. You can also design separate page layouts for different user groups like service agents or sales dealers.
Required Editions
| Available in: Enterprise, Unlimited, and Developer Editions. |
| User Permissions Needed | |
|---|---|
| To customize page layouts: | Customize Application |

Note Here we describe how to add a few specific components to the default Vehicle page
layout that Automotive Cloud provides. You can add other standard and custom components
and change the tab names and placement.
- Open a Vehicle record, and click Edit Page from Setup.
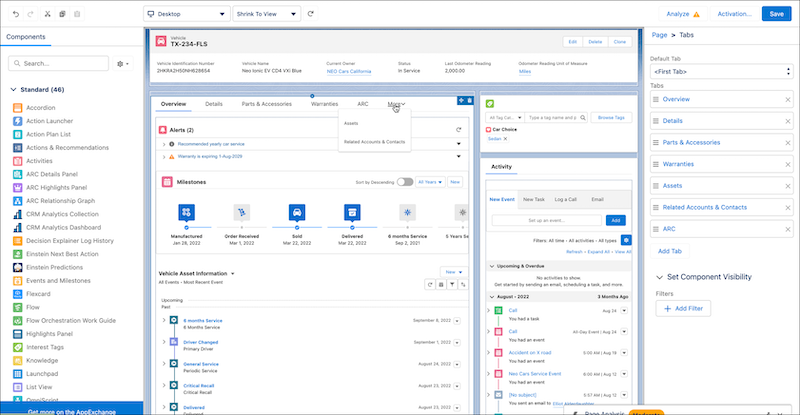
- Click anywhere in the main region, and click Add Tab in the Tabs component properties.
- For Tab Label, select Custom, and enter the tab name that you want, such as Overview.
-
To view record alerts:
- Drag the Flexcard component onto the Overview tab.
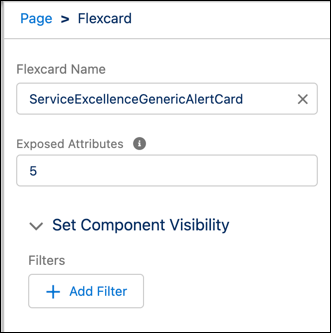
- In the Properties panel, in the Flexcard Name field, select ServiceExcellenceGenericAlertCard. If you have configured record alerts for your org, this component displays record alerts on the Vehicle record page.
-
In the Exposed Attributes field, enter the maximum number of alerts (from 1 to 20)
to be displayed in the component using the syntax,
{"Limit":5}.
-
To view a timeline of vehicle activities, work orders, and other related records:
-
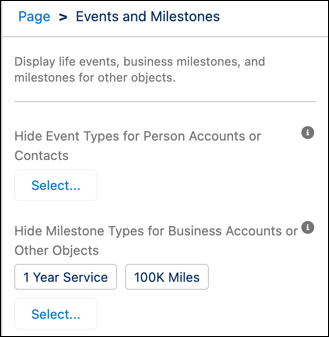
Drag the Events and Milestones component onto the Overview
tab.
See Display Events and Milestones for Accounts, Contacts, and Vehicles to configure the component.
-
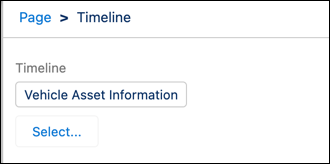
Drag the Timeline component onto the Overview tab.
See Add Timeline to a Vehicle Record to configure the component.
-
Drag the Events and Milestones component onto the Overview
tab.
-
To view relationships of a vehicle:
- Click anywhere in the main region, and click Add Tab in the Tabs component properties.
- For Tab Label, select Custom, and enter the desired tab name, such as Related Accounts & Contacts.
- Select and drag the Relationship Cards component onto the Related Accounts and Contacts tab.
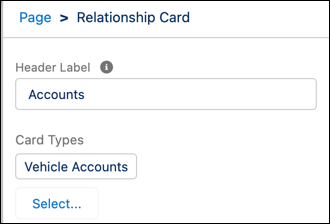
- In the properties panel, in the Header Label field, enter Accounts.
-
Click Select under Card Types, and select the Relationship
Card that you created for showing the account information. Click
OK.
- Drag the Relationship Cards component onto the Related Accounts and Contacts tab again.
- In the Properties panel, in the Header Label field, enter Contacts.
- Click Select under Card Types, and select the Relationship Card that you created for showing the contact information. Click OK.
- Click anywhere in the main region and click Add Tab in the Tabs component properties.
- For Tab Label, select Custom, and enter the desired tab name, such as Actionable Relationship Center.
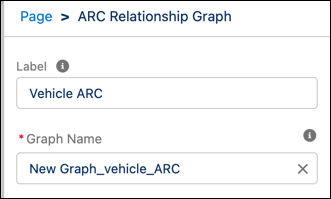
- Drag the ARC Relationship Graph component onto the Actionable Relationship Center tab.
- In the properties panel, in the Label field, enter a name.
-
Select an active graph in the Graph Name field.
-
To assign interest tags and action plans to a vehicle:
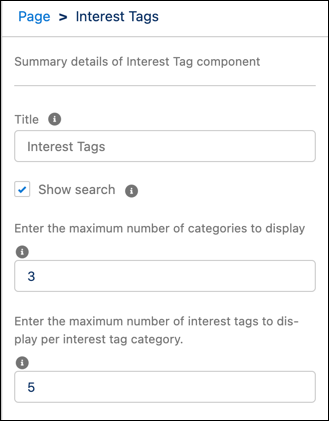
- Drag the Interest Tags component to an area of the page, preferably to the right sidebar.
- Select the following.
- Enter a title.
- To let users search for interest tags, select Show Search.
- Enter the maximum number of tag categories to display in the component. Users can expand the list to see more.
- Enter the maximum number of interest tags to display in the component. Users can expand the list to see more.
- Drag the Action Plan List component to an area of the page, preferably to the right sidebar.
- Click Save, and then click Activation.
- Click Assign as Org Default, and then click Next.
-
Review the assignments, and save your changes.
-
To view appointments for a vehicle:
A vehicle can either be used an asset for test drive appointments, or is at a dealer or customer location and requires repair and maintenance. Depending on the use case, add either the Test Drive Appointments, or the Service Appointments for Parent Asset related list to the Vehicle page layout.
- From Setup, go to Object Manager.
- Search for and select Vehicle.
- Click Page Layouts and select a page layout.
- Drag the Test Drive Appointments related list from the palette onto the Vehicle Related Lists section on the page.
- Save your changes.
- From Setup, go to Object Manager.
- Search for and select Asset.
- Click Page Layouts and select a page layout.
- Drag the Service Appointments related lists from the palette onto the Asset Related Lists section on the page.
Did this article solve your issue?
Let us know so we can improve!
