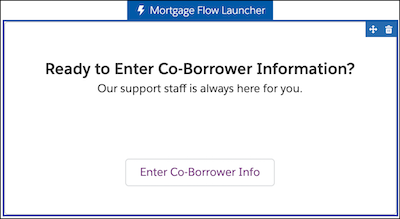
Mortgage Flow Launcher
The Mortgage Flow Launcher is preconfigured as a self-guided help request flow. Optionally configure it to add useful flows to Experience Builder pages.
Required Editions
| Available in: Lightning Experience |
| Available in: Professional, Enterprise, and Unlimited Editions |
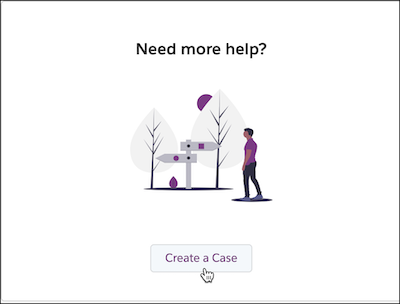
The Mortgage Flow Launcher's prebuilt Create a Case flow takes the customer through a self-guided help request journey.
- After launching the flow, the customer selects the financial account or loan application
they need help with. The flow passes the record ID of the selected account or application
to the next screen.
 Note If the customer has no registered accounts or loan applications, the flow skips the account selection step. The customer can then create a case that isn’t linked to an account or application record ID.
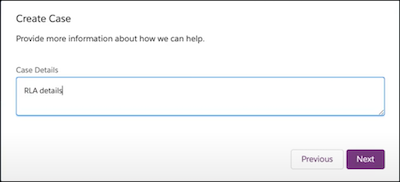
 - The flow prompts the customer to enter details about the help request.
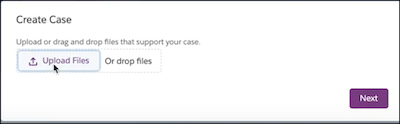
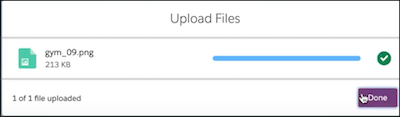
- The customer optionally uploads supporting documentation.
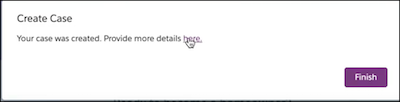
- The flow affirms the case is created and presents a link to the case summary page.
There, customers can update case details, and use Chatter to reach a customer relationship
manager or loan officer.
The underlying customer-guiding flow of the Mortgage Flow Launcher is suitable for a variety of journeys. You can quickly configure it to run other customer flows.

From Setup, in the Quick Find box, enter Digital Experiences, and then select All Sites. On the All Sites page, click Builder next to your Client Portal site.
- In the Home>Residential Loan Application dropdown menu, click Residential Loan Application Detail.
- From the Components panel, drag the Mortgage Flow Launcher to an editable space on the Residential Loan Application Detail page.
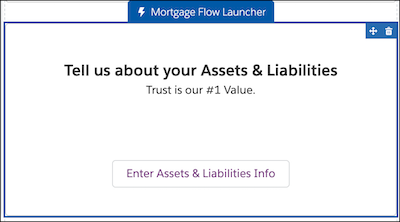
- In the Flow dropdown of the Mortgage Flow Launcher panel, click Assets and
Liabilities. Note To see or modify the Assets and Liabilities component flow, click Edit in Flow Builder.
- In the Title field, enter the title for the repurposed tile.
- In the Subtitle field, enter a subtitle.
- In the Button Label field, enter a button label that customers click to launch the flow.
- To brand the tile, edit component properties and upload branded assets.
From Setup, in the Quick Find box, enter Digitial Experiences, and then select All Sites. On the All Sites page, click Builder next to your Client Portal site.
- In the Home>Residential Loan Application dropdown menu, click Residential Loan Application Detail.
- From the Components panel, drag the Mortgage Flow Launcher to an editable space on the Residential Loan Application Detail page.
- In the Flow dropdown of the Mortgage Flow Launcher panel, click Borrower
Information. Note To see or modify the Borrower Information component flow, click Edit in Flow Builder.
- In the Title field, enter the title for the repurposed tile.
- In the Subtitle field, enter a subtitle.
- In the Button Label field, enter a button label that customers click to launch the flow.
- To brand the tile, edit component properties and upload branded assets.