You are here:
Upload Group Census Data
After a contract is in place, upload group benefits product enrollment data with census members and dependents.
You can enroll up to 10,000 members and 30 distinct plans.
Keep these guidelines in mind.
- Don't include an extra empty line at the end of the CSV file.
- Remove any trailing spaces before the comma in all column headers to improve upload performance.
- Include the plans to be enrolled for every member and dependent records.
- The Census Upload uses First Name, Last Name, and Email in the CSV file to identify a member during updating the member's personal information, selecting a plan, or to add a new member. It's recommended to provide unique values for these fields to avoid identifying multiple records associated with one member in the census.
- The column header for plan selections in the CSV file must be same as Type field for the product. For example, if you select Medical Premium Plan and the Type field for the product is Medical, the column name must be Medical, and it must be mapped to Contract Group Plan ID.
- The group class that you select for the primary member is automatically selected for the corresponding dependents irrespective of the group class that's provided for dependents.
-
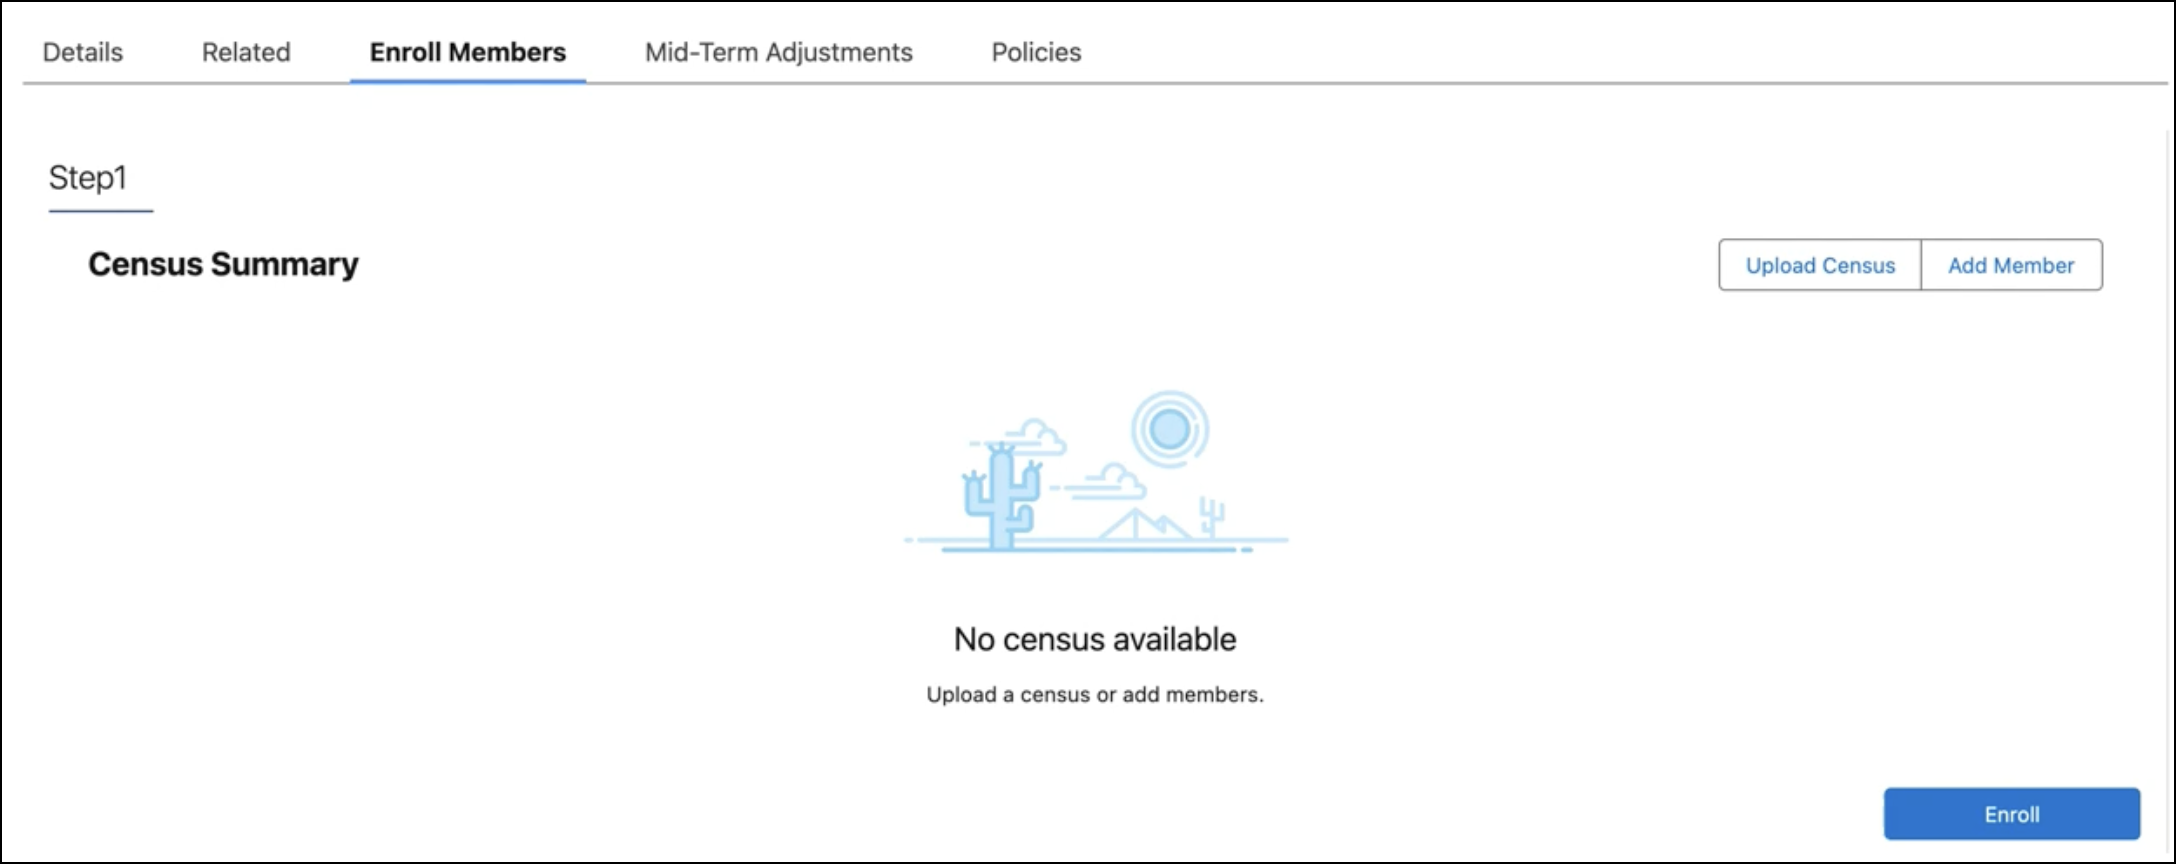
From an Account page, select the tab where you have configured the Enrollment LWC, and then click Upload Census.
In the .csv file, specify different coverages for the same plan using a pipe separator for both primary and dependent members.
 Note Don't specify more than five distinct plans in the .csv file for bulk enrollment.
A system admin configures the enrollment workflow on this page.
-
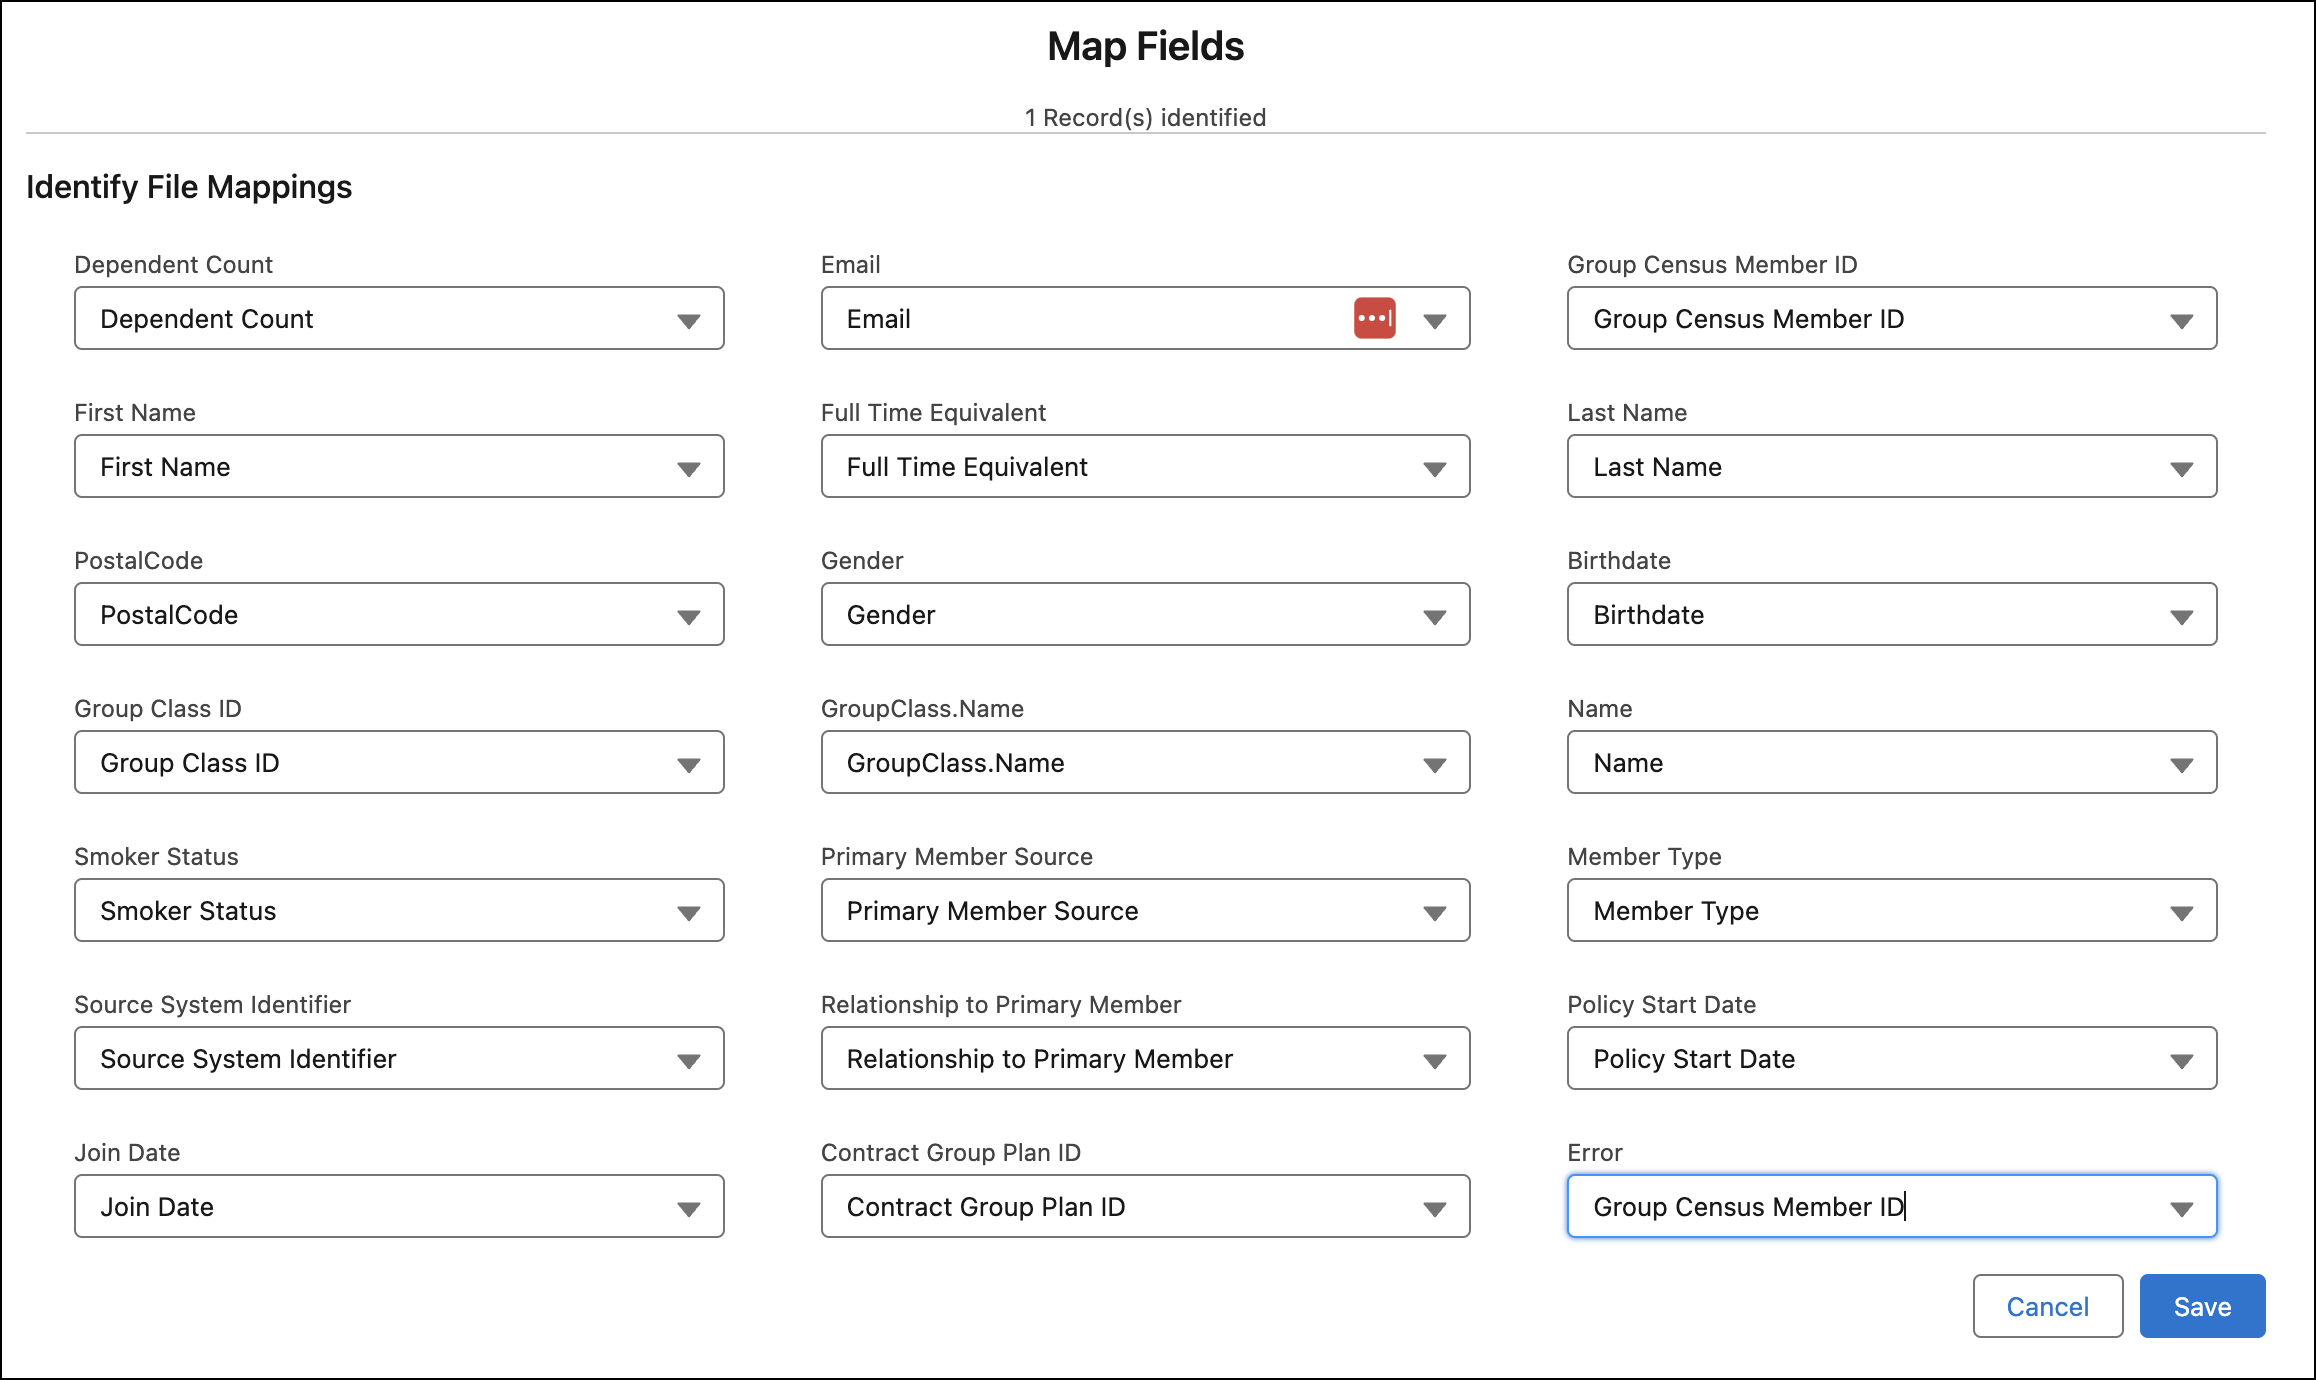
Map fields in the source data to fields in Group Census Member records.
- The number of fields to map is the same as the number of columns in the source file.
- The field labels are the same as the column headings in the source file.
- The field values displayed in the dropdown lists are populated from the Group Census Member object.
After mapping fields and clicking Save, uploaded census members appear in a hierarchical tree view.
-
Click Enroll.
The
InsEnrollmentServiceStd:enrollMembersAsyncservice creates policies for the group census members and calculates the employer contribution based on the group class specified for the primary members. To learn about the other tasks the service performs, see InsEnrollmentServiceStd:enrollMembersAsync. To learn about how the employer contribution is calculated for the created policies, see Configure Data to Populate Employer Contribution in Policy Records.A message confirms that the enrollment request has been initiated and provides a request ID.
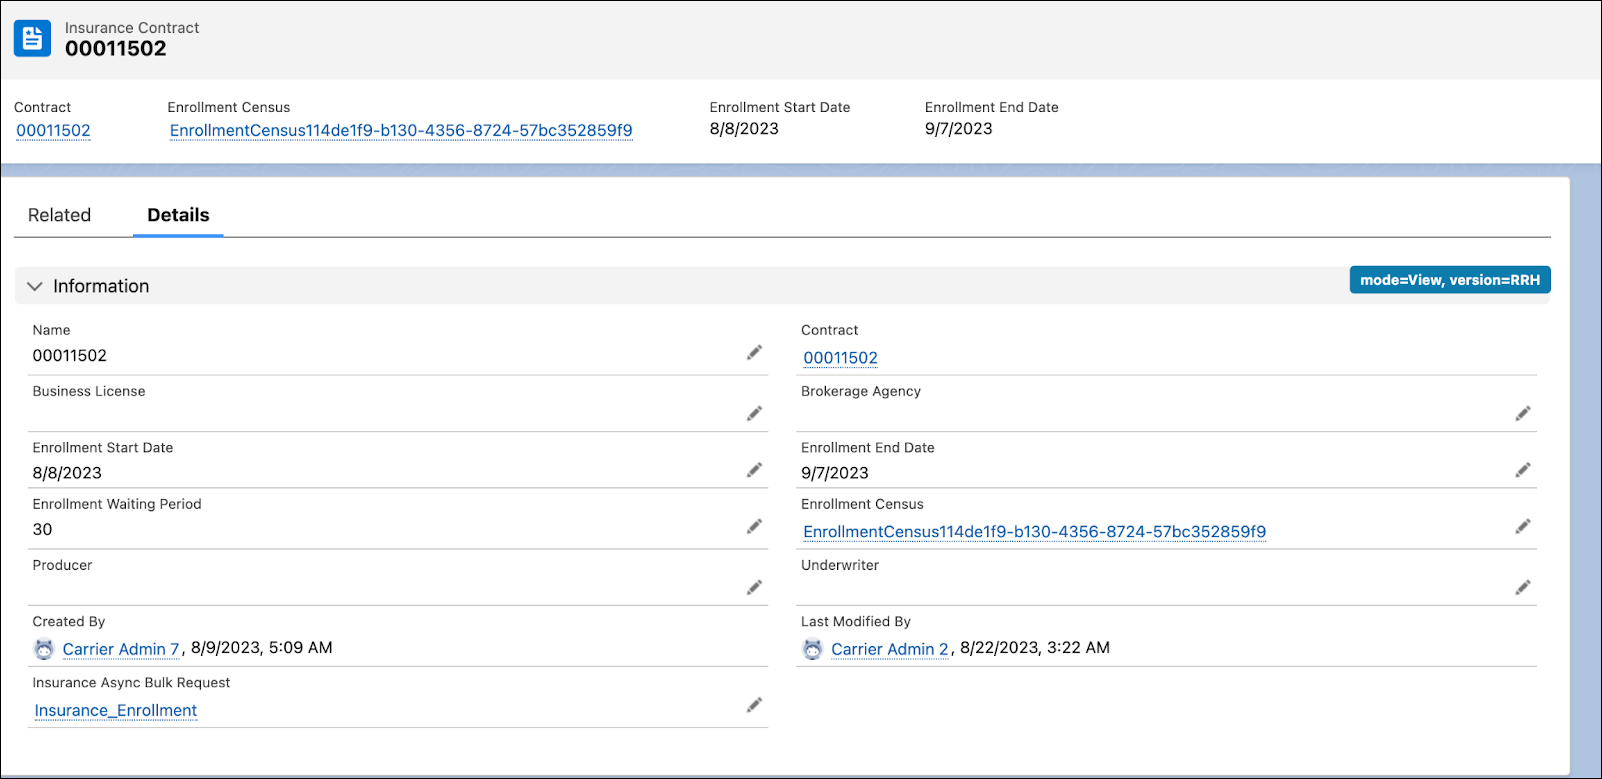
On the Insurance contract, the custom Insurance Async Bulk Request field shows the request ID link, and the Enrollment Census field shows the census ID of the census object with the uploaded members.