
You are here:
Usecase: Modify an Order Report and Generate PDF Preview
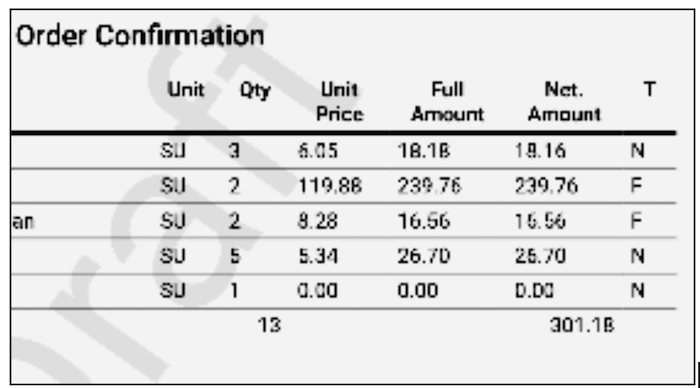
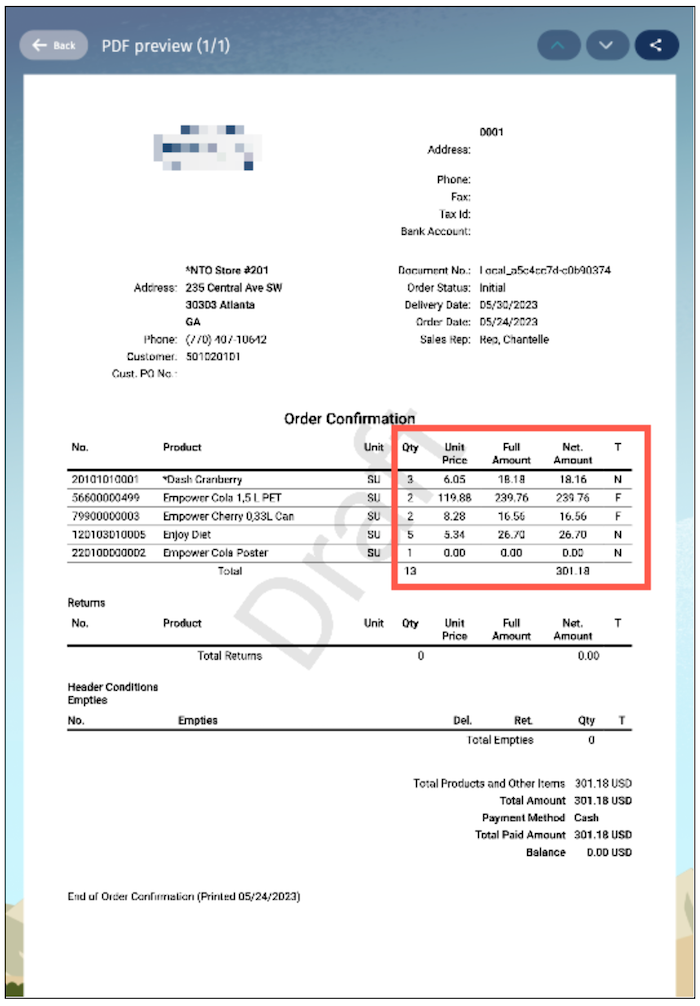
Modify the alignment settings in the order report to center align the cell data under the Qty, Unit Price, amount, and Total columns, and verify the changes in the PDF preview.
Required Editions
| Available in Lightning Experience in Enterprise and Unlimited Editions that have Consumer Goods Cloud enabled. |
| User Permissions Needed | |
|---|---|
| To create a generate preview | Customizer, Admin |
-
At the command prompt or on a Terminal window, change the directory to the folder in
your workspace which contains the printlayoutv2 contract for the report that you want to
modify.
For example:
src/Order/PL/DirectCreditOrderPDF. -
Open the DirectCreditOrderPDF.printlayoutv2.xml file in Visual Studio Code and set the
cell data alignment to center, as shown in this code sample:
<tbody> <each name="itemsEach" value="{{Declarations::order.loPrintItems}}"> <filters> <filter fieldName="quantity" value="0" operator="GT" compareMode="NUMBER" /> <filter fieldName="movementDirection" value="In" operator="NE" /> </filters> <orderCriteria> <orderCriterion fieldName="prdId" direction="ASC" compareMode="NUMBER" /> </orderCriteria> <tr> <td>{{.prdId}}</td> <td>{{.text1}}</td> <td alignment="center">{{.quantityLogisticUnit; toggleId=DomPrdLogisticUnit; toggleField=shortText}}</td> <td alignment="center">{{.quantity}}</td> <td alignment="center">{{.basePriceReceipt; numberFormat=8.2}}</td> <td alignment="center">{{.grossValueReceipt; numberFormat=8.2}}</td> <td alignment="center">{{.valueReceipt; numberFormat=8.2}}</td> <td alignment="center">{{.taxClassification; toggleId=DomTaxClassification; toggleField=shortText}}</td> </tr> <correlation name="correlation1" value="{{Declarations::order.loSdoConditions}}" key="pKey" correlationKey="sdoItemPKey"> <filters> <filter fieldName="sdoItemPKey" value=" " operator="NE" /> <filter fieldName="cpIsPrintRelevant" value="1" operator="EQ" /> </filters> <tr> <td /> <td italics="true" colSpan="7">{{path=.text1}} {{.conditionValue; numberFormat=8.2}} {{.conditionResult; numberFormat=8.2}}</td> </tr> </correlation> </each> <tr> <td colSpan="3" alignment="center">{{Labels::TotalId; defaultLabel=Total}}</td> <td alignment="center"> <sum table="OrderItemsTable" col="3" /> </td> <td colSpan="2" /> <td alignment="center"> <sum table="OrderItemsTable" col="6" numberFormat="8.2" /> </td> <td /> </tr> </tbody> -
Start the server. Run:
sf modeler workspace server
            start
. - Open the URL http://localhost:3000/framework/index.html?desktop in a Google Chrome browser to view the simulator app.
- In the simulated app, go to Order | Order Overview, and open an order.
-
To open the menu, click
 , and then click
  .
.
-
Click Preview.
The PDF preview of the Order Confirmation report appears.
Did this article solve your issue?
Let us know so we can improve!
