
You are here:
Configure Salesforce Billing to Coexist with Revenue Cloud
Transition to Revenue Cloud while maintaining the integrity of your existing Salesforce Billing workflows. Create a custom field and specific rules in Salesforce Billing to properly process Revenue Cloud orders. Then, create orders in Revenue Cloud by bypassing standard Salesforce Billing processes.
Required Editions
| Available in: All Salesforce Billing Editions |
| User Permissions Needed | |
|---|---|
| To configure coexistence with Revenue Cloud in Salesforce Billing: | System Admin profile |
To configure Revenue Cloud and Salesforce Billing to operate in coexistence, upgrade Salesforce Billing to Summer ’25 and then complete these steps.
Create a Custom Field on Orders
Create a custom picklist field on the Order object.
- From the object management settings for orders, go to Fields & Relationships.
- Click New, select Picklist as the data type, and click Next.
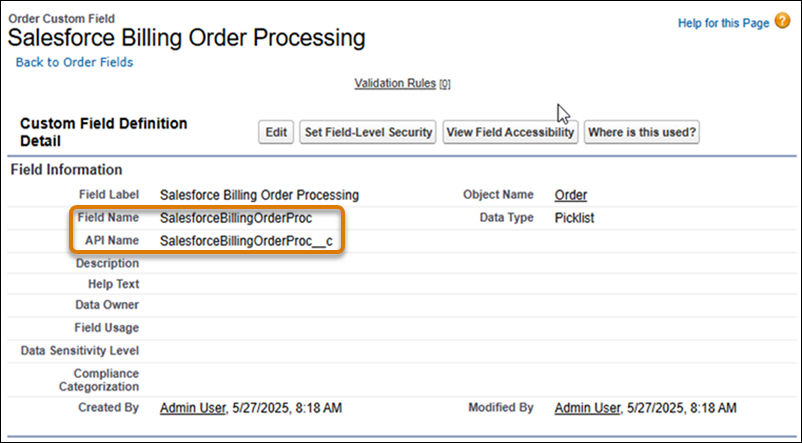
- Enter Salesforce Billing Order Processing as the field label.
- Select Enter values, with each value separated by a new line and enter Skip as the picklist value.
- Enter SalesforceBillingOrderProc as the field name and click Next.
- Define the necessary field-level security for the appropriate user profiles and click Next.
- Add the field to the appropriate page layouts.
-
Save your changes.
Create a Billing Rule
- Create a billing rule.
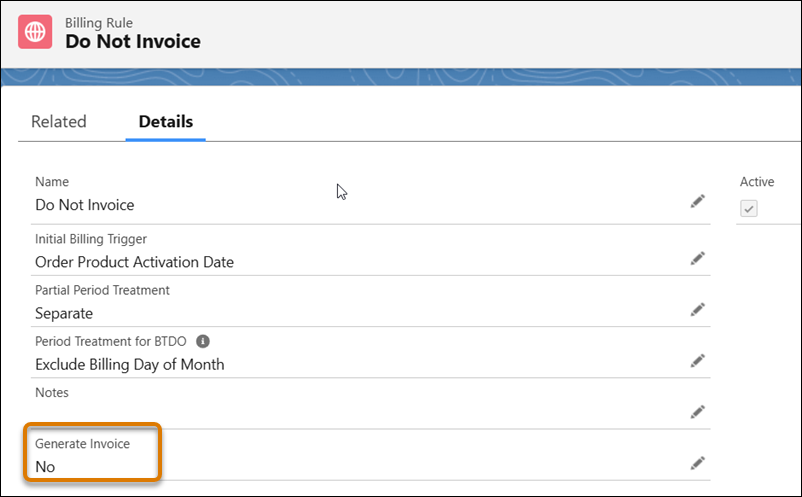
- Enter the name as Do Not Invoice.
-
Select No as the Generate Invoice value.
Create a Tax Rule
- Create a tax rule.
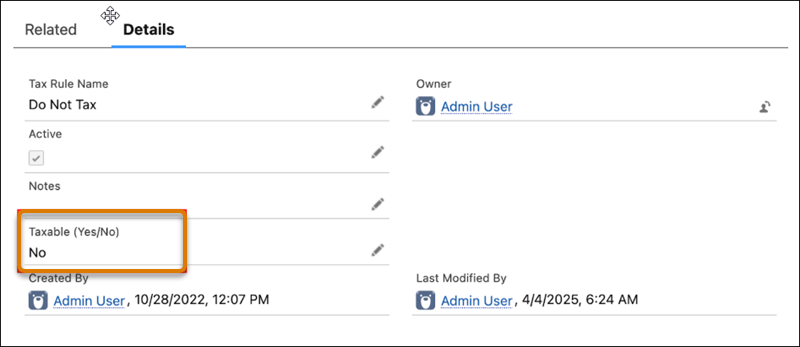
- Enter the name as Do Not Tax.
-
Select No as the Taxable (Yes/No) value.
Create Revenue Recognition Rule
- Create a revenue recognition rule.
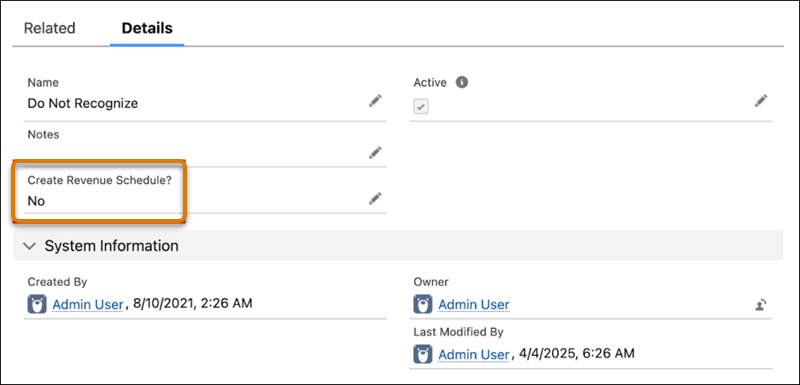
- Enter the name as Do Not Recognize.
-
Select No as the Create Revenue Schedule? value.
Create Orders in Revenue Cloud
Create Order records in Revenue Cloud by using Place Order API.
- Create a Revenue Cloud order by using Place Order API.
-
In your API request, specify these values.
Order.SalesforceBillingOrderProcessing__c Skip OrderItem.blng__BillingRule__c do_not_invoice_billing_rule_record_id OrderItem.blng__TaxRule__c do_not_tax_rule_record_id OrderItem.blng__RevenueRecognitionRule__c do_not_recognize_revenue_recognition_rule_record_id The API payload will structure these details within the graph and record arrays for the Order, App Usage Assignment, Order Action, and Order Item objects.

POST /commerce/sales-orders/actions/place

{
  "pricingPref": "Skip",
  "configurationInput": "Skip",
  "graph": {
    "graphId": "1",
    "records": [ {
      "referenceId": "refOrder",
      "record": {
        "attributes": {
          "type": "Order",
          "method": "POST"
        },
        "Status": "Draft",
        "AccountId": "001xx000003GgZH",
        "EffectiveDate": "2025-02-01",
        "Pricebook2Id": "01sxx0000005tFu",
        "SalesforceBillingOrderProc__c": "Skip"
      }
    }, {
      "referenceId": "refAppTag",
      "record": {
        "attributes": {
          "type": "AppUsageAssignment",
          "method": "POST"
        },
        "AppUsageType": "RevenueLifecycleManagement",
        "RecordId": "@{refOrder.id}"
      }
    }, {
      "referenceId": "refOrderAction",
      "record": {
        "attributes": {
          "type": "OrderAction",
          "method": "POST"
        },
        "OrderId": "@{refOrder.id}",
        "Type": "Add"
      }
    }, {
      "referenceId": "refOrderItem",
      "record": {
        "attributes": {
          "type": "OrderItem",
          "method": "POST"
        },
        "OrderId": "@{refOrder.id}",
        "OrderActionId": "@{refOrderAction.id}",
        "PricebookEntryId": "01uxx0000008zeM",
        "ServiceDate": "2025-02-01",
        "EndDate": "2026-01-31",
        "PricingTermCount" : 12.0,
        "Quantity": 2.0,
        "UnitPrice": 100.0,
        "NetUnitPrice": 100.0,
        "TotalLineAmount": 2400.0,
        "PeriodBoundary": "AlignToCalendar",
        "BillingFrequency2": "Monthly",
        "blng__BillingRule__c": "a1Txx00000052Fm",
        "blng__TaxRule__c": "a2Lxx0000004D1s",
        "blng__RevenueRecognitionRule__c": "a2Dxx000000ybRl"
      }
    } ]
  }
}
Alternatively, you can automate this process by creating a Record Type picklist default for orders in Revenue Cloud and setting the SalesforceBillingOrderProc__c field's default value to Skip for this record type.
