
You are here:
Create an Object Calendar in Lightning Experience
Here’s how to create a calendar based on a standard or custom object in Salesforce.
Required Editions
| Available in Lightning Experience in: Enterprise, Performance, Unlimited, and Developer Editions |
-
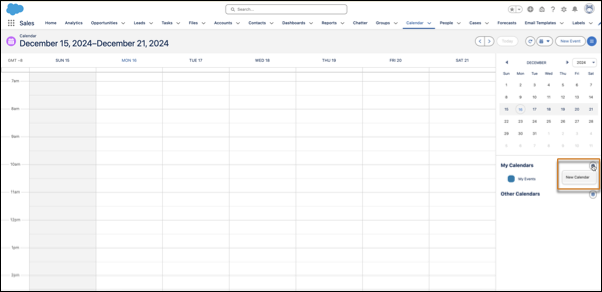
Start creating a calendar.
-
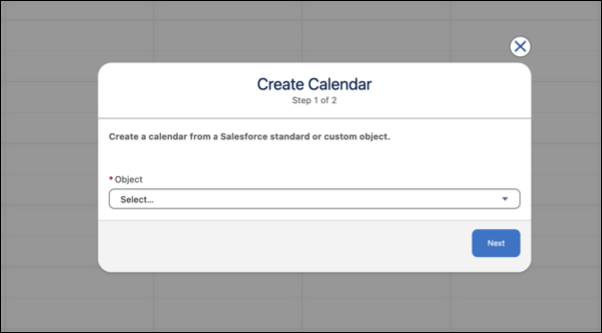
Choose an object to base the calendar on.
-
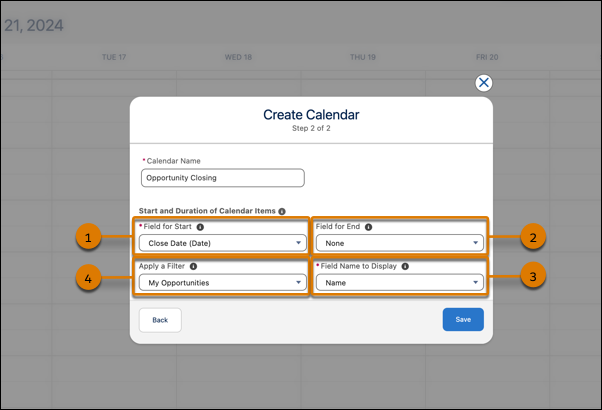
Select fields (1, 2, 3) that determine what the calendar displays. Filter the calendar items by selecting a list view (4).
-
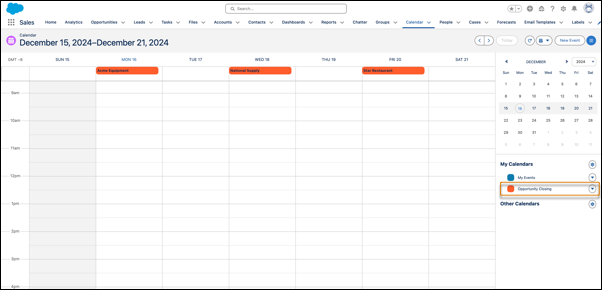
The calendar shows items differently depending on the date fields you select.
(Date) Fields The names of some date fields include (Date). If you select a (Date) field, the calendar shows items across the top as all-day items. (Date/Time) Fields The names of other date fields include (Date/Time). If you select a (Date/Time) field in Field for Start, the calendar shows items in time slots. If you also select a field in Field for End (it’s optional) and the items’ duration exceeds 24 hours, the calendar shows the items across the top as all-day items. Selecting Start and End Fields Field for End is optional. If you use it, you must select the same type of field as you do in Field for Start. For example, if you select a (Date) field in one, you can’t select a (Date/Time) field in the other. If you select fields that generate dates in the wrong order (end before start), Salesforce shows an error message when you save the calendar.
Did this article solve your issue?
Let us know so we can improve!
