
You are here:
Assign Users to a Quota Table
After you've created a quota table in Salesforce Spiff, start assigning users to the quota table.
Required Editions
| Available in: both Salesforce Classic (not available in all orgs) and Lightning Experience |
| Available in: Enterprise, Unlimited, and Developer Editions |
| Available for an additional cost in: Professional Edition with Web Services API Enabled |
| User Permissions Needed | |
|---|---|
| To assign users to a quota table: | A Spiff user role with these permissions turned on.
|
Use the Quotas tab for quota assignments. You can also update individual quota assignments in the user profile. If you're using quota automation in conjunction with teams, this step will be completed once users are assigned to the paired team.
- In the Quotas tab, select the Quota table to which you want to add users. The list displays a list of all users, with the users currently assigned to the quota type selected.
- Click Edit, and then click the Add / Remove Members icon.
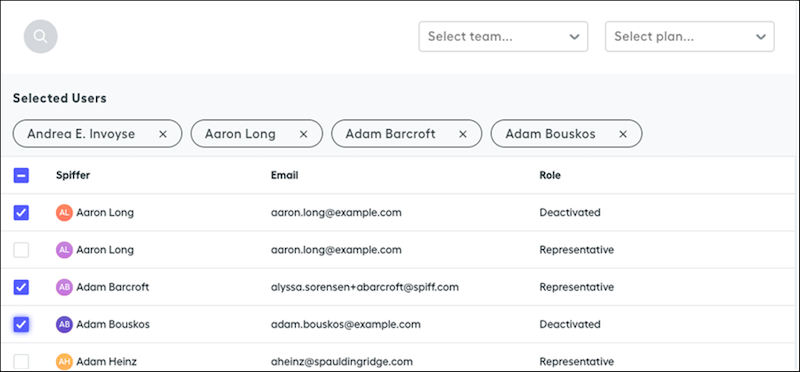
- From the list of users, select the representatives you want to add to this quota type. You can filter the list by defined teams or plans.
You can also deselect users so they’ll no longer be assigned to this quota table. However, we don’t recommend removing users from the quota table, as this completely wipes out any historical values and they can’t be recovered.
- Save your edits.
Add values to the quota table.
Did this article solve your issue?
Let us know so we can improve!
