
You are here:
Send Automated Messages in Enhanced Messaging Channels
Using a flow and a notification messaging component, send customers automated messages to notify them about a product delivery, case update, or something else.
Required Editions
| View supported editions. | |
 This article applies to:
|
Messaging for In-App, enhanced WhatsApp, enhanced SMS, enhanced LINE, and enhanced Apple Messages for Business channels |
 This article doesn’t apply to:
|
Messaging for Web, standard and enhanced Facebook Messenger, standard WhatsApp, standard SMS, and Bring Your Own Channel |
| User Permissions Needed | |
|---|---|
| To open, edit, or create a flow in Flow Builder: | Manage Flow |
| To create, edit, or view processes: | Manage Flow AND View All Data |
| To create messaging components: | Customize Application AND View Setup and Configuration OR System Administrator |
Automated messages appear in a customer’s messaging history. They don’t require a response, but if the customer does respond, their response is routed back to your support team.
- Troubleshoot Errors for Automated Messages in Enhanced Messaging Channels
If something goes wrong when a flow tries to send a message notification in an enhanced Messaging channel, review the Enhanced Messaging Log to find out what happened.
Step 1: (Enhanced WhatsApp Only) Prepare Your Templates in WhatsApp Business Manager
In WhatsApp channels, automated messages must be based on a WhatsApp template. The template determines your component's look and feel in messaging sessions. When an automated message is sent in an enhanced WhatsApp channel, it counts as one outbound message, regardless of whether it’s sent within the 24-hour customer care window.
-
Verify that Salesforce supports the WhatsApp template that you want to create.
Salesforce supports these native WhatsApp templates.
- Auto-pay reminder
- Delivery confirmation
- Delivery update
- Order confirmation
- Order pickup
- Order refund
- Order status update
- Payment notice
- Receipt attached (location in header not supported)
- Transaction alert
- Interactive message templates that have interactive buttons to copy code, redirection buttons with static or dynamic URL, and interactive reply
WhatsApp external templates containing location headers aren't supported.
-
If you’re upgrading from a standard channel or migrating a number from an external
business service provider (BSP), copy your message templates from the original WhatsApp
Business account (WABA) to the new WABA associated with your enhanced channel.
- From Setup, enter Messaging Settings in the Quick Find box and select Messaging Settings.
- In the channel list, click the name of your enhanced WhatsApp channel.
- Under Message Templates, enter the ID of your original WABA that was associated with your standard channel or external BSP. You must associate the original WABA and your new channel WABA with the same Meta Business ID.
-
Click Copy Templates.

- Re-create any message templates that couldn’t be copied from a previous WABA.
Step 2: Create Notification Messaging Components
A notification messaging component determines the content of your automated message. Depending on the channel where it's sent, you can add special formats to further control your component’s appearance.
-
Create a notification messaging component in Setup.
- Go to the Messaging Components page in Setup.
- Click New Component.
- Click Notification, then click Next.
- Enter the plain text version of your automated message, using merge fields to add information like the customer’s name or case status. Upload an image, which is used in some component formats. Then, click Next.
- Enter a name and description for your component. For example, Order Status Change.
- Click Done. The Messaging Component Builder opens.
- Optionally, in the left-hand menu, click Text to further customize the plain text version of your automated message. The Text version is used in any channel where your preferred format isn’t available.
- Save your changes.
-
(Enhanced In-App Chat and Apple Messages for Business only) Optionally, include a
rich link in your automated message.
-
Click Add Format. Select Rich Link,
and then click Done.
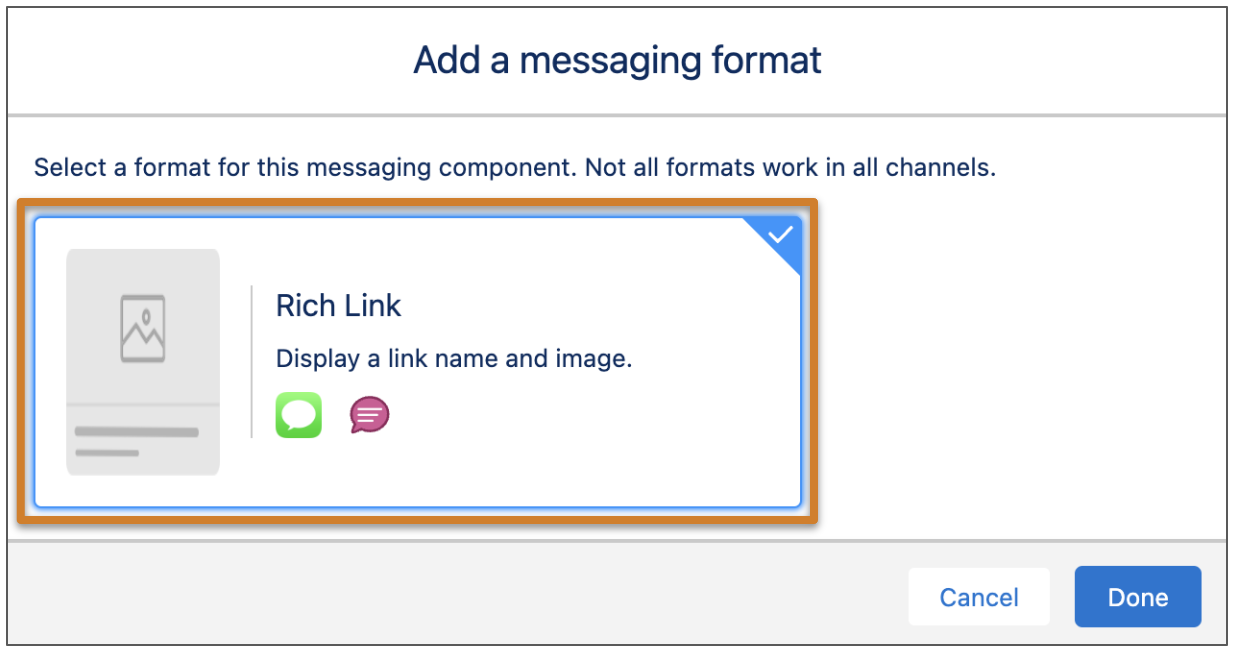
 Note Each messaging component is available in one or more formats, such as Rich Link, and some formats work only in certain channels. For a list of formats that each channel supports, see Messaging Component Types and Formats. It’s a good idea to add at least one supported format for each channel where the component will be sent. If no formats are added, the component uses the default text format.
 - In the left-hand menu, click Constant to replace the example URL and link title with your own.
- In the left-hand menu, click Rich Link to confirm the format properties. For the image, URL, and link title, select Constant and select the only available constant.
- Save your changes.
-
Click Add Format. Select Rich Link,
and then click Done.
-
(Enhanced WhatsApp channels only) Connect your messaging component to an existing
WhatsApp message template.
-
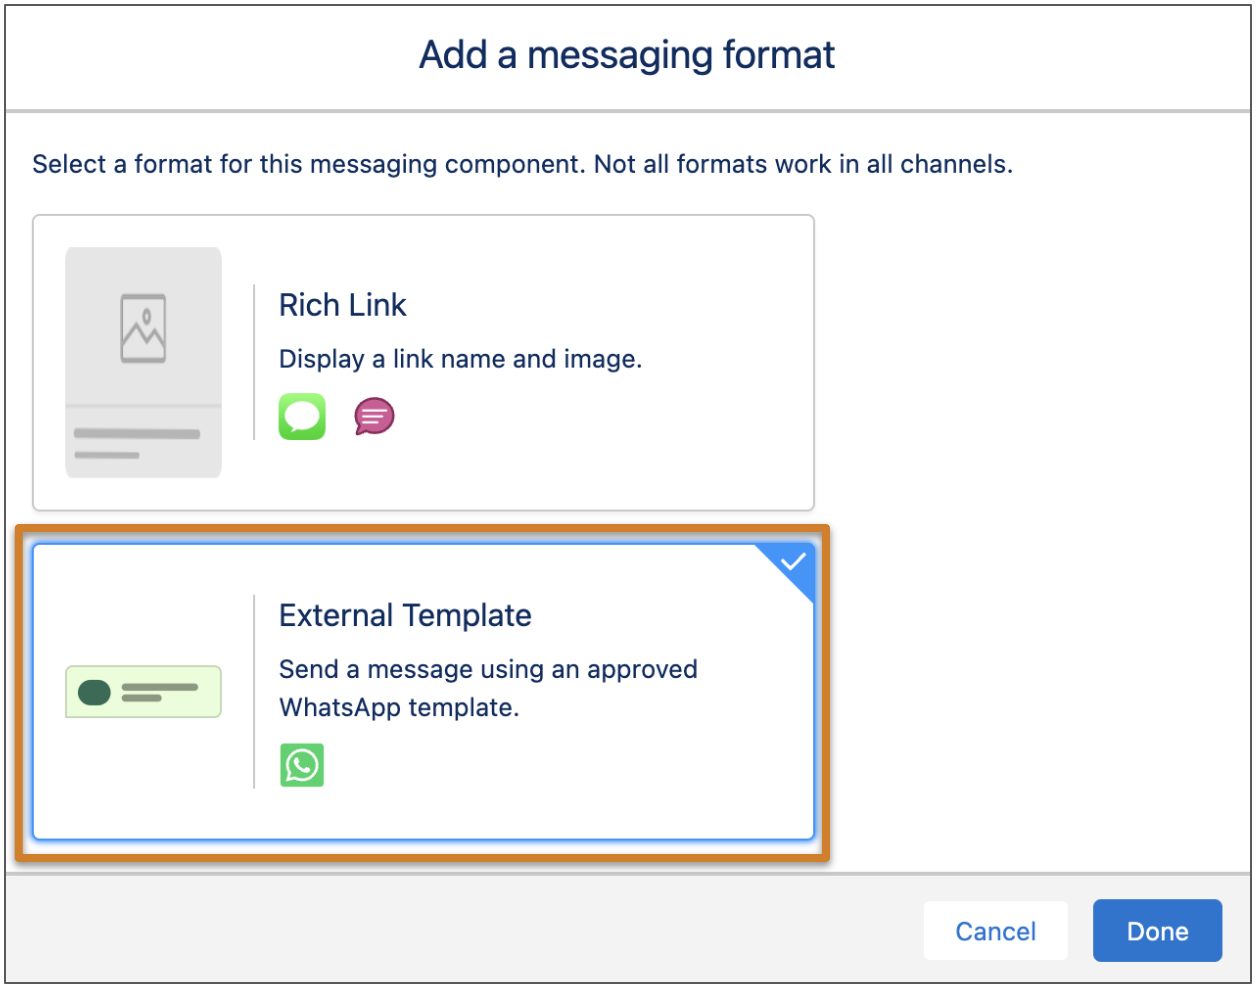
On the Details page of your component in the Messaging Component Builder, click
Add Format. Select External
Template, and then click Done.
- Click Select Template.
- Select your WhatsApp Business account. Then, select your template from a list of your approved templates.
- In the properties pane, update your template’s properties—for example, select a standard object’s field value to show in your message.
- To edit your template in WhatsApp, click Open in WhatsApp Business Manager and make your edits. When you return to the Messaging Component Builder, refresh the page to see your changes.
- Save your changes. When you're ready, activate the component.
-
On the Details page of your component in the Messaging Component Builder, click
Add Format. Select External
Template, and then click Done.
Step 3: Create a Flow to Send Your Messaging Component
Create a flow that sends the notification messaging component under certain conditions.
Your flow only sends messages to customers who have a messaging user record associated with the messaging channel where you want to send it. For example, if your customer Leo doesn’t have a messaging user record that’s associated with your enhanced WhatsApp channel, the flow can’t send Leo an automated message in WhatsApp. Messaging user records are auto-created when customers contact you in the channel, but you can also create them manually.
- From Setup, in the Quick Find box, enter Flows, then select Flows.
- Click New Flow.
- Select the flow type, and click Next. The Flow Builder canvas opens.
- Add a collection variable for the Messaging User object. This collection variable is populated with a list of messaging user record IDs based on your criteria. For example, you can configure your flow to send an automated message to a subset of messaging users based on channel and consent status.
- Add an action to the canvas. The New Action window opens.
-
Select the Send Conversation Messages action and complete the fields.
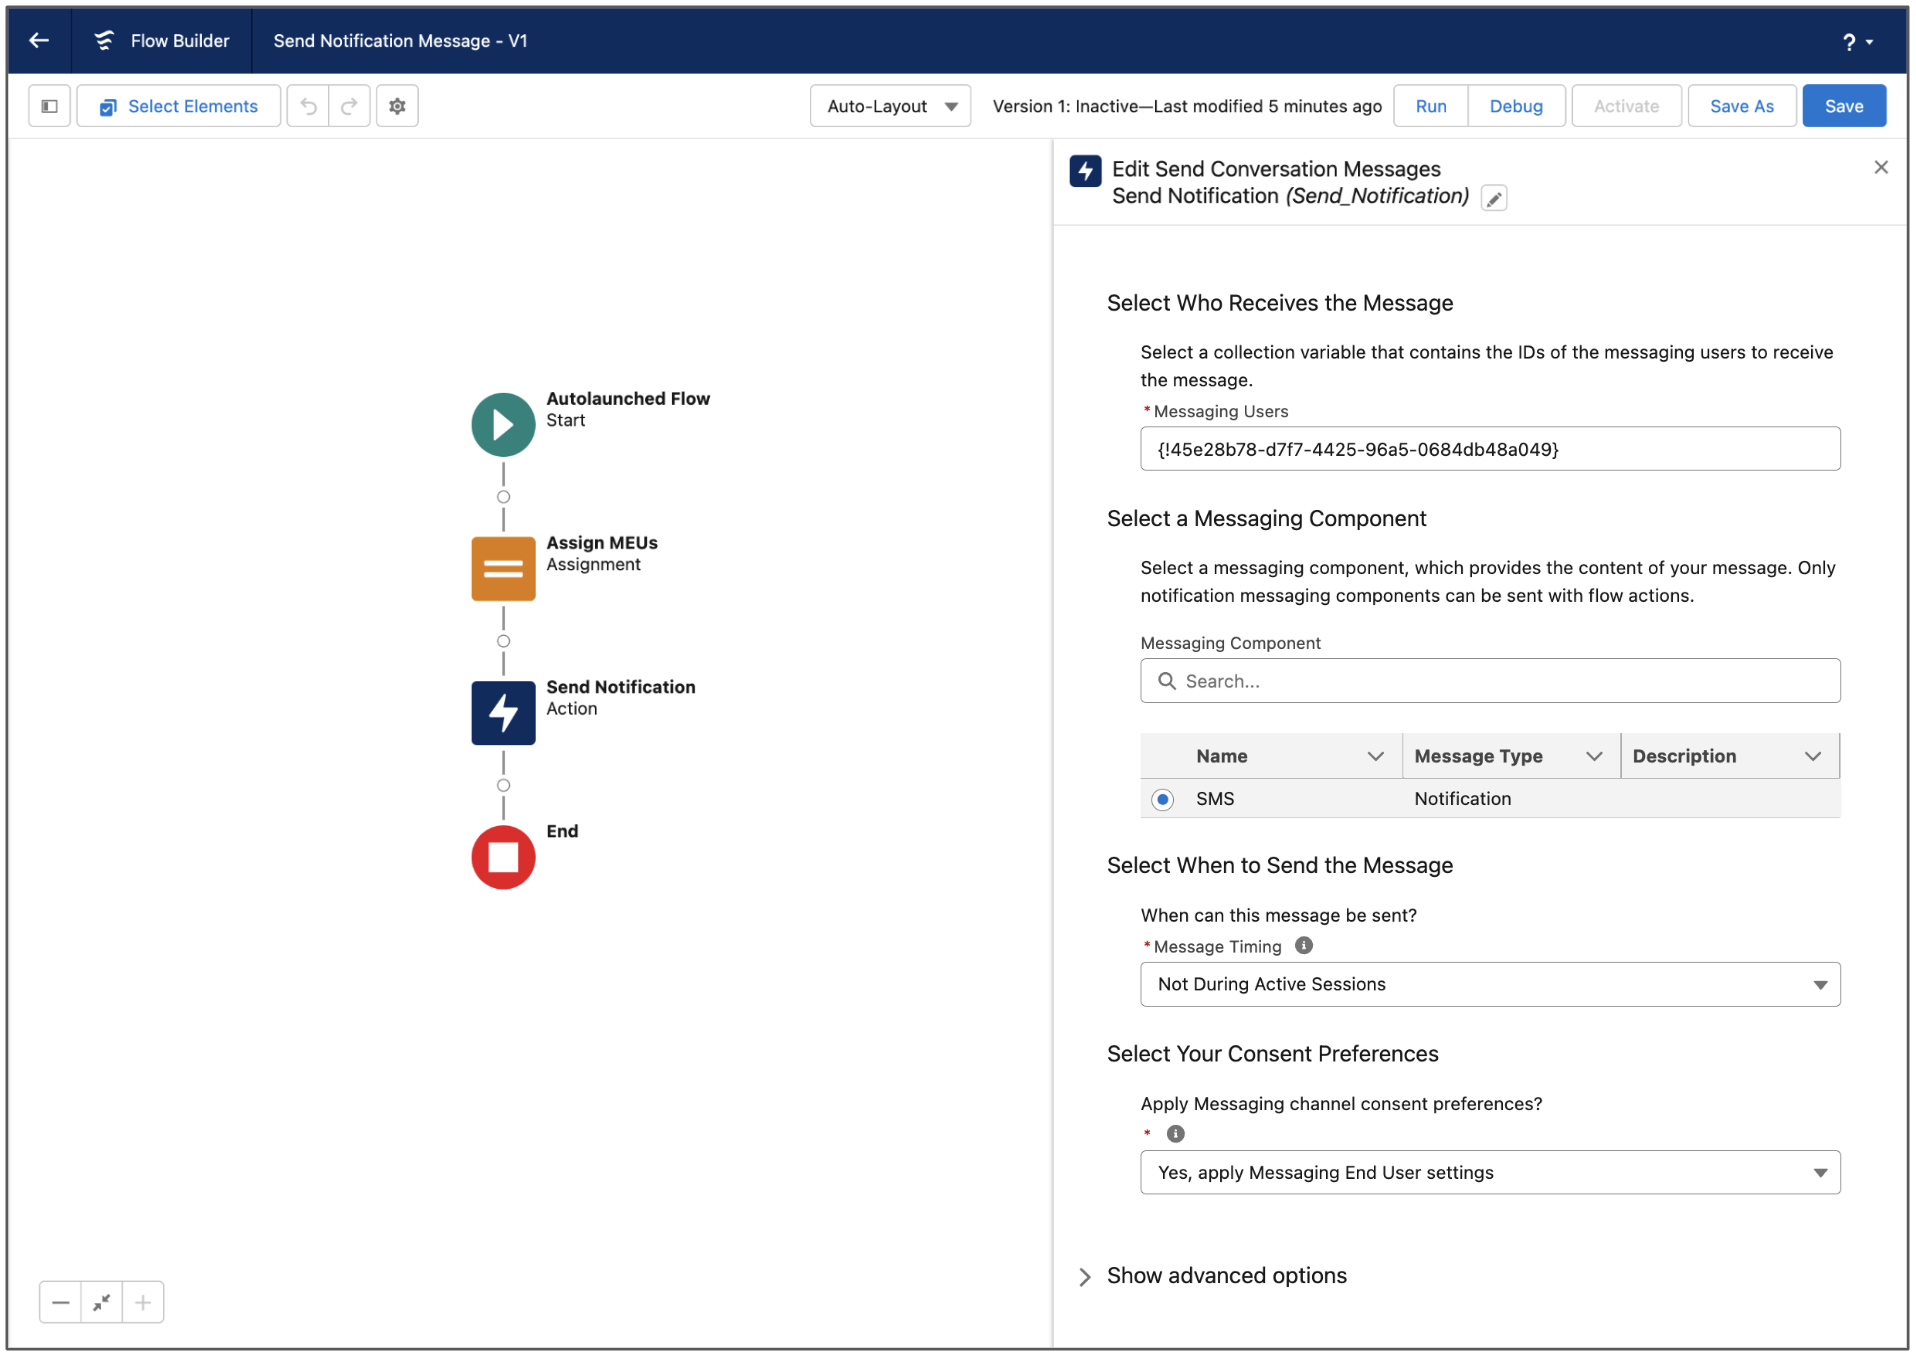
- In the Messaging Users field, select the collection variable that you created.
- In the Messaging Component field, select your new messaging component. Make sure that the component status is Active on the Messaging Components page in Setup.
- Select when to send the message.
- Select whether to apply the messaging end user's consent preferences for a channel when determining who receives the message (recommended).
-
In the Session Longevity field, select one of these options to determine what to
do after the message is sent.
Select Yes, End Session Immediately if the end user doesn’t need to respond in this messaging session.
Select No, Keep Session Open to give the end user a chance to respond in this messaging session. If a previous session is still open, this session closes immediately. You can’t have two messaging sessions open at the same time.
Select No, Keep Session Open or Append to Existing Session to append the outbound triggered message to an existing, open messaging session with a New status. If there's no existing session with these characteristics, keep this session open. Examples of open sessions with a New status include rep-initiated or triggered outreach messages where the customer hasn’t replied yet.
You can use values from earlier in a flow to set inputs for the message. If the action fields don’t contain valid inputs, the flow fails.
To track messages sent by this flow action, review the Enhanced Messaging Log.