
You are here:
Add Static Images to Messaging Components
If you want a messaging component to always show the same image or images, define the images in the Messaging Component Builder using constants. Standard constants are auto-created, while you create custom constants manually.
Required Editions
| View supported editions. | |
 This article applies to:
|
Enhanced In-App Chat, Enhanced Web Chat v1, Enhanced Web Chat v2, Enhanced WhatsApp, Enhanced Facebook Messenger, Enhanced Apple Messages for Business, Enhanced LINE, and Bring Your Own Channel |
 This article doesn’t apply to:
|
Standard Facebook Messenger, and Standard and Enhanced SMS channels |
| User Permissions Needed | |
|---|---|
| To create messaging components: | Customize Application AND View Setup and Configuration OR System Administrator |
| To send and receive messages in Messaging: | Messaging Agent |
First, let’s review the differences between standard and custom image constants. While this article focuses on image constants, the same principles apply for text and URL constants. All constants are found on the same tab in the Messaging Component Builder.
| Type | How It’s Created | Examples | Editable? | Deletable? |
|---|---|---|---|---|
| Standard image constants | When you upload an image during the New Component setup flow, a standard constant is created for it. |
|
Yes, from the Constants tab in the Messaging Component Builder. | No, but you can replace an original uploaded image by editing its standard constant. You can also choose not to use the constant. |
| Custom image constants | Add custom constants after finishing the New Component setup flow. Use the ImageAsset type. |
|
Yes, from the Constants tab in the Messaging Component Builder. | Yes, from the Constants tab in the Messaging Component Builder. |
Now, review the process for adding static images to a messaging component.
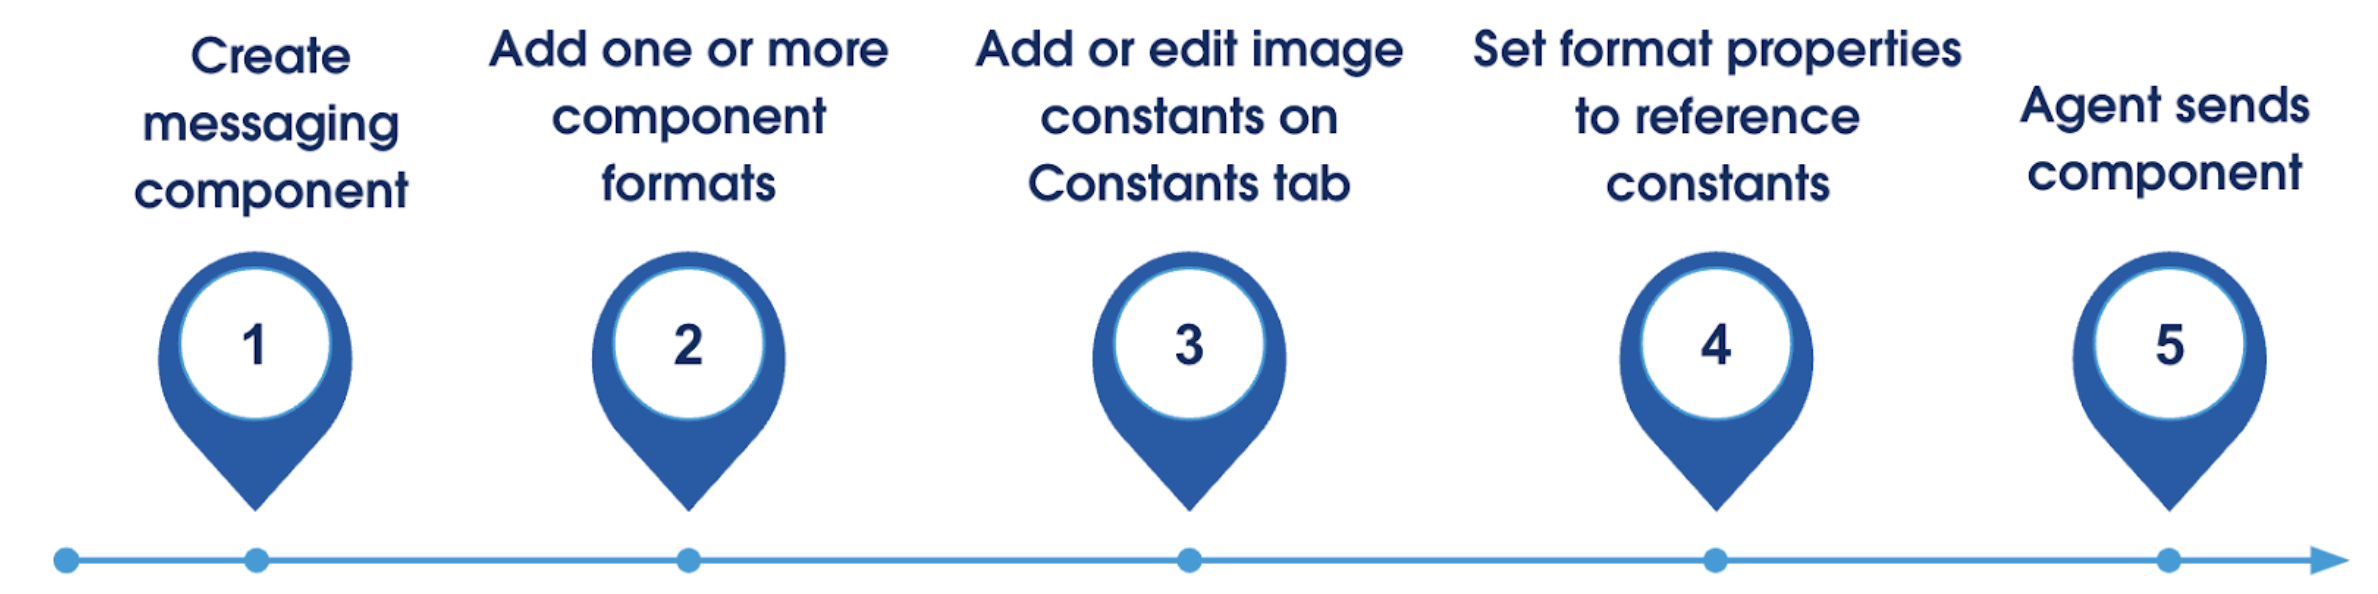
-
Create the messaging component in Setup.
- From Setup, enter Messaging Components in the Quick Find box, and then select Messaging Components.
- Click New Component.
- Complete the flow to create your component. When the component is created, the Messaging Component Builder opens.
-
Add one or more supported
formats to the component.
- From the Details tab in the Messaging Component Builder, click Add Format and select a format.
- For each format that you add, click its name in the navigation menu and check the properties pane to determine how many images it can include. For example, look for properties named Initial Image or Confirmation Image.
-
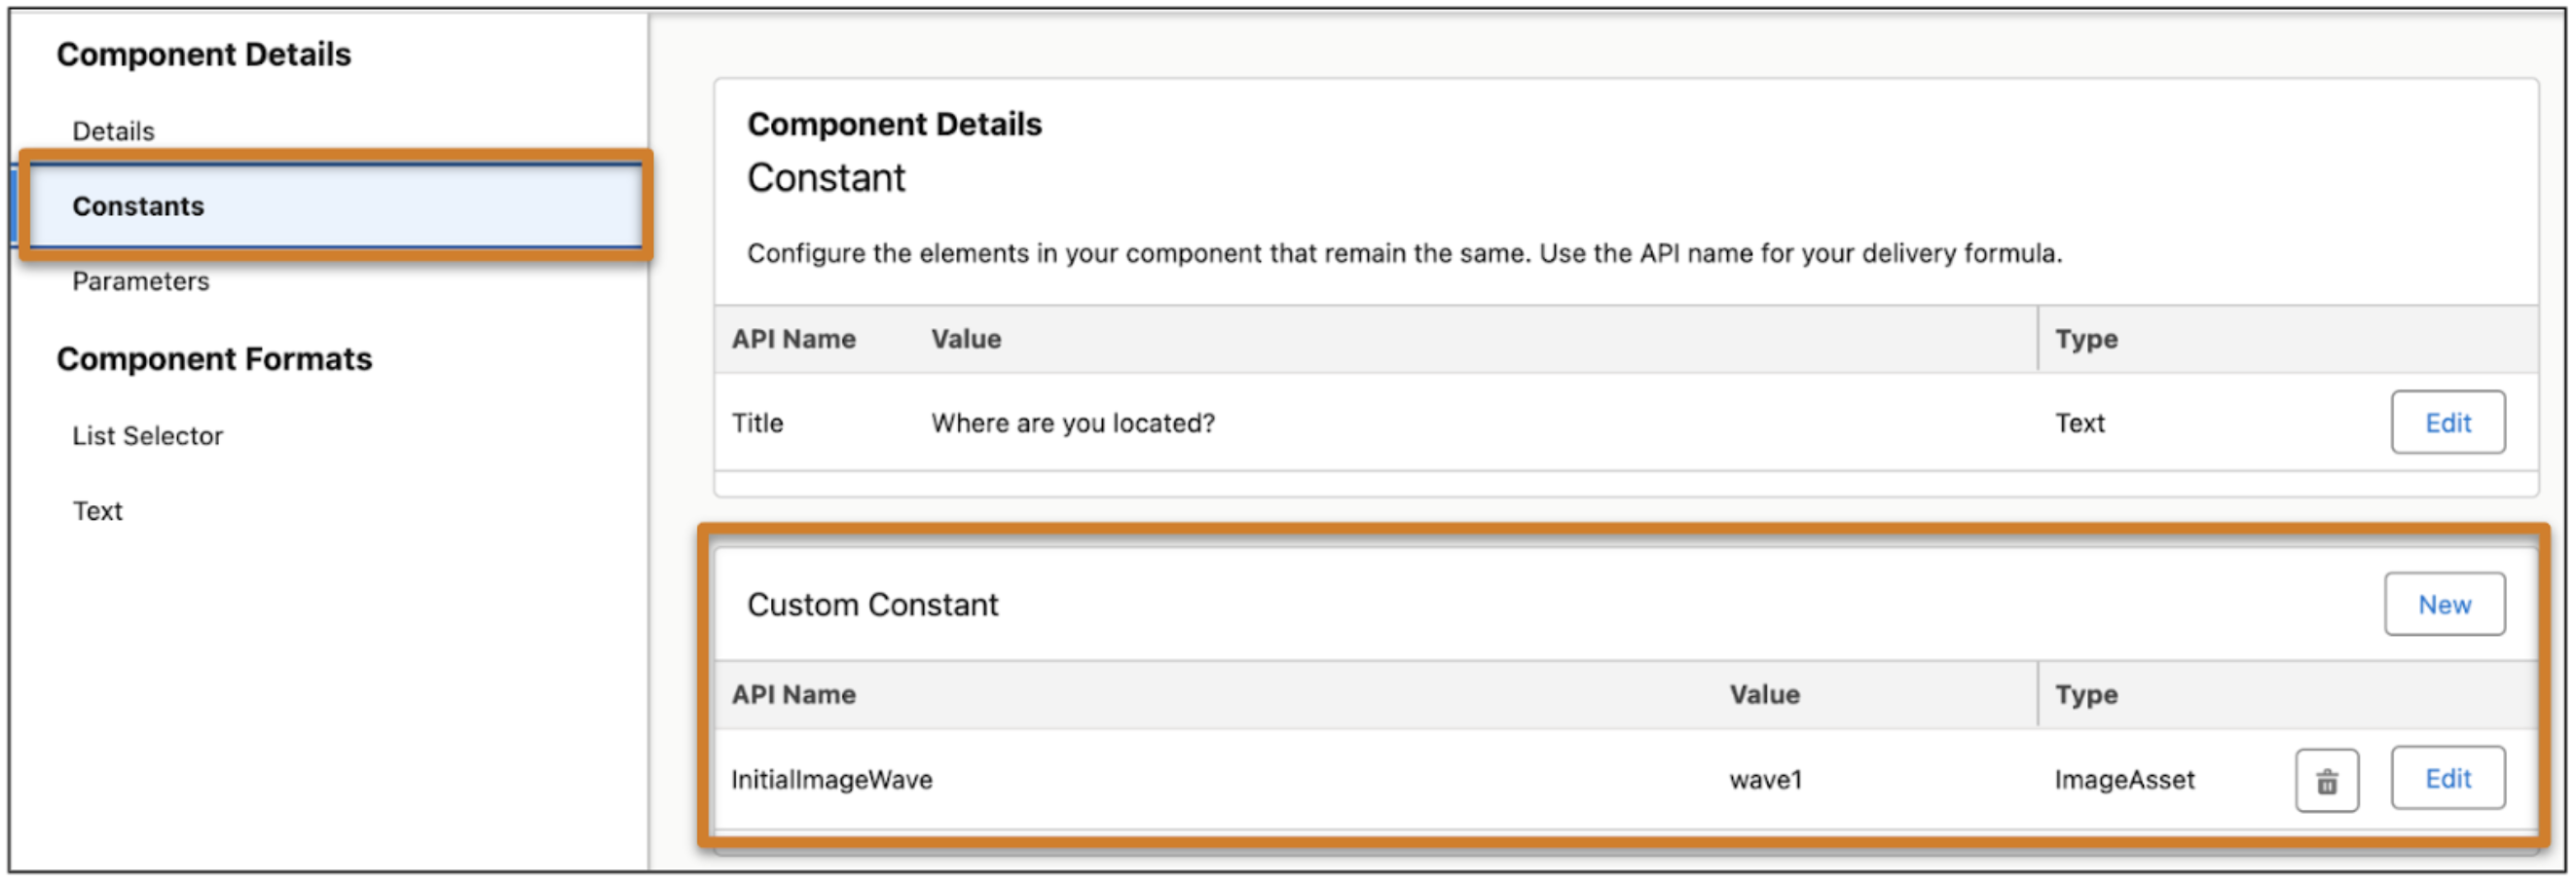
Manage your constants on the Constants tab.
- If you uploaded an image while creating the component, it’s shown as a standard constant in the Constant section. To change a constant’s name or update its image file, click Edit.
-
To include other images, add them in the Custom Constant section. Use the ImageAsset
type.
-
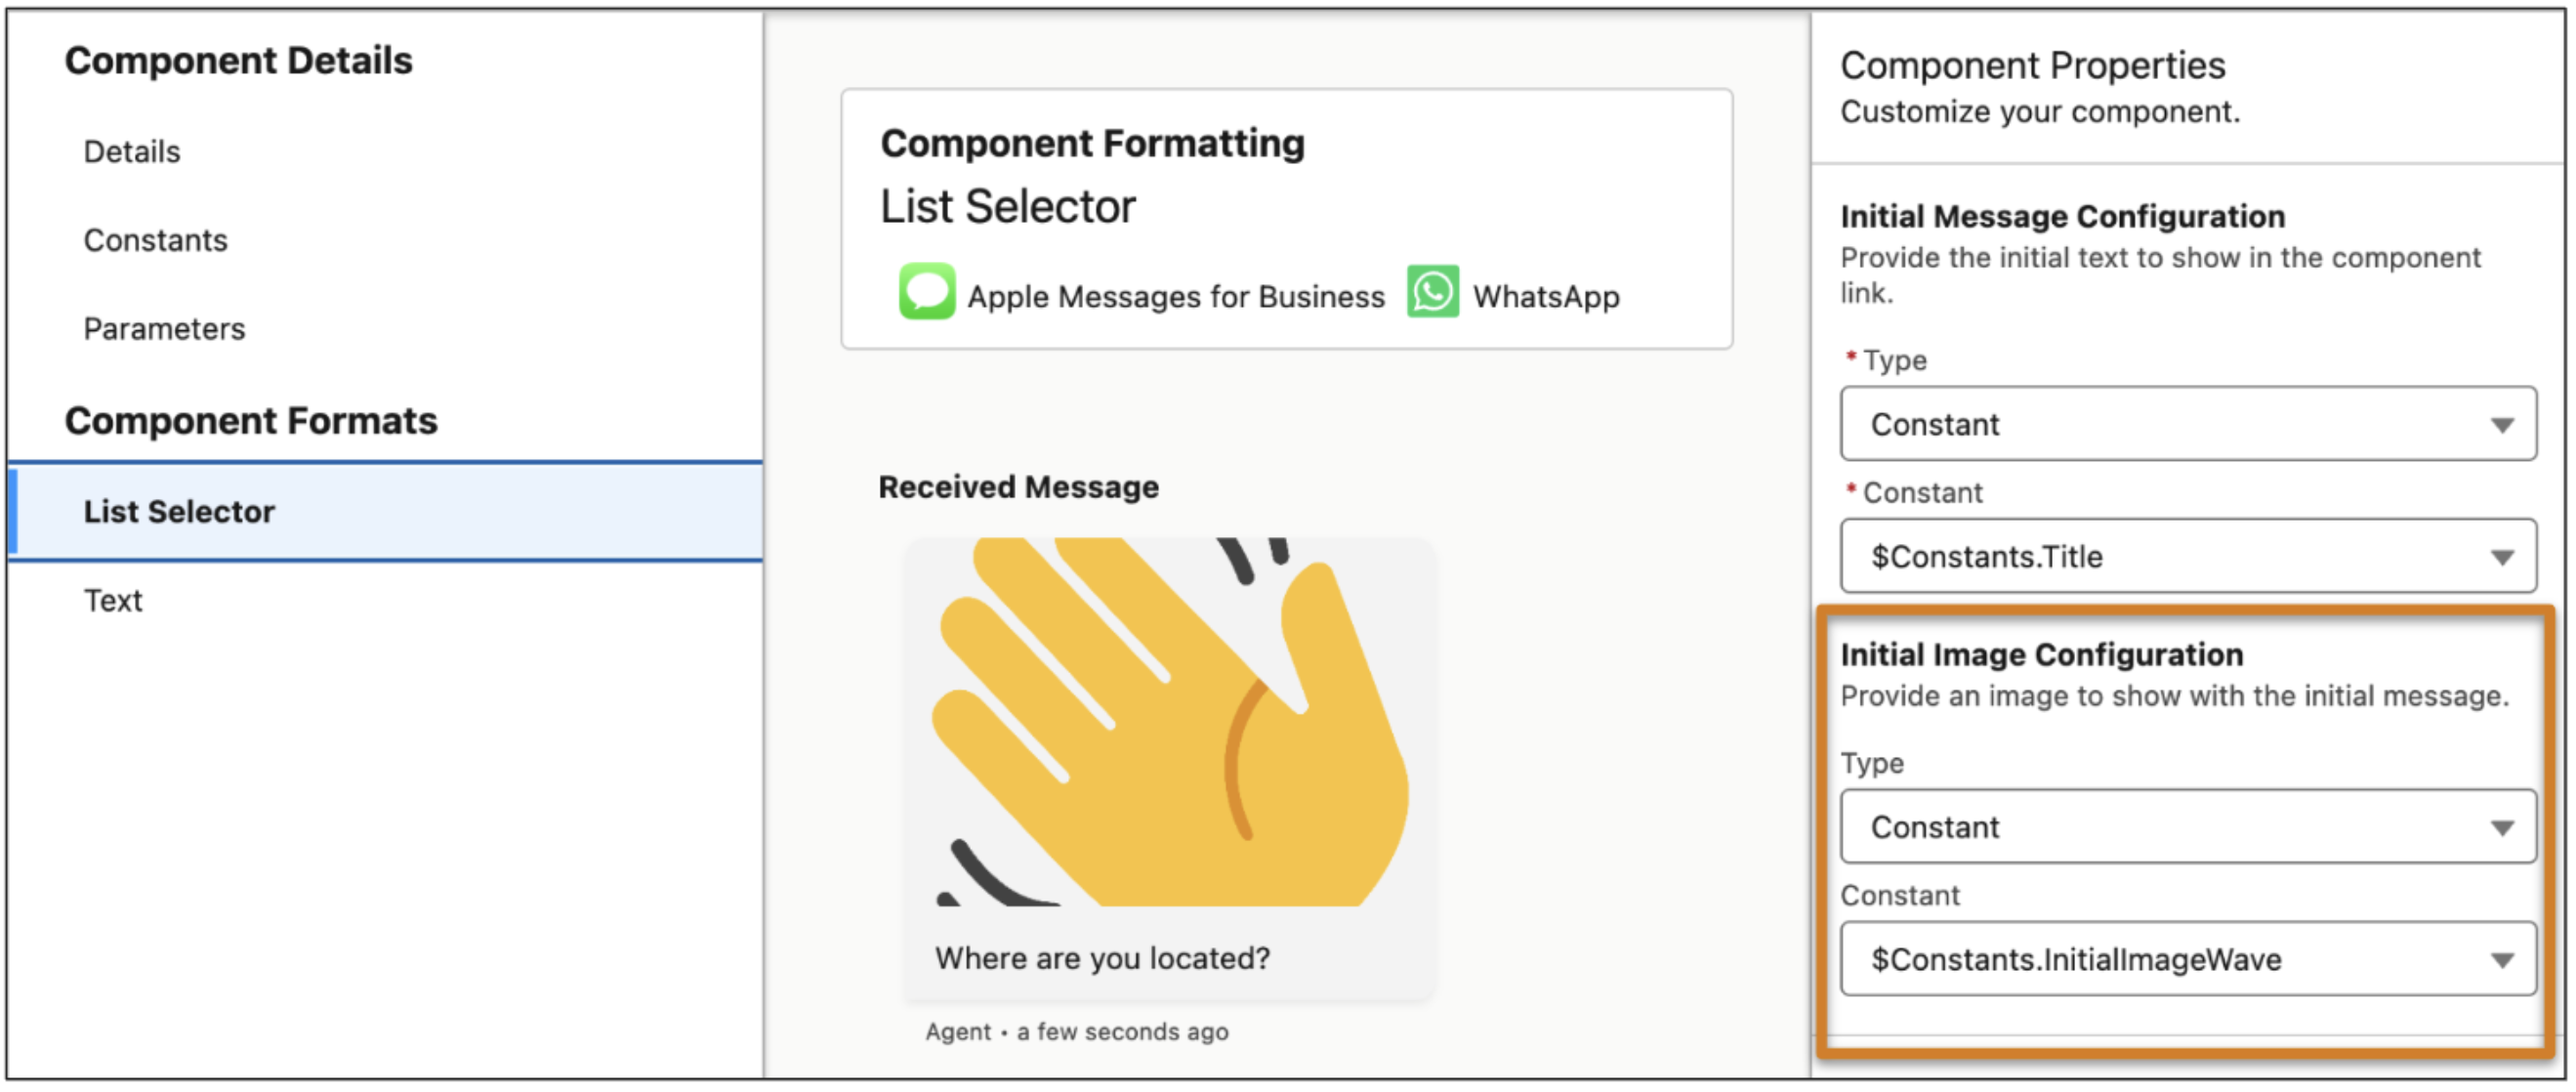
Update each format’s image properties to use image constants.
- Click a format name in the navigation menu, such as List Selector.
-
For each image property, select the Constant type and select an
image constant. If you don’t want to include an image, leave the type as None.
- To send the component during a messaging session, service reps can select it from a list in the messaging component action and click Send. If you configured an image property to use an image constant, the customer sees the image in the messaging component.
Note In some list formats such as List Selector and Card Carousel, you can show an image
with each list option. To add images to your list options, edit each item in the Options section
of the Constants tab when viewing your messaging component. Then, reference that constant in the
format’s image property for its list options.
Did this article solve your issue?
Let us know so we can improve!