
You are here:
Set Up Business-Initiated Messaging for Enhanced Channels
To let service reps start messaging sessions with customers, assign user permissions, add the Send a Message action, and set your channel keywords and responses.
Required Editions
| View supported editions. | |
 This article applies to:
|
Enhanced In-App Chat, Enhanced WhatsApp, Enhanced Facebook Messenger, Enhanced SMS, Enhanced Apple Messages for Business, Enhanced LINE, and Bring Your Own Channel |
 This article doesn’t apply to:
|
Enhanced Web Chat, Standard Facebook Messenger, and Standard SMS channels |
| User Permissions Needed | |
|---|---|
| To create global actions and modify page layouts: | Customize Application AND View Setup |
- Considerations for Business-Initiated Messaging
Several rules determine whether and how service reps can start a messaging session with a lead or customer from Salesforce. These rules protect customers from unwanted messages.
Step 1: Assign User Permissions
Assign messaging user permissions to service reps.
- To send an introductory SMS message to customers who don’t yet have an SMS messaging user record, reps need this user permission: Send Initial SMS Message to Individual.
- To start messaging sessions with customers, reps need these user permissions: Initiate Messaging Sessions, Messaging Agent.
Step 2: Add the Send a Message Action
Make the Send a Message action available to reps. While the Send a Message button is automatically available when messaging from the Omni widget in the Salesforce Mobile App, you must add the Send a Message action to the desktop UI. You can add it to the global action menu, to certain record detail pages, and to the activity timeline. Choose the location or locations that best fit your outreach processes.
-
Add the Send a Message action to the global action layout. This lets reps send a message
from any Salesforce page.
- From Setup, enter Publisher Layouts in the Quick Find box, then select Publisher Layouts.
- Drag the Send a Message action to the Mobile and Lightning Actions section of the palette. This action is available only if you have an active enhanced Messaging or Messaging for In-App channel.
- Save your changes.
- Optionally, add the Send a Message quick action to your lead, contact, person account, or messaging user record page layouts. This lets reps send a message from these types of records.
- Optionally, add the Send a Message quick action to the activity timeline. This lets reps click the timeline action to send a message.
Step 3: Set Keywords and Responses
Because business-initiated messaging relies on a functioning opt-in and opt-out process, customize the consent keywords and responses for any channels where you’ll use it.
- From Setup, enter Messaging in the Quick Find box, then select Messaging Settings.
- Click the name of a channel where you want service reps to be able to initiate messaging sessions.
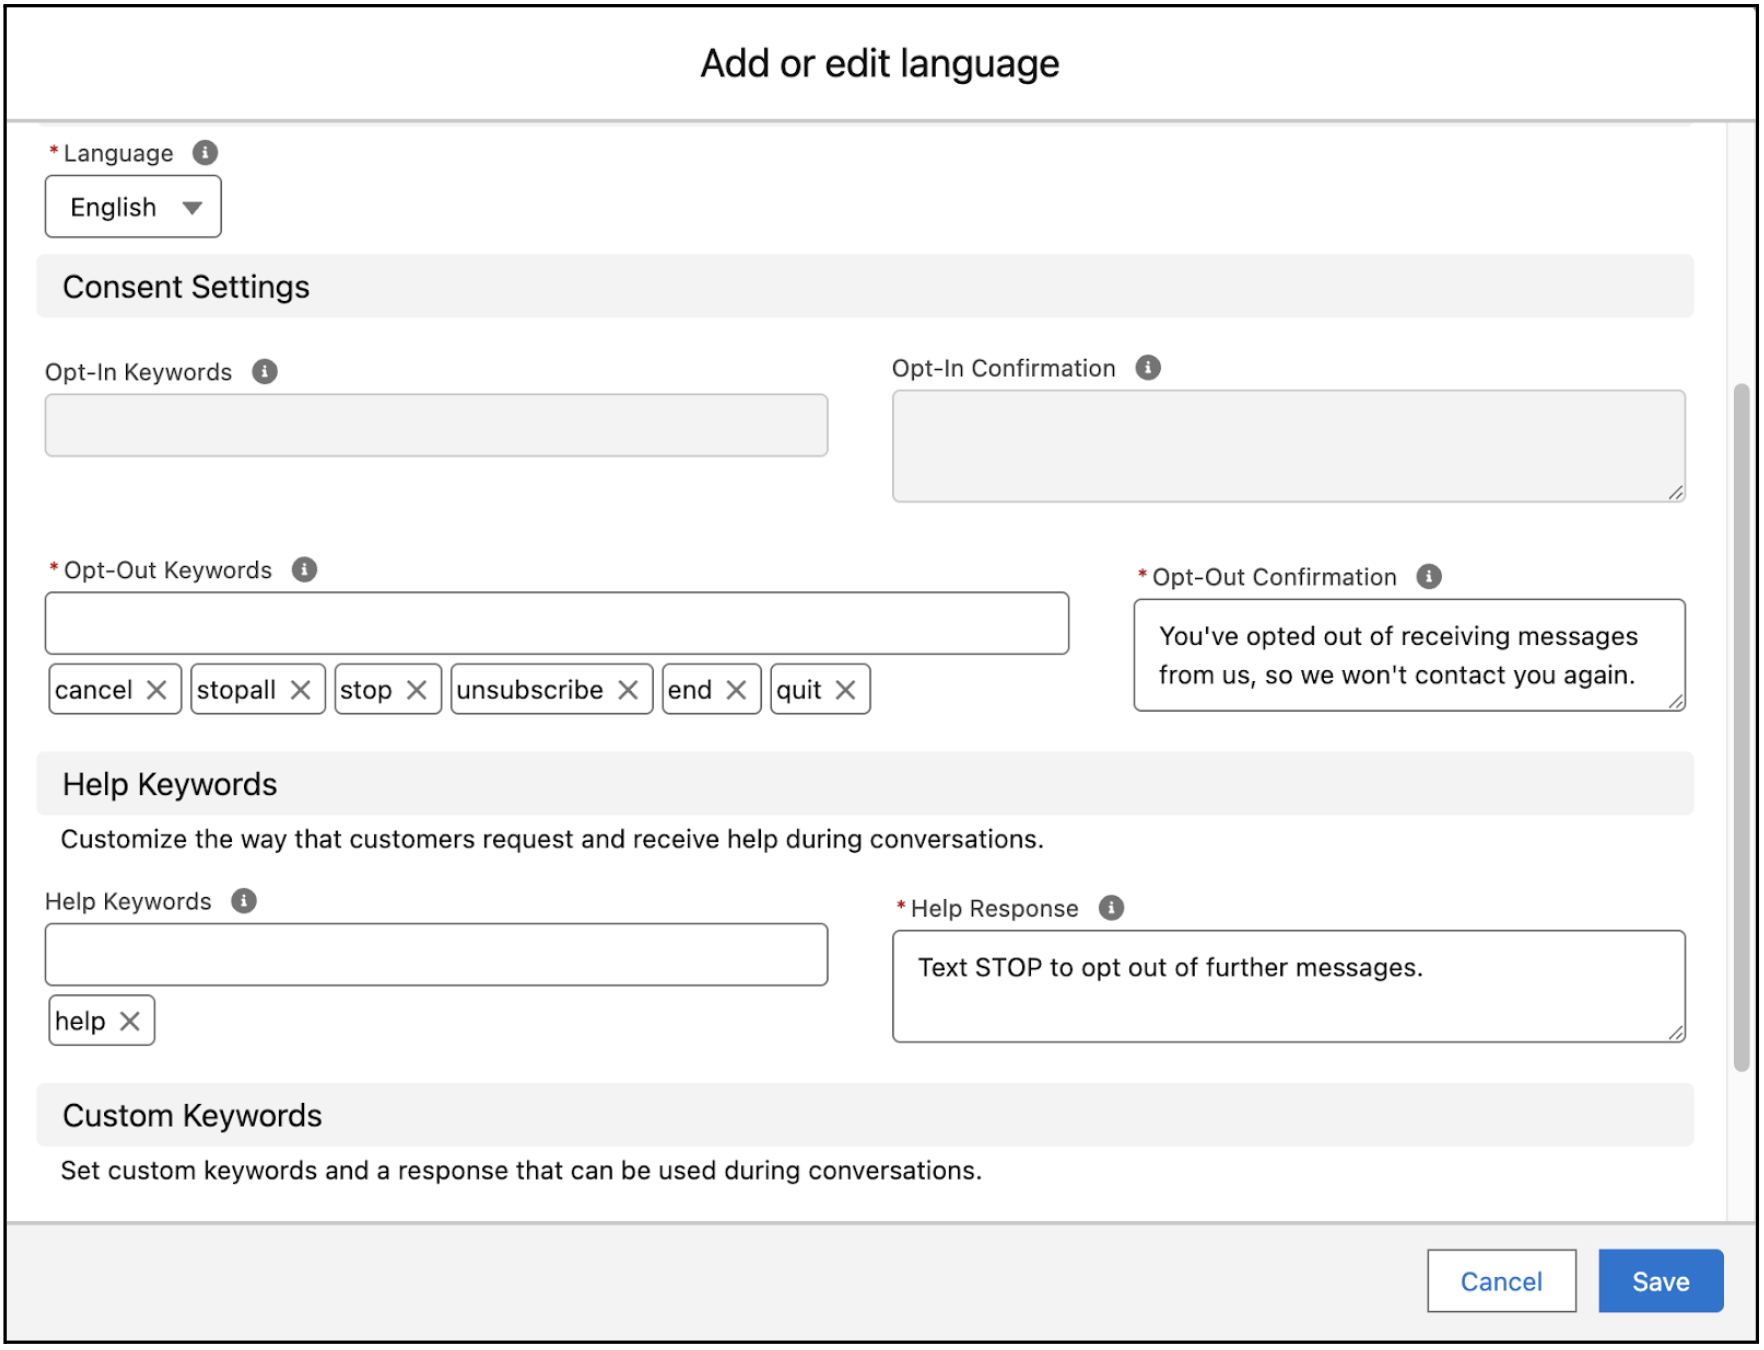
- In the Messaging Consent Settings section, click the action menu for a language and select Edit Language.
- Verify that the Opt-Out Keywords field contains at least one keyword.
-
Customize your Help Keywords and Help Response. In SMS channels, the Help Response is
appended to the first message to the customer.
- Optionally, add more languages and set keywords and responses for them.
- Save your changes.
Reps with permission can then use the Send a Message action to start conversations with customers.