
You are here:
Configure an Enhanced In-App Chat Deployment
Customize an existing Enhanced In-App Chat deployment, add it to your site, and set up security. Or, if you’re adding a second deployment to an existing Enhanced In-App Chat channel, follow these steps to create and customize it.
Required Editions
| View supported editions. | |
 This article applies to:
|
Enhanced In-App Chat channels |
 This article doesn’t apply to:
|
Enhanced Web Chat v1, Enhanced Web Chat v2, Enhanced WhatsApp, Standard and Enhanced Facebook Messenger, Standard and Enhanced SMS, Enhanced Apple Messages for Business, Enhanced LINE, and Bring Your Own Channel |
| User Permissions | |
|---|---|
| To set up this feature: | Customize Application AND Modify Metadata Through Metadata API Functions |
| To modify permission sets and profiles: | Manage Profiles and Permission Sets |
To create a new mobile app deployment, follow these steps. For website deployments, see Configure an Enhanced Web Chat Deployment.
- From Setup, in the Quick Find box, enter Embedded Service Deployments, and then select Embedded Service Deployments.
- If you already went through the quick start flow to create an Enhanced In-App Chat channel and deployment, and you’d like to create an additional Enhanced In-App Chat deployment for that pre-existing channel, take steps 2-6. If you just want to customize your first Enhanced In-App Chat deployment that was created in the quick start flow, skip to step 7. Click the New Deployment button. Choose your conversation type, Enhanced Chat.
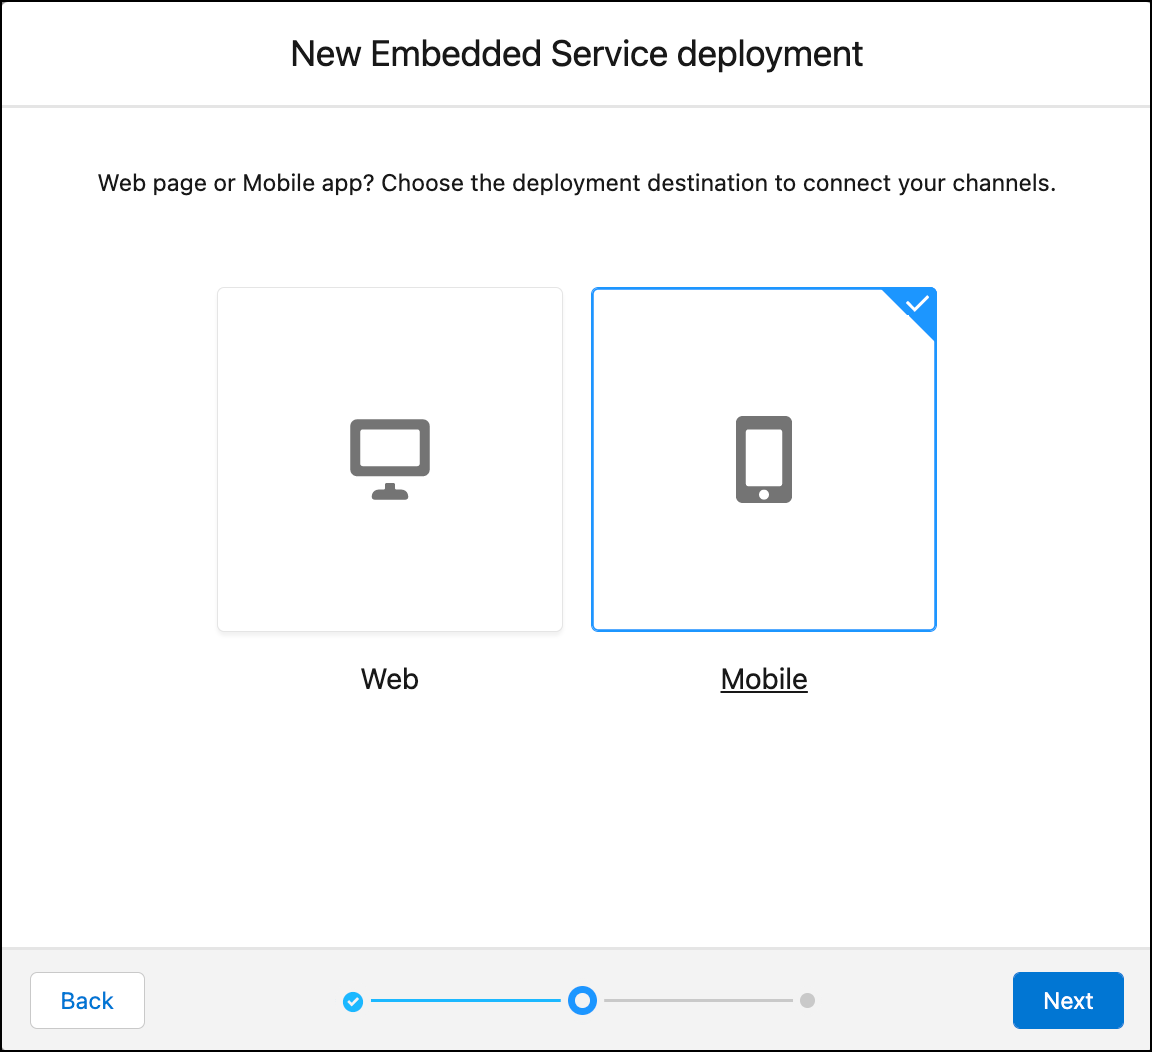
- Select Mobile as the deployment destination for your
channel.
- Name your Embedded Service deployment, which generates the API Name.
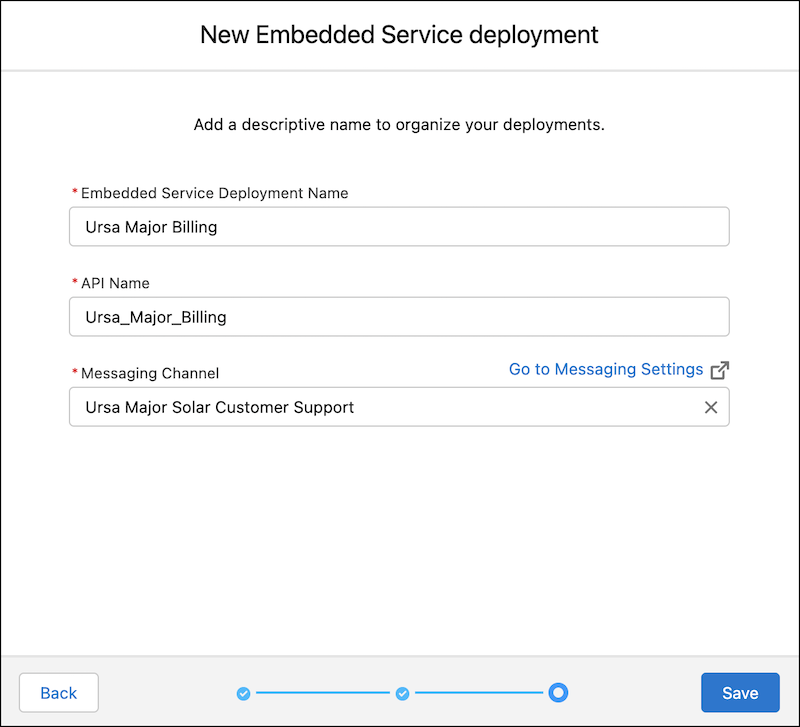
- Select the Messaging Channel that you created in Messaging Settings, and add it to the deployment. If you haven’t created a channel, go to Messaging Settings.
- Save your work.
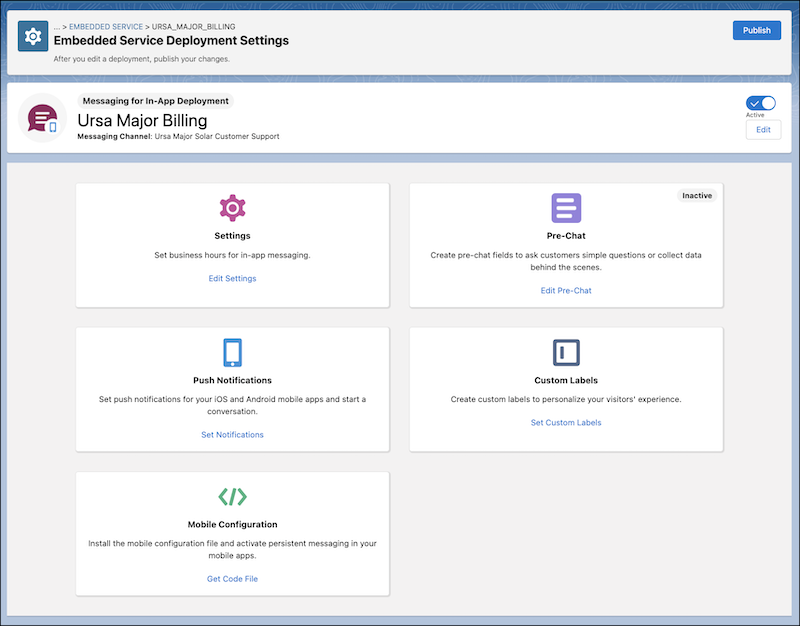
- Adjust your new deployment from the deployment settings page.
- Optionally add business hours to your deployment.
- Create a business hours record. See Set Business Hours.
- Click Edit Settings.
- Select a business hours record from the Business Hours field, and save your changes.
- Optionally, prepare a pre-chat form that customers must fill out before messaging with a
service rep.
- Click Edit Pre-Chat to select the standard and custom fields for the form. See Customize Pre-Chat for Enhanced Chat.
- Click Set Custom Labels to write your own labels for fields, alt text in your messaging experience, and select the language you want each label to appear in. To create labels in more than one language, first enable translation workbench, add your supported languages, and assign your translators. See Enable Translation Workbench and Add Translated Languages and Translators.
- Optionally, set up push notifications for your mobile apps. See Set Push Notifications for Enhanced In-App Chat.
- In the Mobile Configuration section of deployment settings, click
Get Code File to download the JSON configuration file,
configFile.json.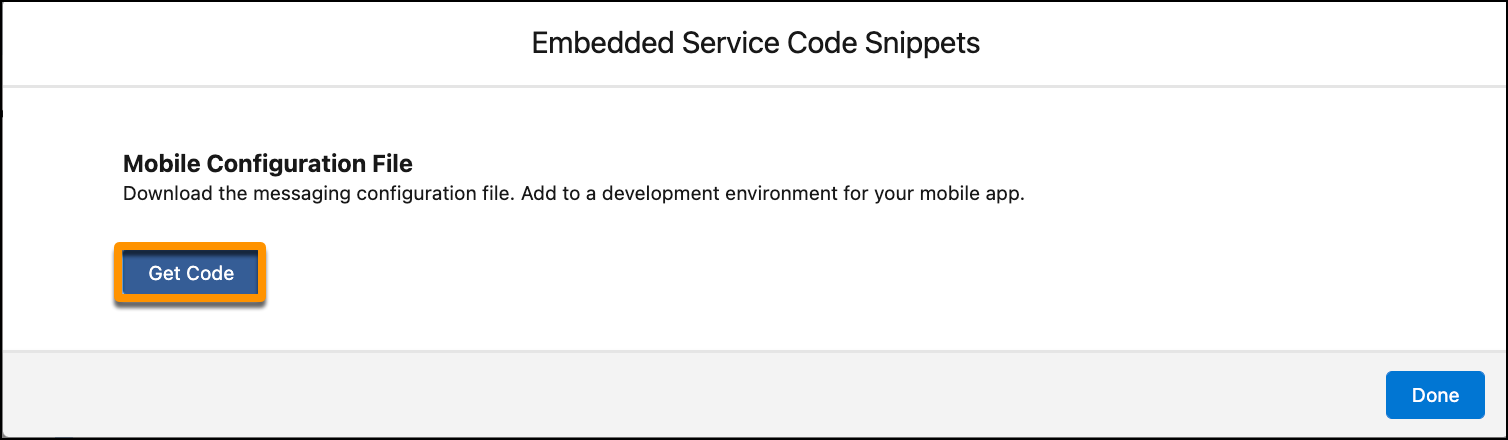
- After you create or edit a deployment, you must click the Publish button on the deployment settings page.
- To ensure that Enhanced Chat continues to work optimally, always republish your deployment after testing newly added features.
Note If you’re building an Android project, save this JSON file in your assets folder.
For iOS, add the JSON file to your project so that you can access the contents from your
code. See the In-App Developer Guide for
more details.
Did this article solve your issue?
Let us know so we can improve!