
You are here:
Configure AWS Identity and Access Management (IAM) Role for Voice
When using Salesforce Voice with Partner Telephony from Amazon Connect, you must create a role with the correct policy information. Then, when you set up a contact center in Salesforce using a new or existing Amazon Connect instance, use this IAM role ARN in Amazon Connect. Salesforce then accesses your Amazon Connect instance to build out your contact center automatically.
Required Editions
This article applies to:
- Salesforce Voice with Partner Telephony from Amazon Connect
| View supported editions. |
You can also skip these steps by manually creating a contact center based on an existing Amazon Connect instance.
To create your IAM role, follow these steps:
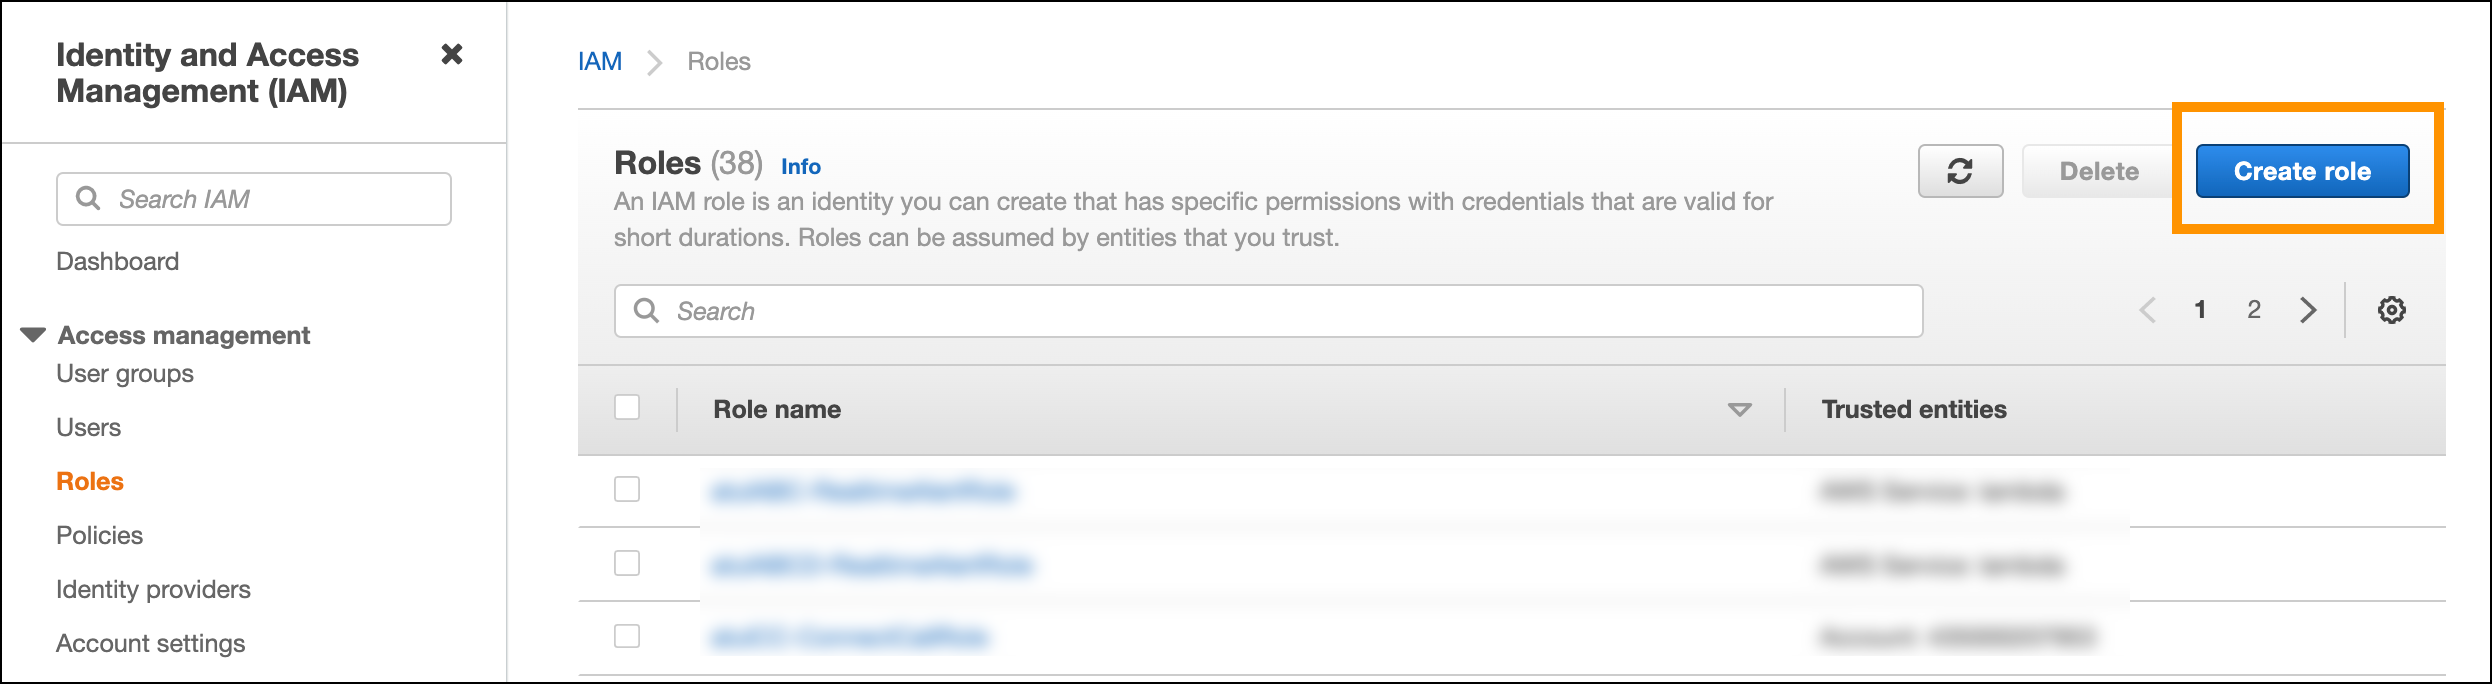
- Log in to your AWS account, access the IAM dashboard, and select Roles from the sidebar.
-
Create a role.
-
Click the Create role button.
-
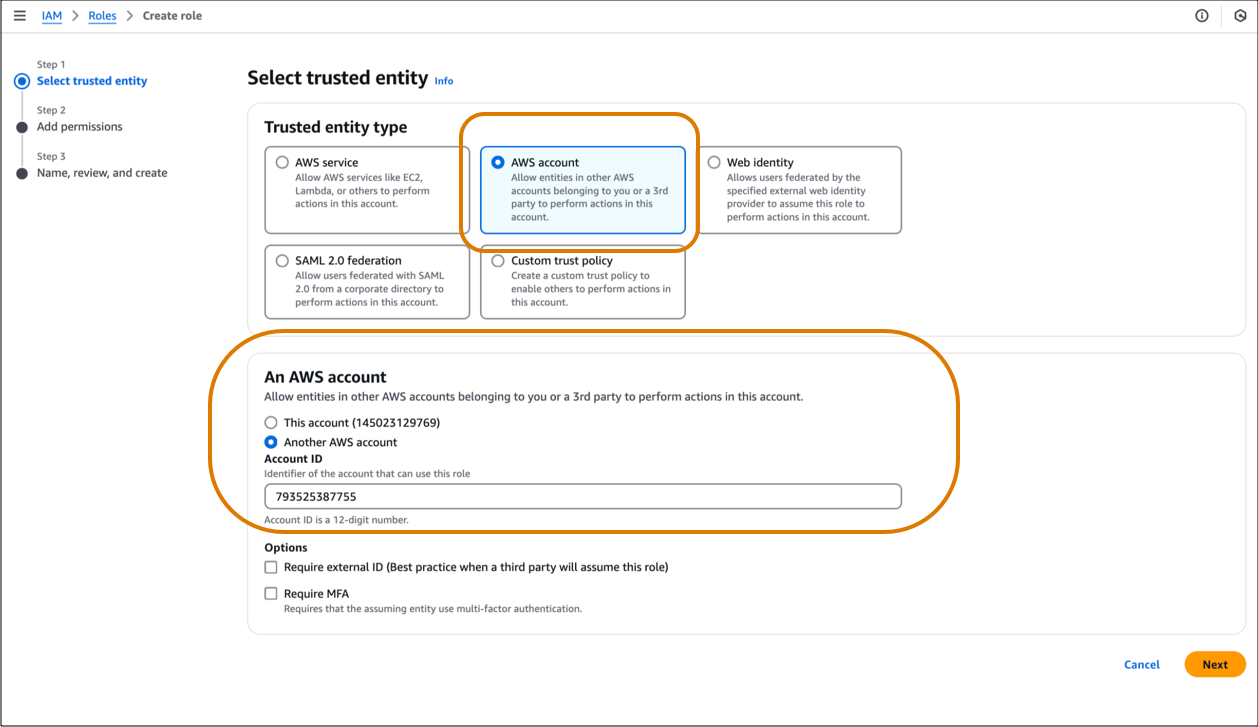
Select AWS account as the trusted entity type. Enter
793525387755 as the Account ID. Click
Next: Permissions.
-
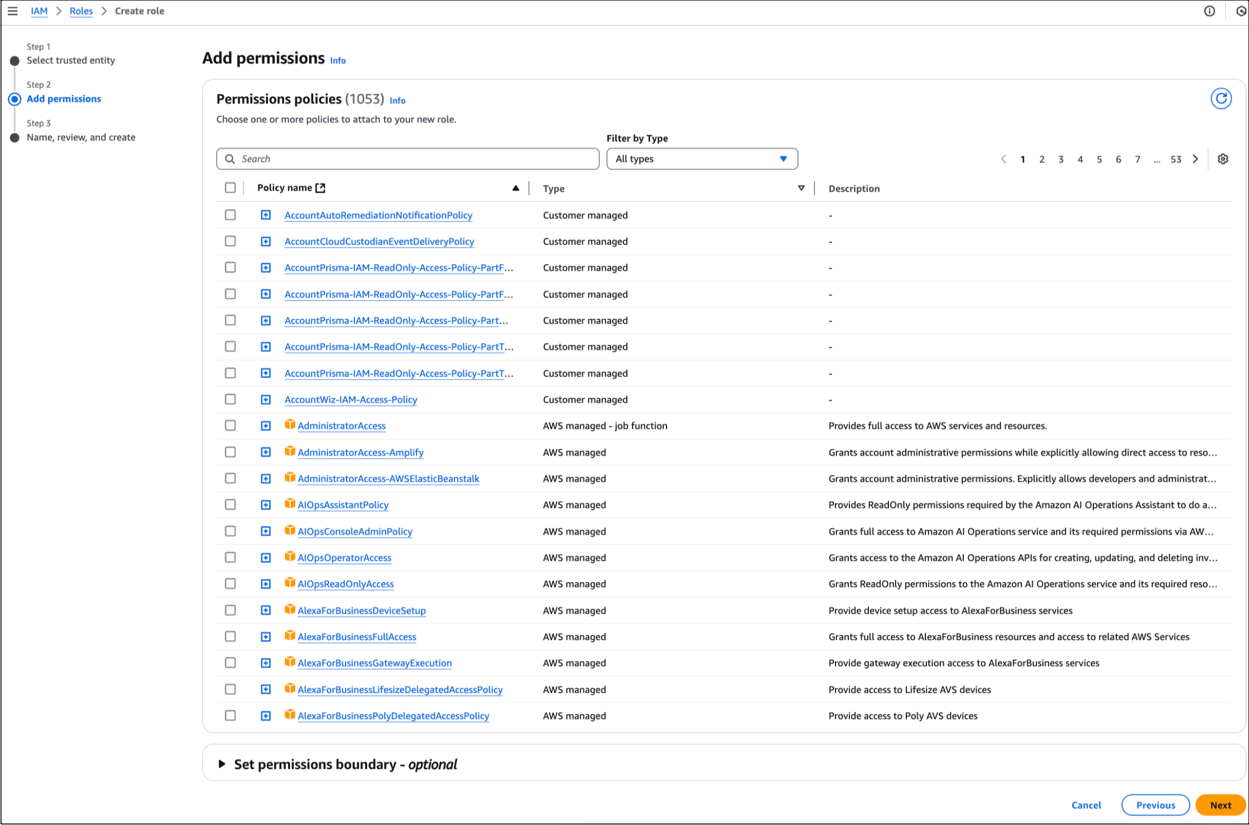
On the Add permissions page, don’t select any options. Click
Next.
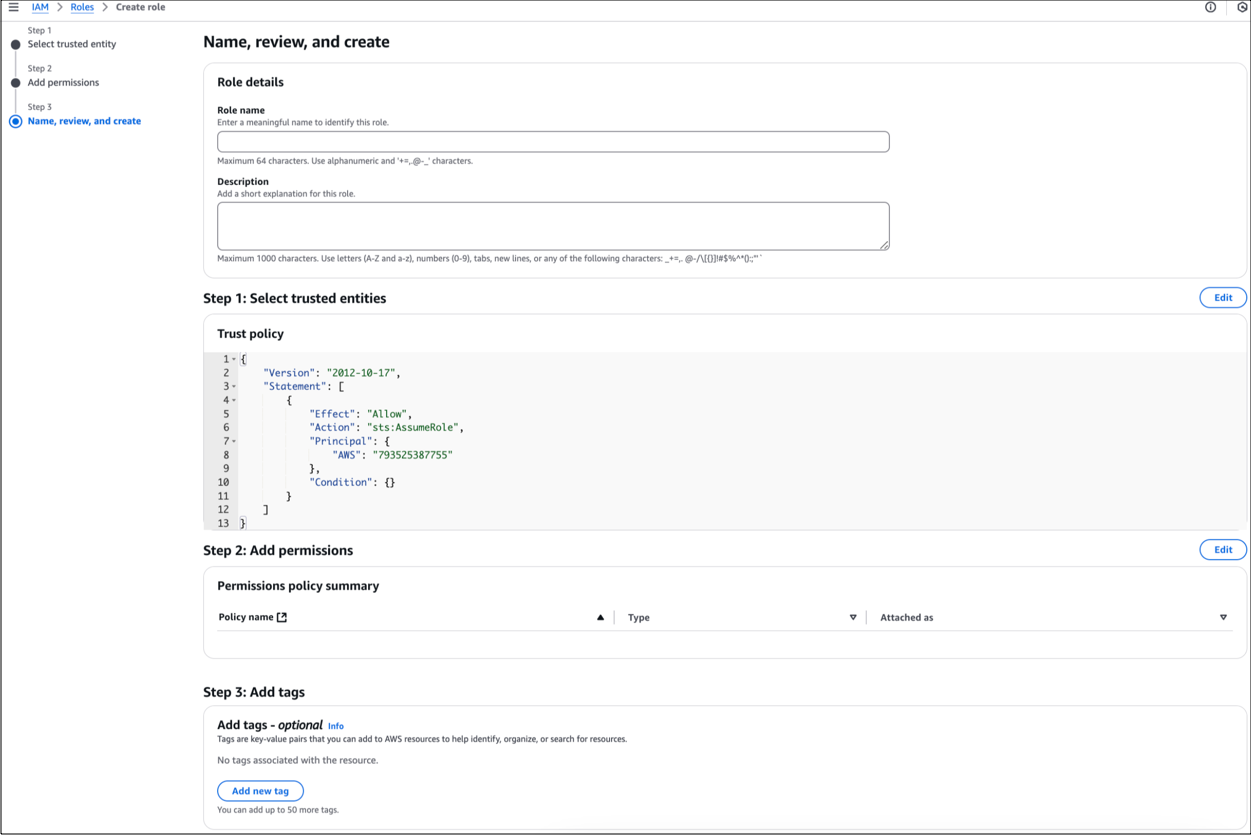
- On the Name, review, and create page, enter ProvisioningRole for the Role name.
- On the Add tags section, don’t select any options.
-
Click Create role.
-
Click the Create role button.
- After the role is created, select it from the list of roles.
-
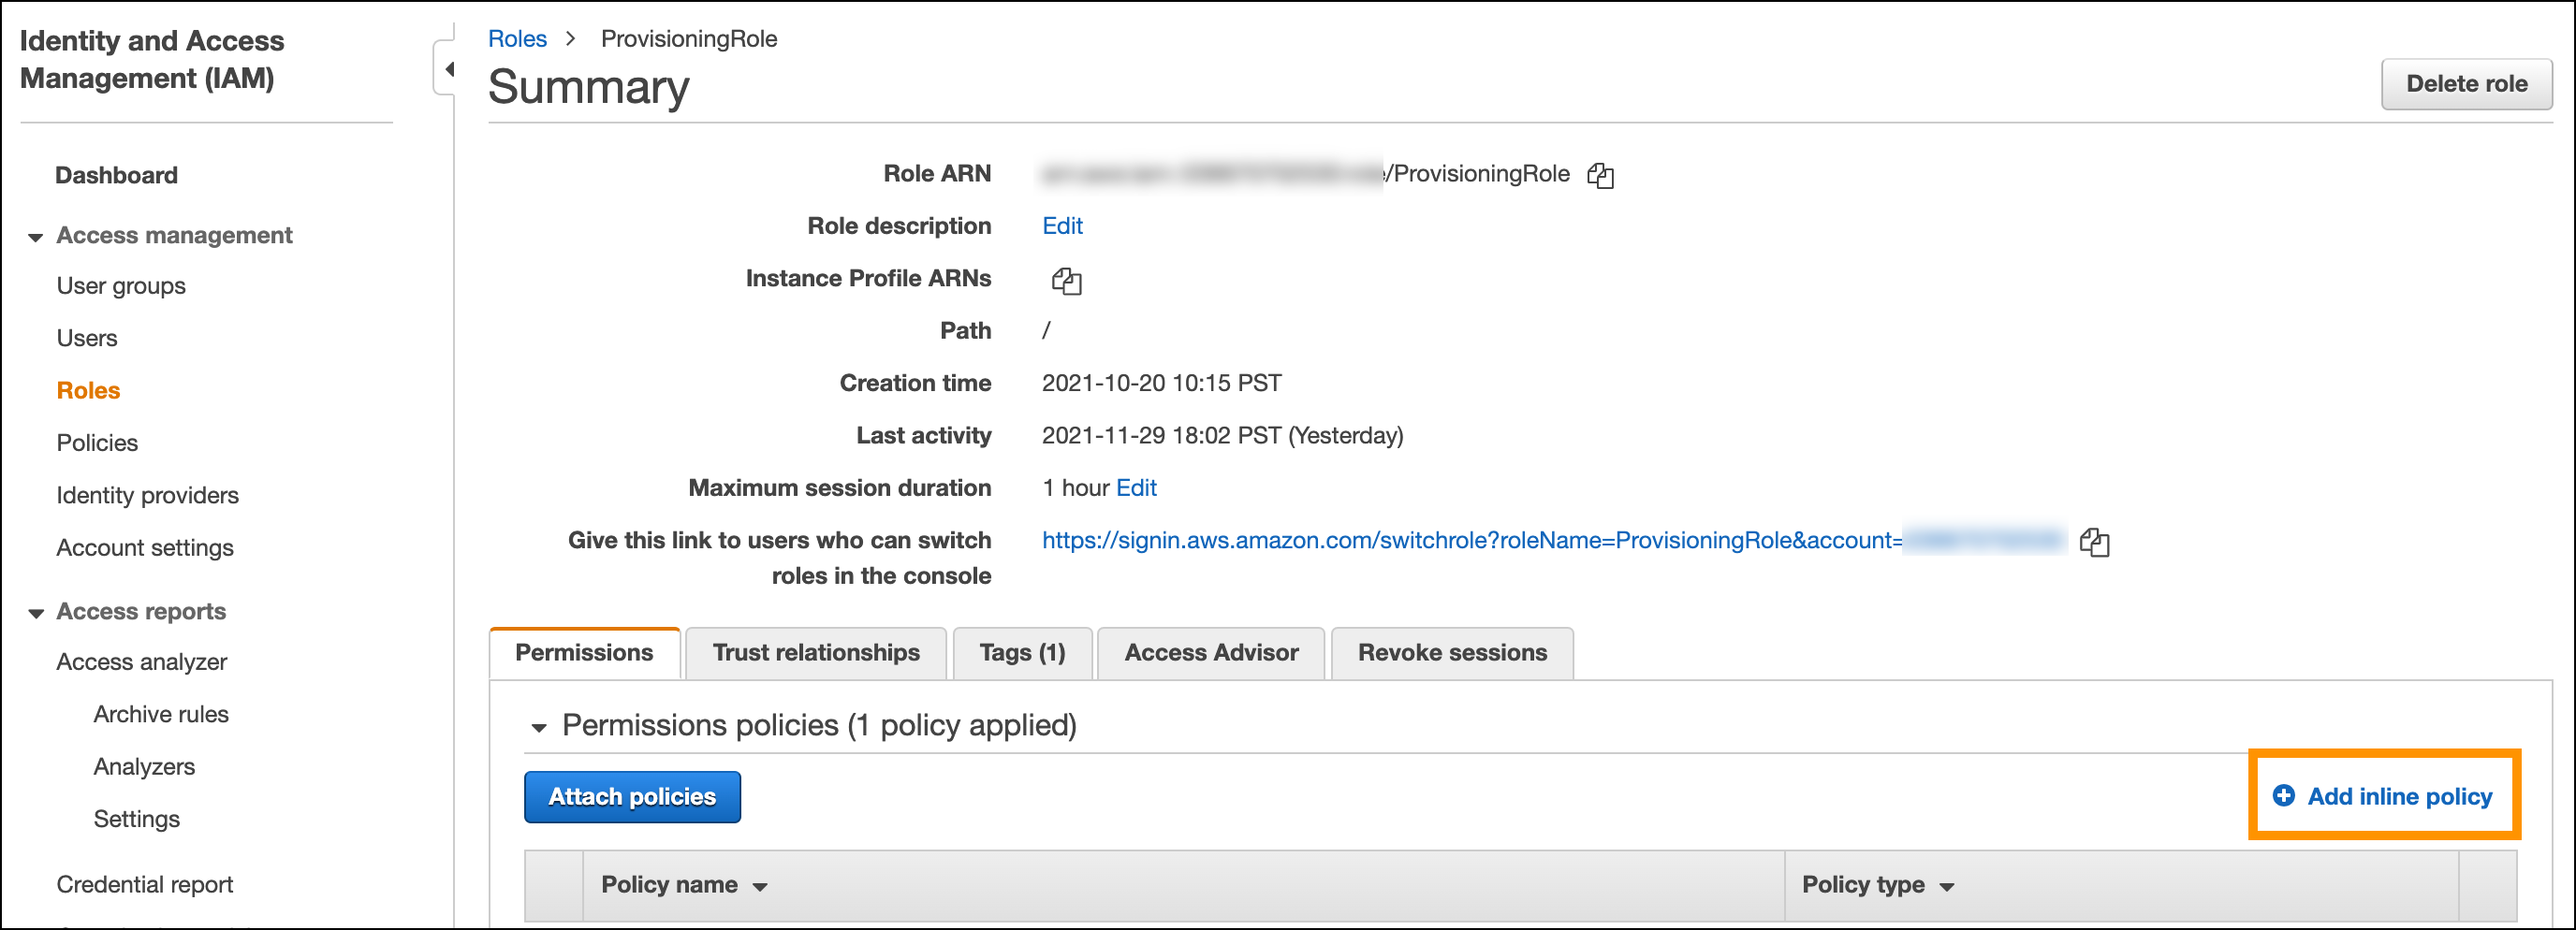
Create an inline policy.
- Go to the https://github.com/service-cloud-voice/examples-from-doc/blob/main/iam_policies/SCVProvisioningPolicy.json GitHub page and click the Copy raw contents icon to copy the entire policy in JSON format.
-
Return to your AWS account and from the Permissions tab of the role,
click Add inline policy.
- In the JSON tab, paste the policy you just copied, replacing any existing content.
-
In the policy statement, replace all occurrences of
<AWS_ACCOUNT_ID>with your 12-digit AWS Account ID. -
If you're integrating your contact center with an existing Amazon
Connect instance and you've configured the instance to save call
recordings to an Amazon S3 bucket, replace
<BYOAC_CUSTOM_S3_BUCKET>with the name of the Amazon S3 bucket. Otherwise, skip this step and don't replace<BYOAC_CUSTOM_S3_BUCKET>. - Click Review policy.
- Name it ProvisioningPolicy.
- Click Create policy.
-
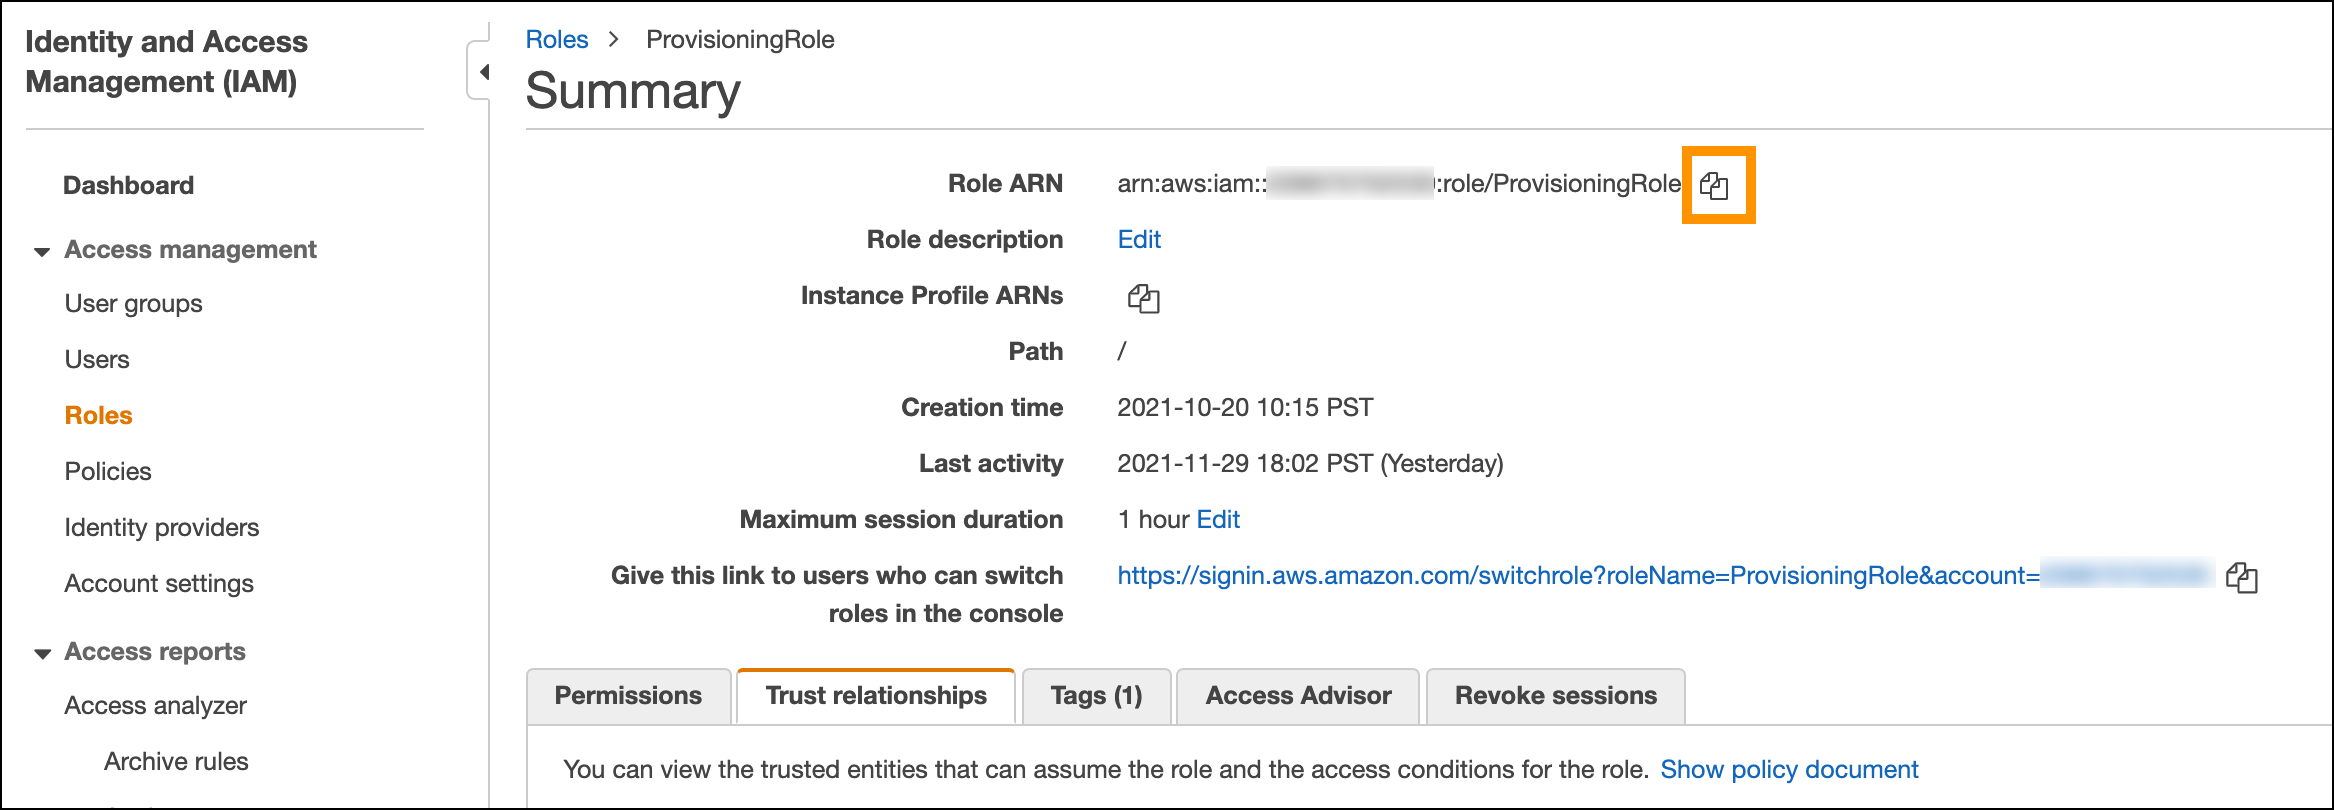
From the AWS IAM Roles summary page for ProvisioningRole, click the copy icon
next to the Role ARN to copy the ARN to the clipboard. Save the ARN. You need it
when specifying the IAM Role ARN during contact center
setup.
After creating the IAM role, use the role ARN value when you set up Voice in your Salesforce org.
- Amazon Connect IAM Roles and Provisioning Policies for Salesforce Voice
To integrate natively with Amazon Connect, Salesforce Voice comes with Amazon Connect artifacts, including IAM roles and provisioning policies.