
You are here:
Use a New Amazon Connect Instance
Set up your Salesforce Voice (formerly Service Cloud Voice) contact center with a new Amazon Connect instance. Choose this option if you have an AWS Account and you want Salesforce to create an Amazon Connect instance for you in your existing AWS account. With this option, Salesforce creates and assumes an AWS IAM role on your behalf to integrate Voice with Amazon Connect.
Required Editions
This article applies to:
- Salesforce Voice with Partner Telephony from Amazon Connect
| View supported editions. |
This setup process accesses your Amazon Connect instance to build out your contact center automatically. To do that, the setup process requires that you provide the IAM role ARN. Before you create the contact center, verify that you created an IAM role in Amazon Connect as described in Configure AWS Identity and Access Management (IAM) Role for Voice.
- From Setup, enter Partner Telephony in the Quick Find box, then select Partner Telephony Contact Centers.
- Click Create Contact Center.
- Select Amazon Connect as the telephony provider.
-
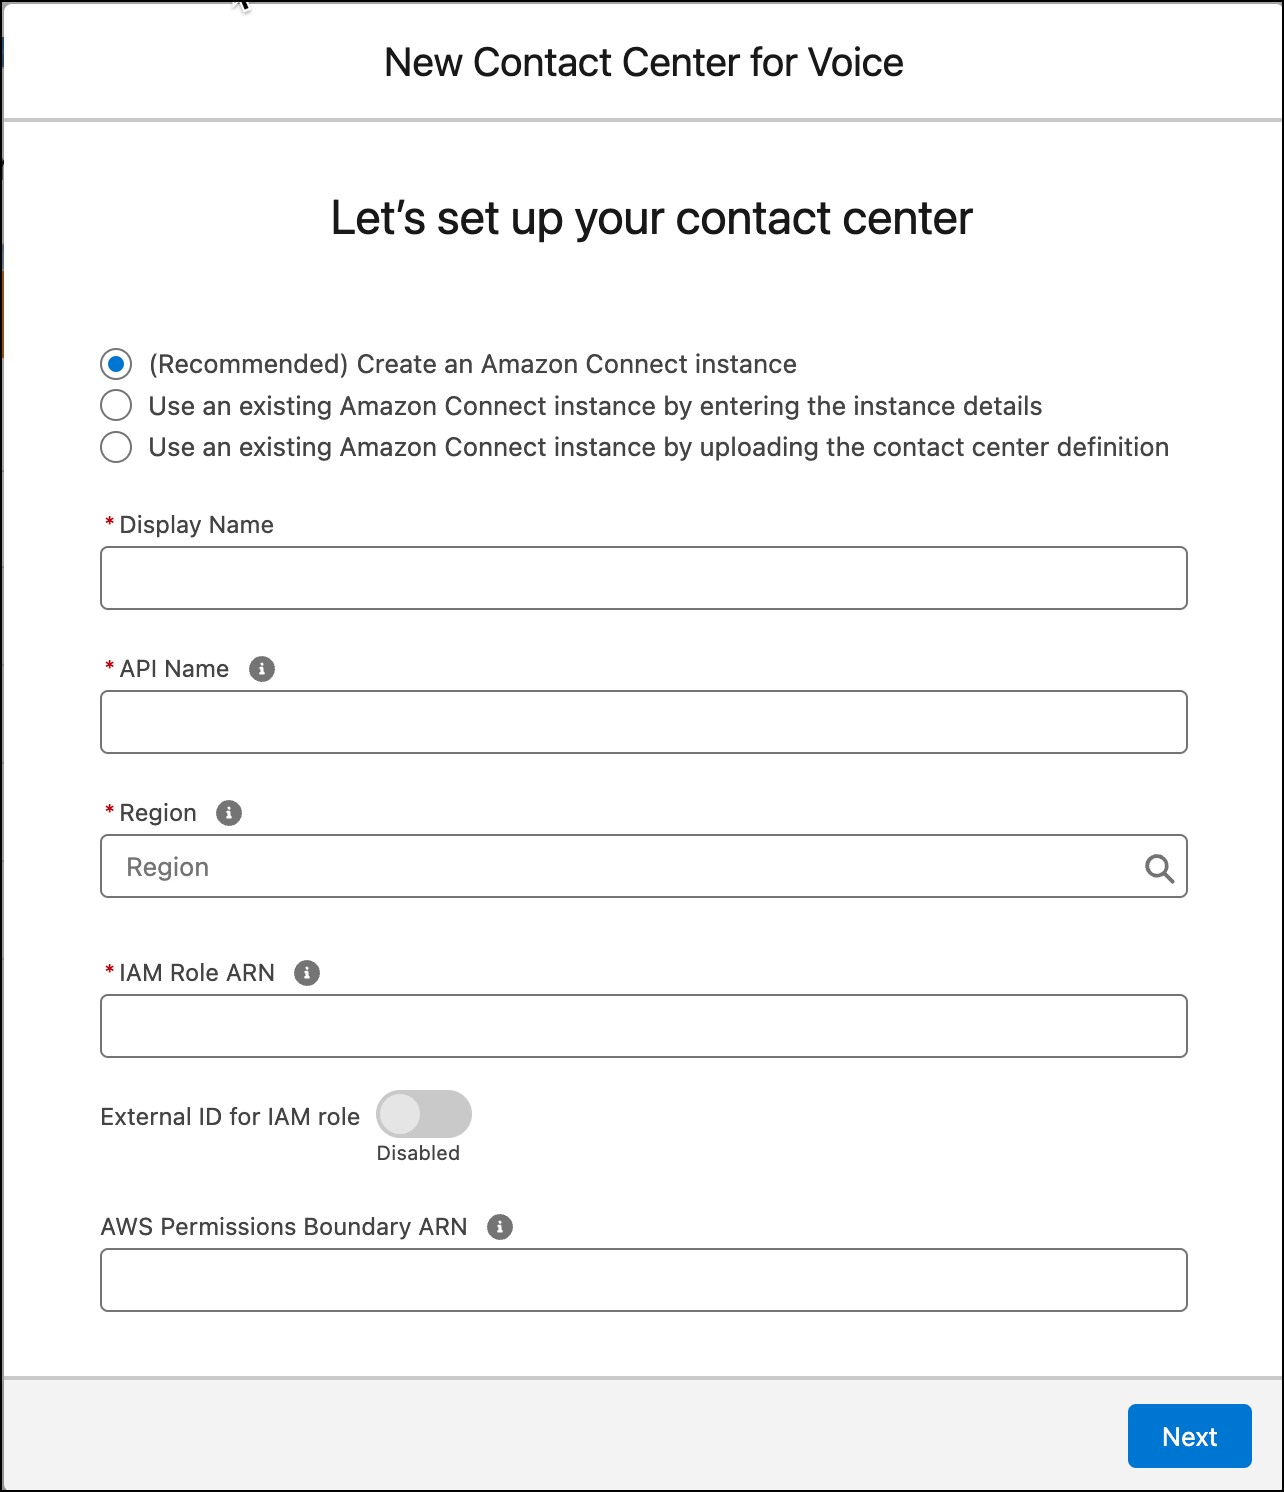
Select (Recommended) Create an Amazon Connect Instance.
-
Enter the contact center and AWS details.
- Enter a display name for your contact center.
- Enter an internal name for your contact center. The internal name is how other objects recognize your call center, similar to an API name. The internal name must be unique to your org, contain fewer than 20 characters, start with a letter, and contain only alphanumeric characters.
-
Select the AWS region that’s closest to where your contact center is located. The
list is populated with the AWS regions that support Amazon Connect.
If you operate in the public sector domain in the US, when you create a contact center, the list is populated with the AWS GovCloud regions for compliance. The supported AWS GovCloud regions are specified in Amazon Documentation.
-
Enter the ARN of the IAM role that you created earlier. Salesforce uses this IAM
role to access your Amazon Connect instance to automatically build out your contact
center. Optionally, you can also enable an external ID for the AWS account associated
with the IAM role ARN. Enabling an external ID helps avoid authorization issues with
the provisioning role you created.
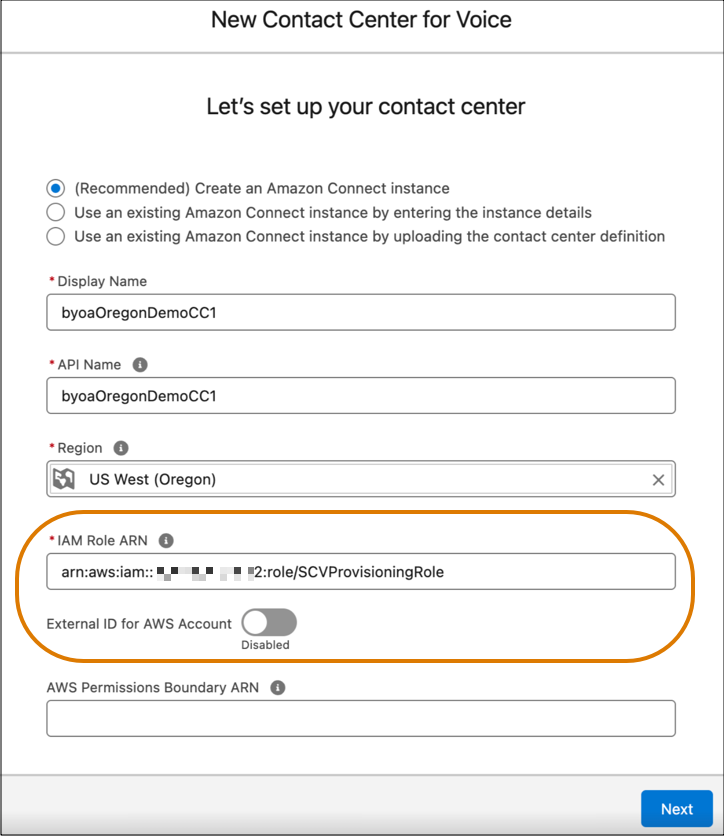 You can enable external ID only if you have not created any other contact centers in this org with the AWS account associated with the selected IAM role ARN.
 - If AWS permissions boundaries are enforced for the IAM role, enter the AWS permissions boundary Amazon Resource Name (ARN) for the role. If set, the permissions boundary policy is attached to each IAM role that’s created during contact center provisioning.
-
Click Next. If you enable the external ID option for the IAM
role ARN in the previous step, you must generate the External ID for the AWS account
associated with the IAM role ARN. Then, add the generated external ID in the Trusted
Relationships in your AWS account. In your AWS account, the external ID must be added in
the
provisioningrolejson file corresponding to the IAM role ARN.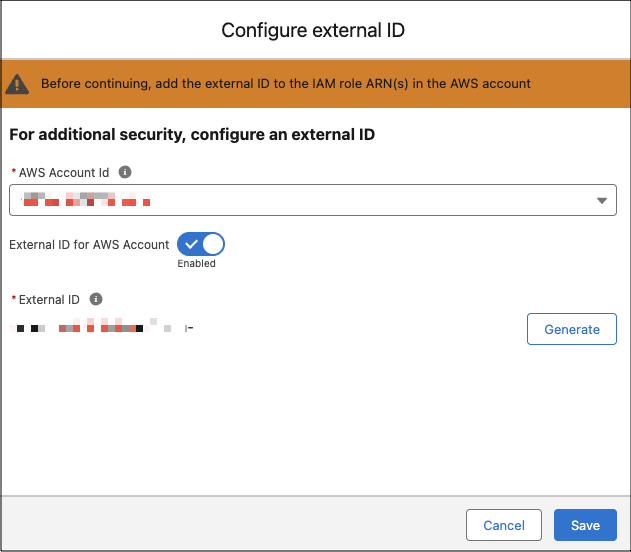
-
Optionally, select users that you want to add to your Amazon Connect instance.
The list is populated with users who already have the Salesforce Voice Contact Center Admin permission set.
-
Click Done.
It can take a few minutes to create the contact center.
- To manage the contact center after it’s created, under Setup, enter Partner Telephony Contact Centers in the Quick Find box, and select Partner Telephony Contact Centers.
If the contact center fails to be created, Salesforce sends you an email to help you resolve the issue. The email contains details about why the failure occurred. For example, the contact center fails to be created if Amazon doesn’t have the required resources.