You are here:
Brand Your Pages from the Administration Workspace
Salesforce Customer Identity gives you a point-and-click way to brand the pages that prompt users to log in to your site, verify their identity, reset passwords, and self-register. If you’ve set up login flows, they also use these branding settings.
For convenience, you can use the sample logos and backgrounds we provide by downloading this file: https://www.salesforceidentity.info/ExternalIdentityAssets.zip. Or use your own.

The branding options you set here apply to all types of pages for logging in, verifying identity, resetting passwords, and self-registration, except Experience Builder pages.
- From Setup, in the Quick Find box, enter All Sites, and then select All Sites.
- Next to your site name, click Workspaces.
- Select Administration, and then select Login & Registration.
-
To upload a logo from a file, take these steps.
- For Logo Type, from the dropdown, select File.
- For Logo File, click Choose File, then browse your local drive to upload a file
Instead of uploading a file, you can enter a URL where you store your branding assets. This URL can use a dynamic value to determine which logo appears at run time. The URL contains the expid placeholder{expid}, for example, https://www.my-cms.com/{expid}/logo.png. When customers click a link to log in, how the login page looks depends on the expid value indicated in the login URL. -
For Background Type, select an option to customize the background. Background Type,
select Color, and select your color.
- To use a solid color, from the dropdown, select Color, then select a color or enter a hexadecimal value.
- To use an image or color gradient, from the dropdown, select Image URL, and then enter a URL to an image.
The Image URL can also use a dynamic value to determine which background image appears at run time. -
For Login Button, select a color or enter a hexadecimal value. The color applies to
these buttons.
- The Log In button on the login page
- The Verify button on the identity verification page
- The Continue button on the reset password page
- The Sign Up button on the self-registration page
- (Optional) For Right Frame URL, enter a URL to display content in an iframe to the right of the login form on the login page. For example, use the right frame URL to display a branded image or topical announcements.
- For Footer Text, enter any text, such as a copyright, to display at the bottom of your pages.
- Save your settings.
-
To view your changes, open your site URL.
- From Administration, select Settings, and copy the URL for your site.
- From your browser, open a new private (incognito) window, and paste the URL in the address bar.
Here’s an example of how the login page looks with branding options set on the Login & Registration page. The logo is displayed above the login form and the background and Log In button each use custom colors.
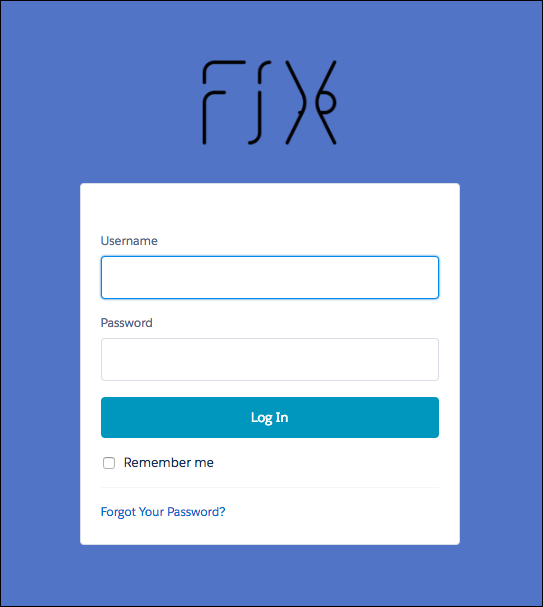
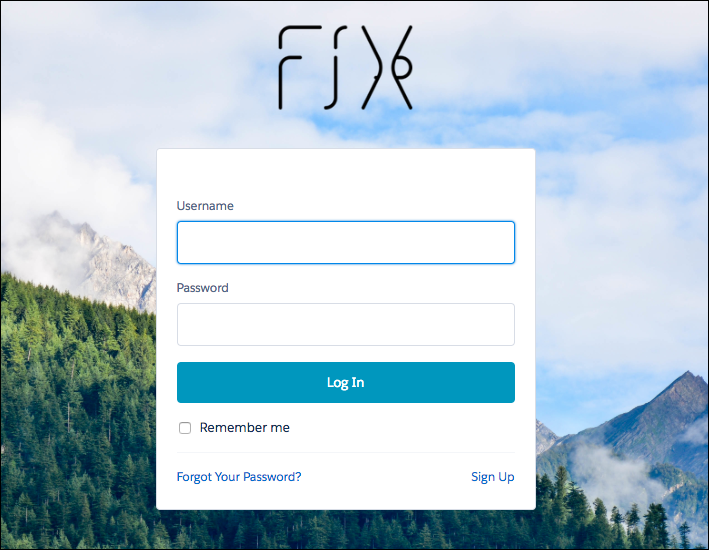
Here's an example of the same login page using a background image instead of a solid color.