
Configure SSO from Salesforce to Office 365
Let your users log in to Office 365 using single sign-on (SSO) from your Salesforce org configured as an identity provider.
Required Editions
| Available in: Lightning Experience and Salesforce Classic |
| Available in: Enterprise, Performance, Unlimited, and Developer Editions |
Configuring Salesforce as an identity provider for Office 365 involves these high-level steps.
- On Salesforce, obtain an SSL certificate.
- On Office 365, configure Salesforce identity information for the domain.
- On Salesforce, create and configure a connected app to run Office 365 in Salesforce.
You need the following to complete the steps.
- Admin account for Office 365
- Windows PowerShell for Azure Active Directory
See Also
Get a SAML IdP Certificate
Get a certificate, either self-signed or issued by a certificate authority, to use to set up service providers. Save the certificate on your local drive.
Download the Metadata Document
- From Setup, enter Identity in the Quick Find box, and then select Identity Provider.
- Click Download Metadata.
On the same page under SAML Metadata Discovery Endpoints, note the Salesforce Identity,
for example https://MyDomainName.my.salesforce.com/.well-known/samlidp.xml.
Configure Salesforce Identity Information for the Domain
- Start the Windows Azure Active Directory module of Windows PowerShell.
- Run the $cred=Get-Credential cmdlet, and provide the
Windows Azure AD credentials of your Admin account.
PS C:\Windows\system32> $cred=Get-Credential Cmdlet Get-Credential at command pipeline position 1 Supply values for the following parameters: Credential - Run the Connect-MsolService –Credential $cred
cmdlet.
PS C:\Windows\system32> Connect-MsolService –Credential $cred - Provide the required parameter values.
- Your domain, for example, $dom = salesidentity.info
- POST endpoint URL of the Salesforce IdP, for example, $url = https://MyDomainName.my.salesforce.com/idp/endpoint/HttpPost
- IdP issuer, for example, $uri = https://MyDomainName.my.salesforce.com
- IdP logout URL, for example, $logouturl = https://MyDomainName.my.salesforce.com
- IdP certificate, for example, $cert = <your certificate content>
 Note Enter the certificate on a single line without line breaks.
PS C:\Windows\system32> $dom = salesidentity.info PS C:\Windows\system32> $url = https://MyDomainName.my.salesforce.com/idp/endpoint/HttpPost PS C:\Windows\system32> $uri = https://MyDomainName.my.salesforce.com PS C:\Windows\system32> $logouturl = https://MyDomainName.my.salesforce.com PS C:\Windows\system32> $cert = <your certificate content> - Run the Set-MsolDomainAuthentication –DomainName $dom
-FederationBrandName $dom -Authentication Federated -PassiveLogOnUri $url
-SigningCertificate $cert -IssuerUri $uri -LogOffUri $logouturl
-PreferredAuthenticationProtocol SAMLP cmdlet to establish trust.
PS C:\Windows\system32> Set-MsolDomainAuthentication –DomainName $dom -FederationBrandName $dom -Authentication Federated -PassiveLogOnUri $url -SigningCertificate $cert -IssuerUri $uri -LogOffUri $logouturl -PreferredAuthenticationProtocol SAMLP - Run the Get-MsolDomain cmdlet to check whether Federation
is Get enabled.
Name Status Authentication ---- ------ -------------- salesforceidentity.info Verified Federated sfidentity.mail.onmicrosoft.com Verified Managed sfidentity.onmicrosoft.com Verified Managed - Run the Get-MsolDomainFederationSettings cmdlet to verify the configuration.
Create and Configure a Connected App on Salesforce
- From Setup, enter Apps in the Quick Find box. If you’re using Lightning Experience, select Manage Connected Apps. If you’re using Salesforce Classic, under Manage Apps, select Connected Apps.
- Under Basic Information:
- Name the app Office 365.
- Enter your own email address.
- Under Web App Settings:
- For Start URL, enter a URL and include a URL for your domain name.
https://login.microsoftonline.com/PostToIDP.srf?msg=AuthnReq&realm= MyDomainName.my.salesforce.com&wa=wsignin1.0&wtrealm=urn:federation:MicrosoftOnline& wctx=bk%3D1367916313%26LoginOptions%3D3 - Select Enable SAML.
- For Entity Id, enter urn:federation:MicrosoftOnline.
- For ACS URL, enter https://login.microsoftonline.com/login.srf.
- For Subject Type, select FederationID or
Custom attribute.Note The subject type carries the ObjectGUID of UPN.
- For Name ID Format, keep the default selection (unspecified).
- For Issuer, keep the default value (your subdomain).
- For Verify Request Signatures, keep the default (unselected).
- For IdP Provider Certificate, keep the default (unselected).
- Click Save.
Note It can take a few minutes for Salesforce to create the connected app. - For Start URL, enter a URL and include a URL for your domain name.
- From Setup, enter Apps in the Quick Find box. If you’re
using Lightning Experience, select Manage Connected Apps. If
you’re using Salesforce Classic, under Manage Apps, select Connected
Apps.
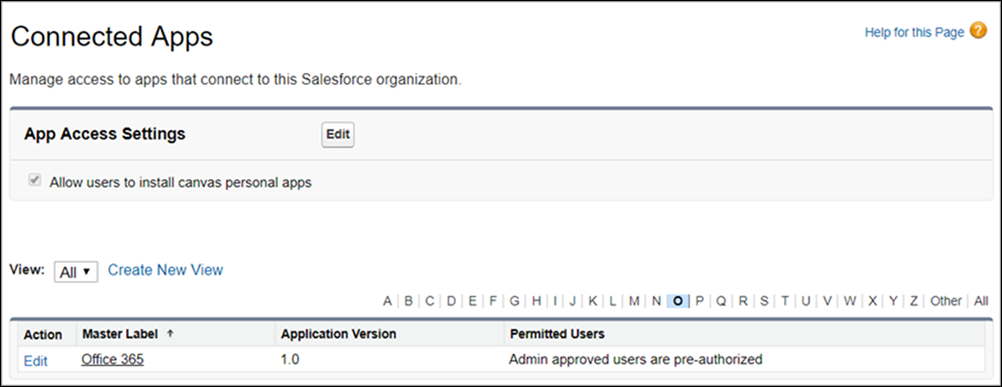
- Select the Office 365 connected app.
- Click Manage Profiles or Manage Permission Sets, and add profiles and permission sets of users who can access this app.
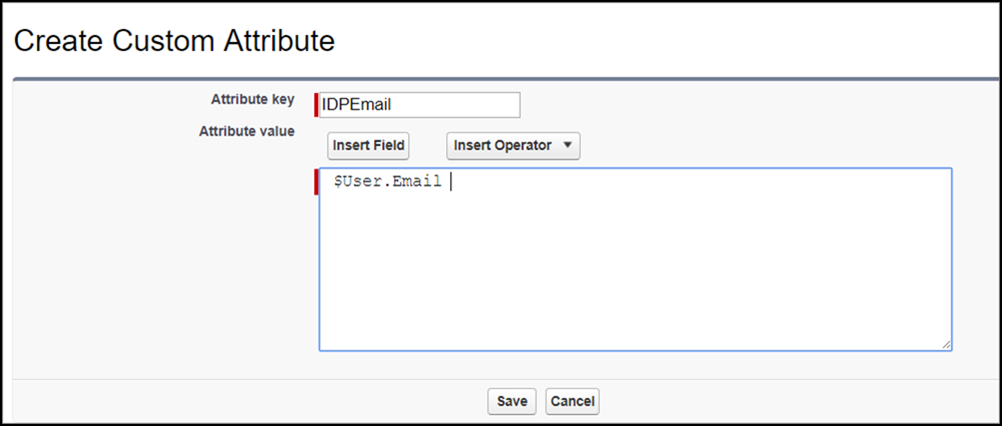
- Under Custom Attributes, click
New.
- Enter IDPEmail for the attribute key and $User.Email for the attribute value.
- Click Save.
- To test access, run the connected app as a user.
Did this article solve your issue?
Let us know so we can improve!