You are here:
Set Up Your Environment to Customize Omniscript Elements
Set up your developer environment by downloading the Omniscript elements that you want to customize and by deploying these elements in a Salesforce org.
To customize Omniscript elements, use Salesforce CLI or Salesforce Extensions for Visual Studio Code.
- Request an NPM repository access key from Salesforce Customer Support.
-
Create an
.npmrcfile in the directory where you want to install the Omniscript customization npm package, and set _auth equal to your NPM repository access key. -
From the command-line interface, install the Omniscript customization npm package with
the custom components.
 Important If you download a version below 254, some functionalities may fail. It is recommended that you download versions 254 or higher.See npm documentation.
After successful installation of the Omniscript customization npm package, verify the following:
-
These files exist in the directory you created in Step 2:
node_modules,package-lock.json,package.json. -
The
node_modules/@omnistudio/omniscript_customizationdirectory contains these files:CHANGELOG.txt,LICENSE.txt,labels,lwc,messageChannels,package.json, andpackage.xml.
-
- Create a Salesforce DX Project.
-
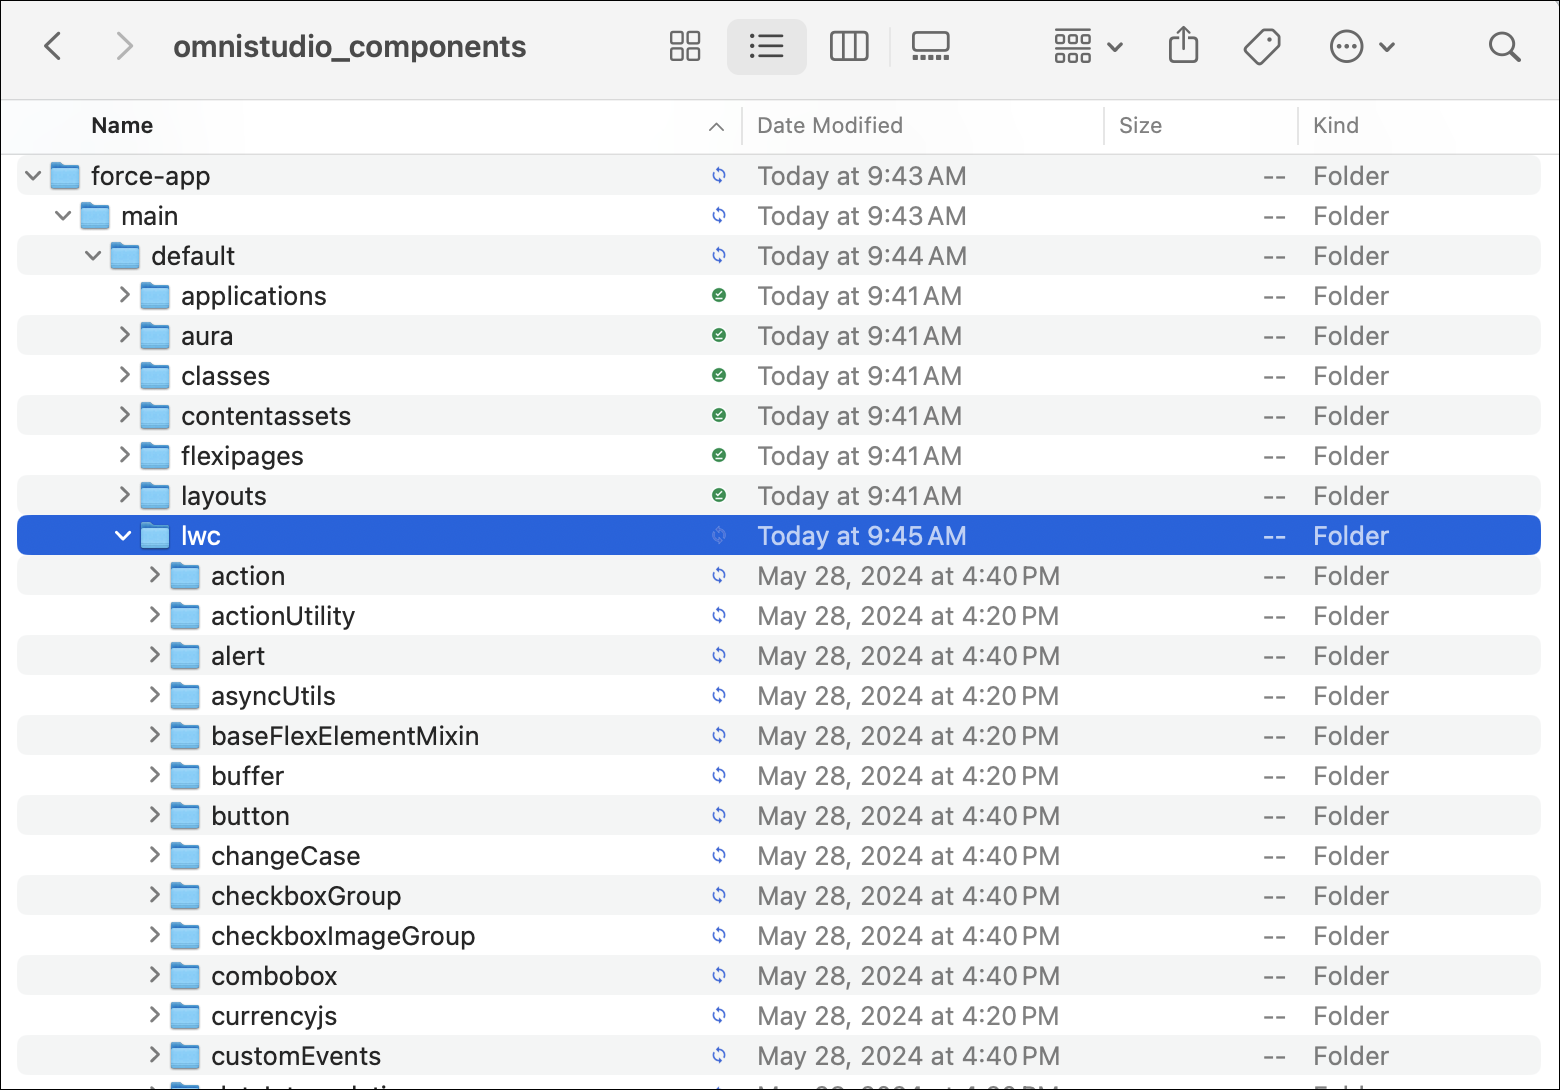
Copy the
labels,lwc, andmessageChannelsdirectories and thepackage.xmlfile from the Omniscript customization npm package to the DX project, matching the directories in the package. -
Connect to your Salesforce org by using the CLI or Visual Studio Code.
-
To log in using CLI, run the
org login webcommand. -
In Visual Studio Code, type Command-Shift-P (Mac) or Ctrl-shift-P (Windows) to open the command palette, and then enter SFDX: Authorize an Org and the select Custom.
-
-
Deploy your DX project to your org:
- To deploy the project by using CLI, run the
project deploy
       start
command. -
To deploy the project by using Visual Studio Code, right-click each folder and select Deploy This Source to Org.
Deploy the folders in this order:
/labels,/messageChannels, and/lwc. The deploy order is important because only one folder is deployed at a time and each folder has dependencies on the other folders.
- To deploy the project by using CLI, run the