
Create an Email Configuration for Agentforce Service Agent on Email
The email configuration connects your email template to an Agentforce Service agent. Create it in Setup, and then link it to one or more routing addresses.
Required Editions
| Available in: Lightning Experience |
| Available in: Enterprise, Performance, Unlimited, and Developer Editions. Required add-on licenses vary by agent type. |
To learn about channel support for other agent types, see the documentation for that type. |


| User Permissions Needed | |
|---|---|
| To create email templates: | Lightning Experience User |
| To edit public email templates: | Modify All Data, Manage Public Lightning Email Templates, or template ownership |
| To create Agentforce Service Agent email configurations: | Manage Agentforce Service Agents AND Manage AI Agents OR Customize Application |
| To edit routing addresses: | Customize Application |
| To create Omni-Channel flows: | Customize Application |
- To deploy your Agentforce for Service on Email agent to channels, set up the Service Email Connection. See Set Up Connections in the Legacy Builder.
- From Setup, enter Agentforce in the Quick Find box and select Agentforce for Service on Email.
-
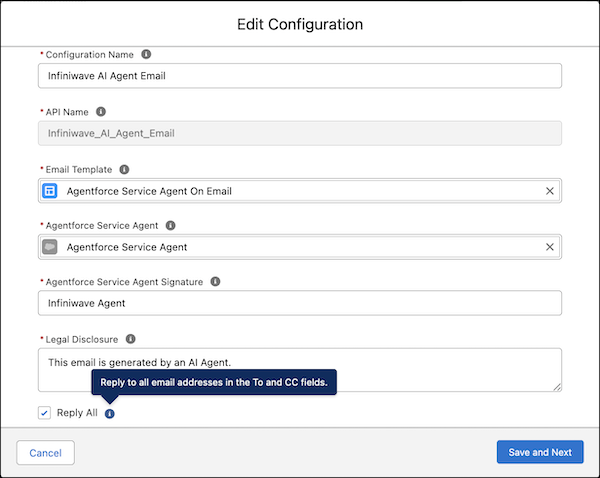
Click New Configuration.
- Enter a name for your configuration.
- Select the email template you created.
- Select an active Agentforce Service agent.
- Enter a legal disclosure that lets the end user know that the email was written and sent by AI. The disclosure replaces [[[LEGAL_DISCLOSURE]]] in the sent email.
- Select Reply All if you want Agents to reply to all email recipients, including those in the To and CC fields.
-
Click Save and Next.
- Click Go to Email-to-Case Setup.
- In the Routing Addresses section, click Edit next to the routing address that will receive inbound emails for the Service agent.
-
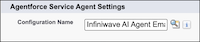
Under Agentforce Service Agent Settings, select the email configuration you created.
- Save your changes. If you want to, follow the previous steps to link the configuration to additional routing addresses.
Did this article solve your issue?
Let us know so we can improve!
