
You are here:
Add a Toggle Widget to Filter Dashboard Results Based on a Dimension
A toggle widget allows dashboard viewers to filter the CRM Analytics dashboard results based on a date or dimension. For example, a toggle widget can show results based on a specific record type.
The toggle widget requires a query that has a single grouping based on a dimension. The values of the grouping appear as the toggle options.
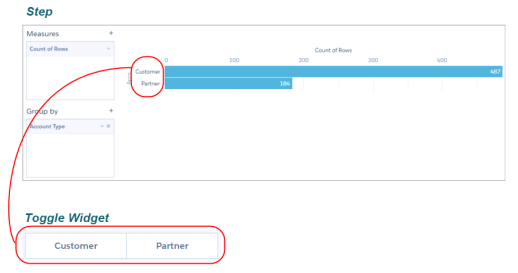
You can also create a custom query to specify a user-defined list of values for the toggle widget.
- Drag the toggle widget to the dashboard canvas.
-
To open the wizard, click the button inside the widget.
The Select a Field screen appears, showing a list of all dimension fields in the specified dataset.
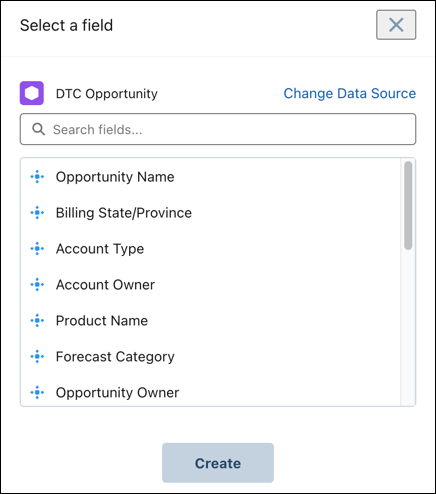
- To use a different dataset, click Change Dataset.
- Select the dimension field to show each of its values as a toggle option. Field can be selected from the list or by typing in its API name.
-
Click Create.
Behind the scenes, CRM Analytics creates a query grouped by the field that you selected. CRM Analytics adds the query to the query panel, making it available for use by other widgets in the dashboard. CRM Analytics doesn’t apply any selections to the widget.

-
If needed, increase the size of the widget to show the display names of all toggle
options.

-
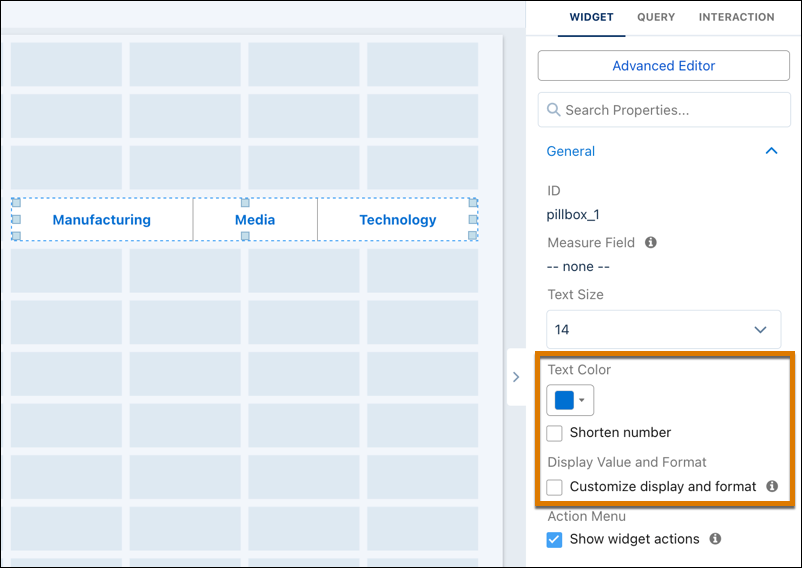
To change the widget and query properties, select the widget.
The Widget panel groups the widget properties into sections. So that you don’t accidentally overlook any properties, expand any collapsed sections.
-
To customize the appearance of the widget, set the widget properties.
For example, you can set the styling properties for all toggle options in the “General” section, except the selected option, which you set under the “Selected Tab Style” section. You might choose different styling for the selected toggle option to indicate which option is selected while viewing the dashboard.
-
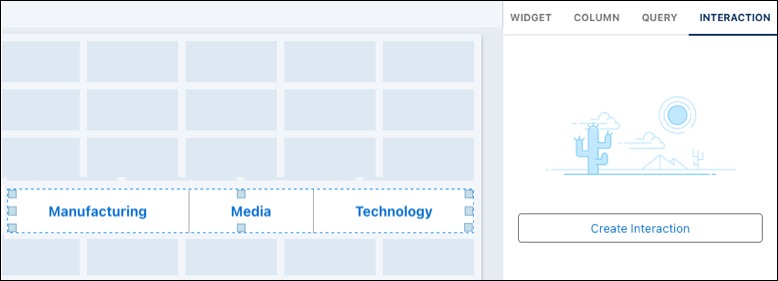
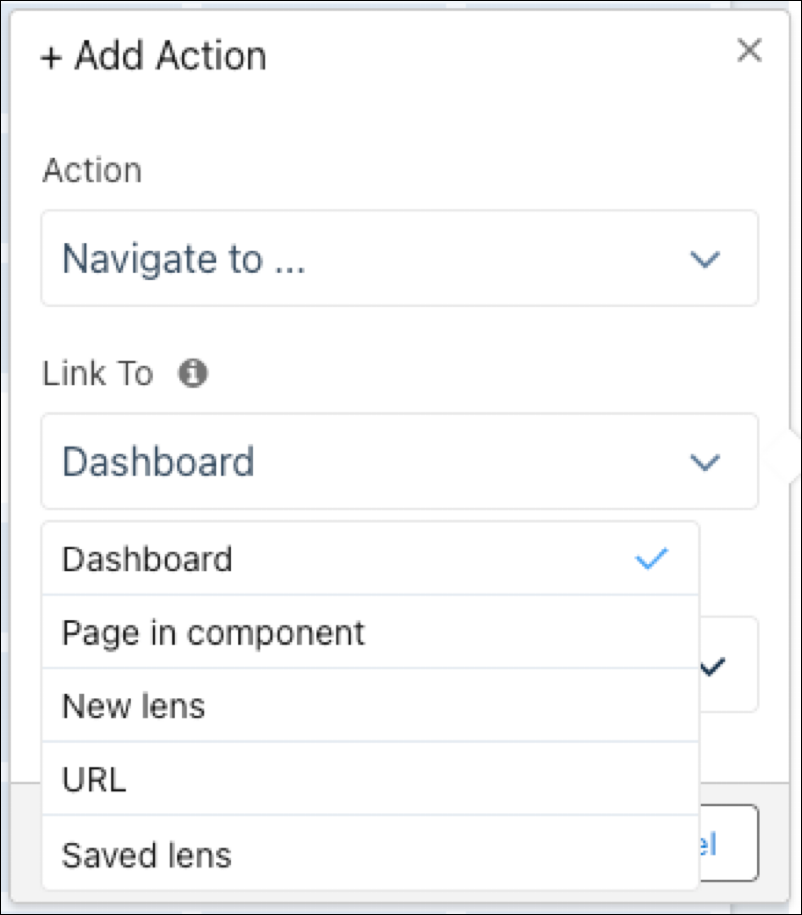
To add an interaction, select Create Interaction | +Add
Action.
-
Use the menu to set up an action.
-
Use the menu to set up an action.
-
To show and set the query properties, click Query in the right
panel.
For example, to enable this widget to filter other faceted widgets, select Broadcast selections as facets.While viewing the dashboard, a user can select a toggle option in this widget to filter other faceted widgets. To allow the viewer to make single or multiple selections, configure this widget’s query properties. You can specify whether selections are optional or required. You can also set an initial selection that applies when the dashboard opens. While viewing the dashboard, viewers can undo the selection or change the selection to filter the results differently. For information about setting an initial selection, see Set Initial Selections in the Dashboard.
- To preview your changes to the dashboard, click the Preview button.
- Save the dashboard.
Did this article solve your issue?
Let us know so we can improve!