
You are here:
Create a Recipe with Data Prep
Use a Data Prep recipe in CRM Analytics to clean, transform, and enrich data before loading it into one or more targets. Preview your results as you build the recipe to confirm that the logic is correct.
Watch a Demo:  Create a Data Prep Recipe (English Only)
- From Data Manager, click Recipes or Dataflows & Recipes.
- Click Create Recipe.
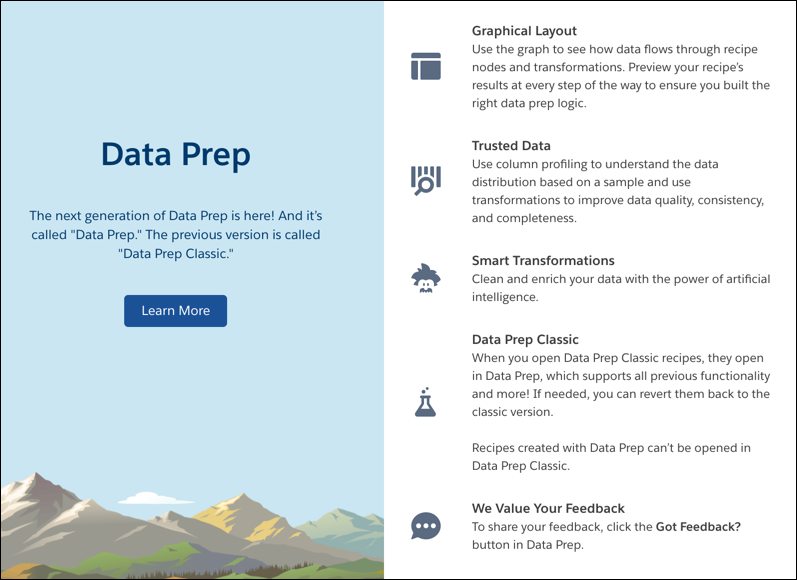
- Review the Data Prep welcome mat, and then click X to close
it.
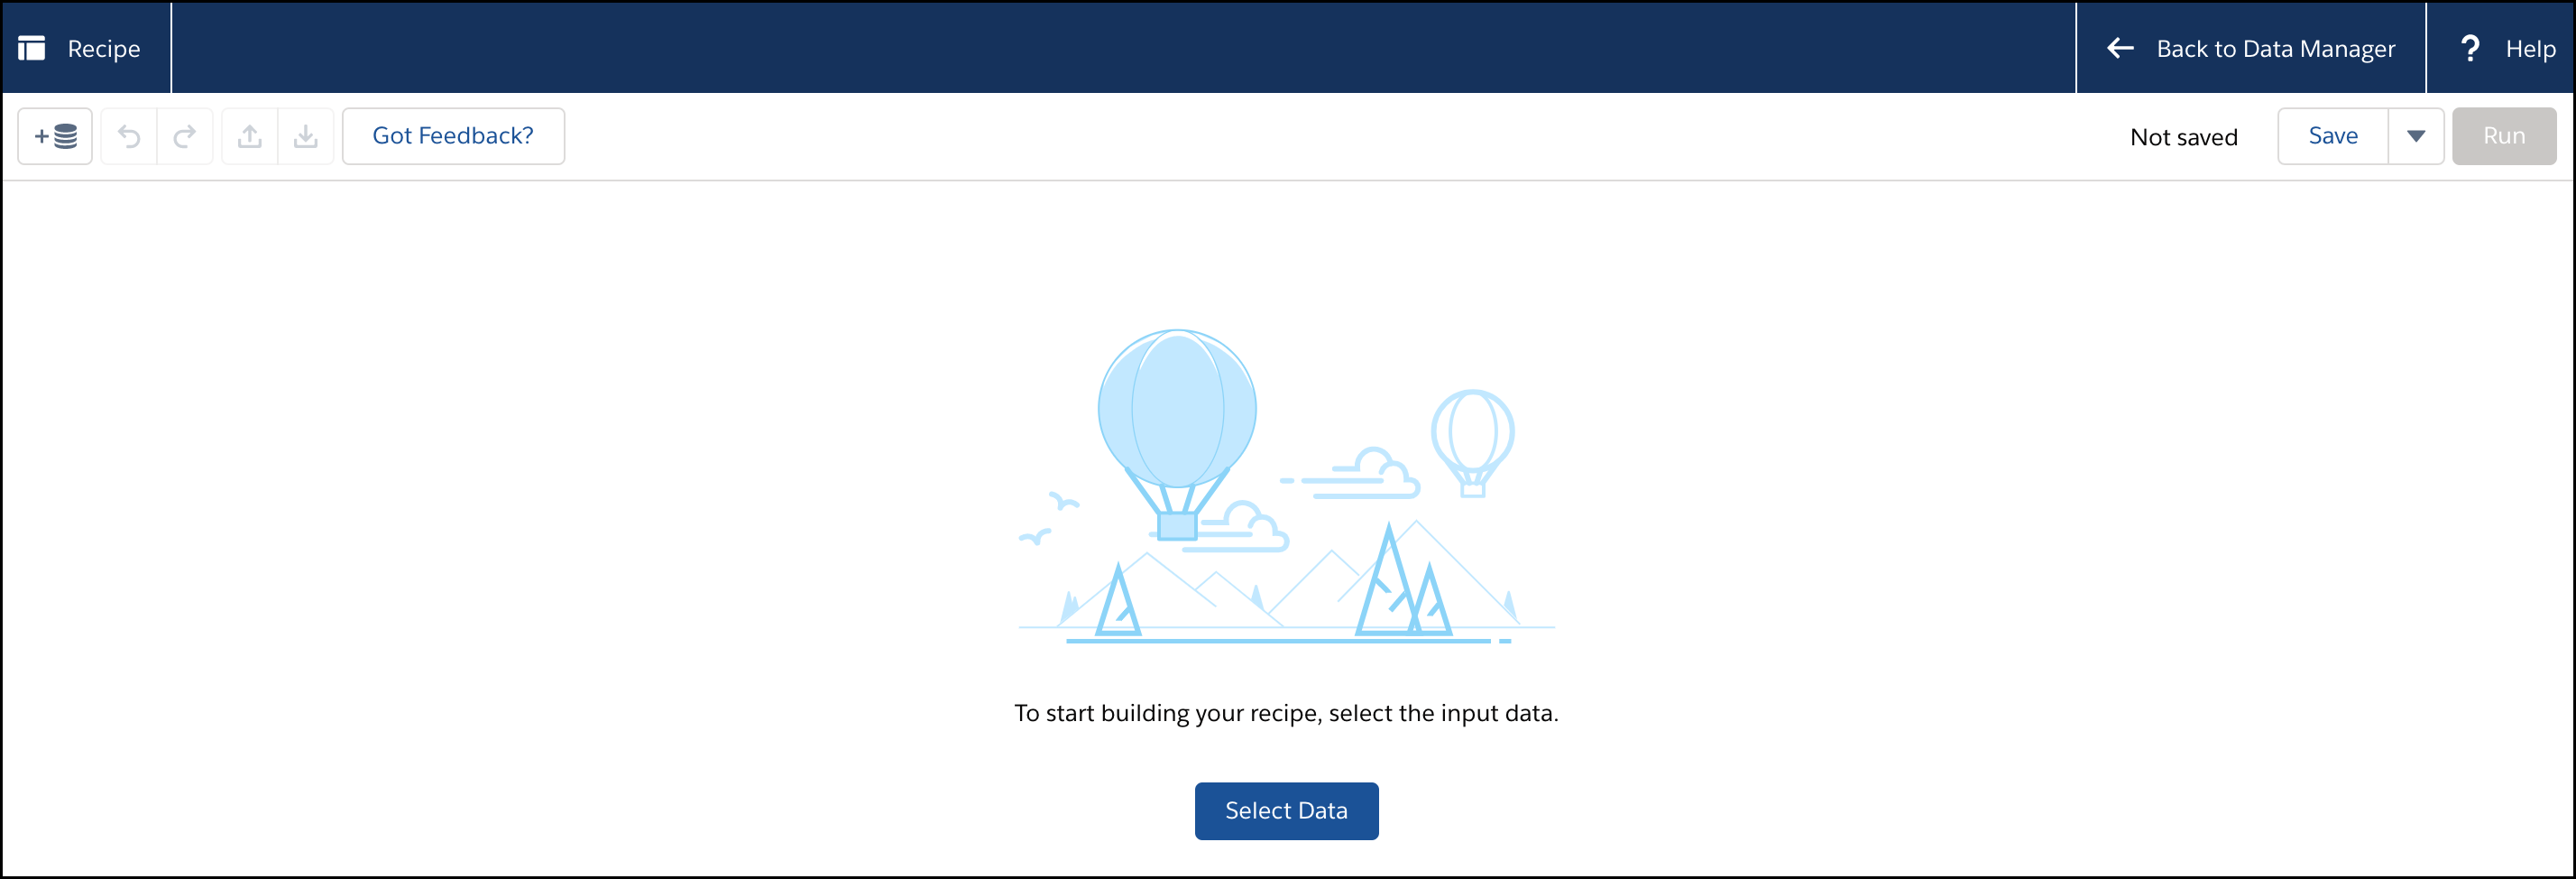
- Click Select Data.
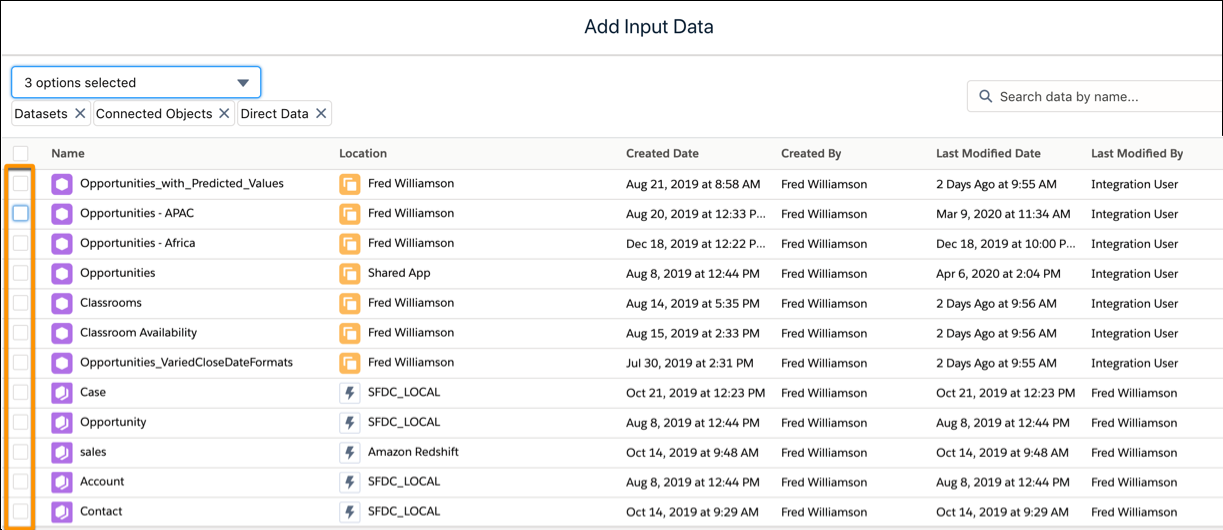
- Select the datasets, connected objects, or direct data that you want to include as
input for the recipe. If needed, you can add more data to the recipe later.
A direct data reference doesn’t store data in CRM Analytics. Instead, each time the recipe uses direct data, a query gets the data. In Data Manager, SFDC_Local connections represent data stored in CRM analytics. Therefore, direct data references aren’t included in SFDC_Local connections.
You can’t use a trended dataset as input data for a recipe.
- In the Selected Columns panel, select either Custom Columns to
choose the columns to include or All Columns to update all
columns when the recipe syncs.
By default, up to 50 columns are selected. If you add multiple data source objects, select each row individually to choose its columns. Selected Columns shows only columns for the highlighted row.

- Click Next.
Data Prep adds an Input node to the graph for each input data selection.
- To add a node to the recipe, click the Add Node button (
 ) between two nodes or at the end of the recipe, and then select the node type.
To show the Add Node button between two nodes, hover the cursor on the connecting line.
) between two nodes or at the end of the recipe, and then select the node type.
To show the Add Node button between two nodes, hover the cursor on the connecting line.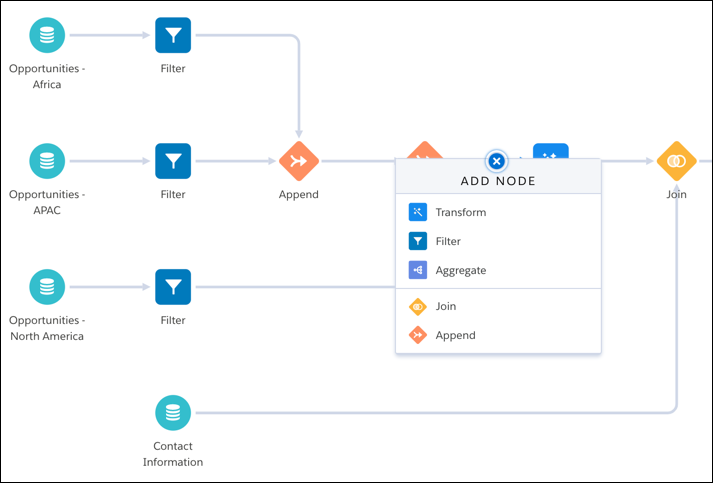
 Note If you want to flatten your hierarchy (flatten transformation), do so before you join datasets. If you flatten after the join, the transformation doesn’t create the flatten hierarchy data you expect.
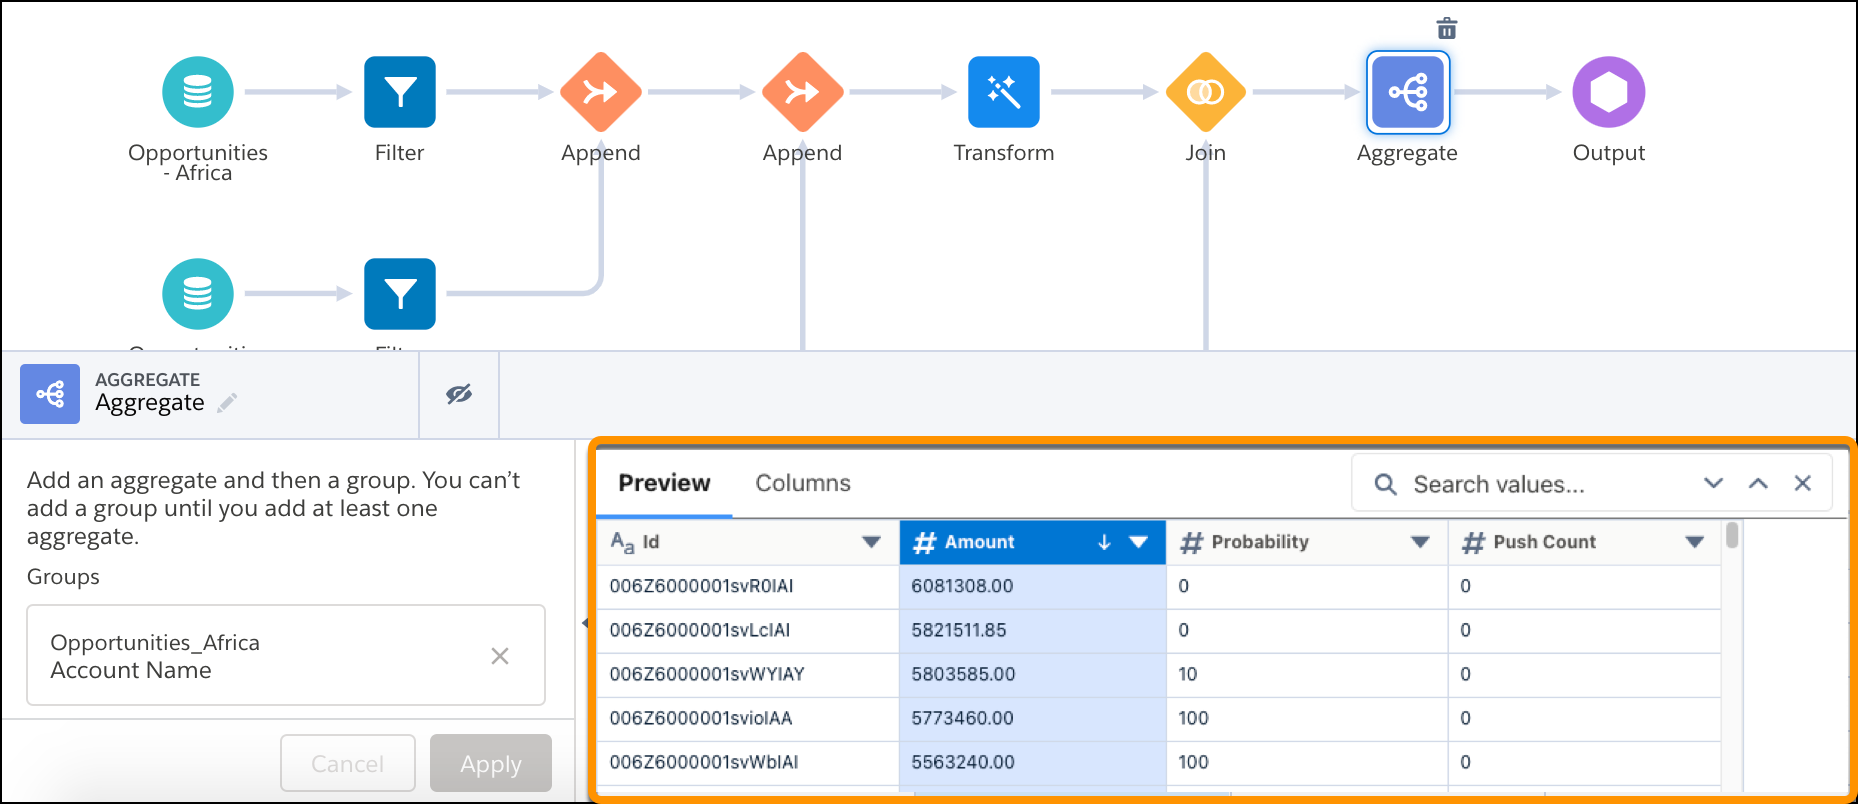
 - Preview the results of each node and transformation that you add to the recipe. Select
the node or transformation in the graph. To assist in reviewing the data, from the
column’s dropdown menu, you can choose a sort option or freeze the columns displayed on
the left of the preview. Clicking a row highlights it. You can then pan to review the
column values for that row. To find preview data enter a string in the search box. You
can also copy API names and cell values, and hover to see the full value in a
cell.
For example, selecting an Aggregate node shows these preview results.
- To edit or delete a node, select the node, click
 , and then select an action.
 - To edit or delete a transformation in a Transform node, select the Transform node,
select the transformation step, and then click
 or
or  .
. - To split the recipe into two branches, hover the cursor over the node where the branch
begins, click
 , and then select the node type to start the new branch.
You can branch a recipe to write results to multiple output nodes or to transform some of the rows before appending or joining them together again later.
- To connect, join, or append nodes in the graph, drag the Add Node button
(+) next to a node or Branch button () on top of another node in the recipe graph. Then select one of the Connect
Nodes options.
- To tell the recipe where to write the results, end the recipe with one or more Output nodes.
- To save the recipe, click Save and enter a recipe name and description.
- Nodes for Data Prep Recipes
In CRM Analytics, Data Prep provides nodes that allow you to bring in data, transform it, and write the results to a target. For example, you can use a Join node to add columns from a related object to a recipe. You add nodes in the Graph area of Data Prep. You can string together multiple nodes to sequentially change the flow of the data. - Transformations for Data Prep Recipes
In CRM Analytics, Data Prep provides transformations that allow you to prepare, clean, and transform your data. For example, you can use a transformation to create a calculated column based on a formula. You add transformations inside a Transform node. You can string together multiple transformations to manipulate data sequentially. - Connect and Reorganize Nodes or Branches in a Recipe
In CRM Analytics, connect disconnected nodes or branches to join or append data from any node to any other node in a Data Prep recipe. You can also create a branch at an intermediate node, and join or append it to another path in the recipe. - Copy and Paste a Recipe
In CRM Analytics, use the toolbar or keyboard shortcuts to copy and paste nodes within a single recipe or across multiple ones. To use this feature, enable clipboard access permissions in your browser. - Keyboard Shortcuts for Building Data Prep Recipes
Perform basic actions from your keyboard in CRM Analytics.