
You are here:
Transform Node: Transform the Data Before Loading It Into a Target
Use a Transform node in CRM Analytics to manipulate data based on the transformations added to the node. You can add one or more transformations to each Transform node. For example, you can add transformations to concatenate two columns, standardize the formats in a date column, and detect the sentiments of comments in a Feedback column. Each transformation modifies the data in a unique way. To manipulate data at multiple stages of a recipe, add a separate Transform node at each stage.
| User Permissions Needed | |
|---|---|
| To manage and create a recipe: | Edit Dataset Recipes |
Watch a Demo:  Prep Your Data with the Transform Node (English Only)
- In the recipe, select the Add Node button (
 ) between two nodes or at the end of the recipe. To show the Add Node button
between two nodes, hover the cursor on the connecting line.
) between two nodes or at the end of the recipe. To show the Add Node button
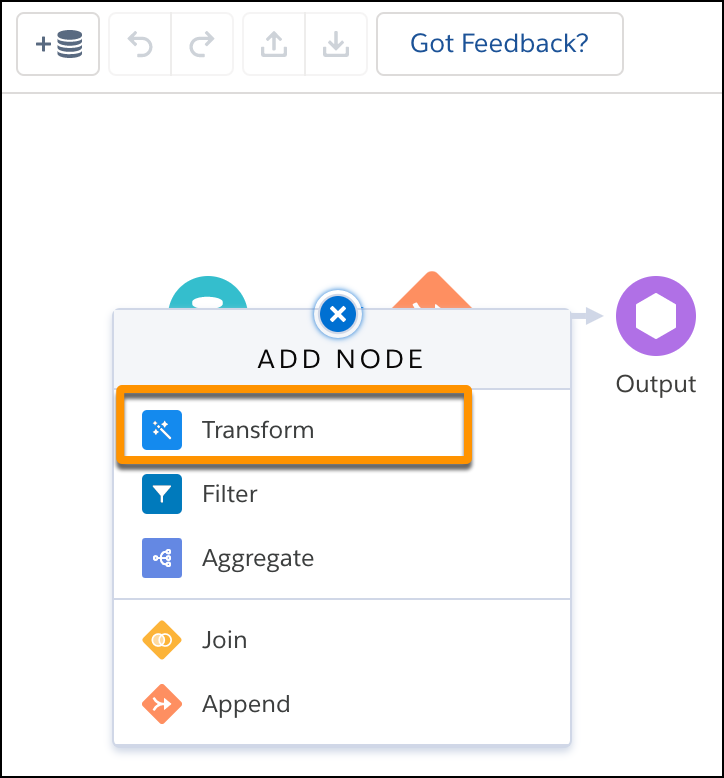
between two nodes, hover the cursor on the connecting line. - In the Add Node dialog box, select Transform.
- In the Preview tab of the details section, select one or more columns for which you want to transform their data.
- Use the Transform toolbar (1) to add a transformation based on the selected columns
.
Each time you add a transformation to the Transform node, it appears in the left panel (2). We refer to each card in the left panel as a step.
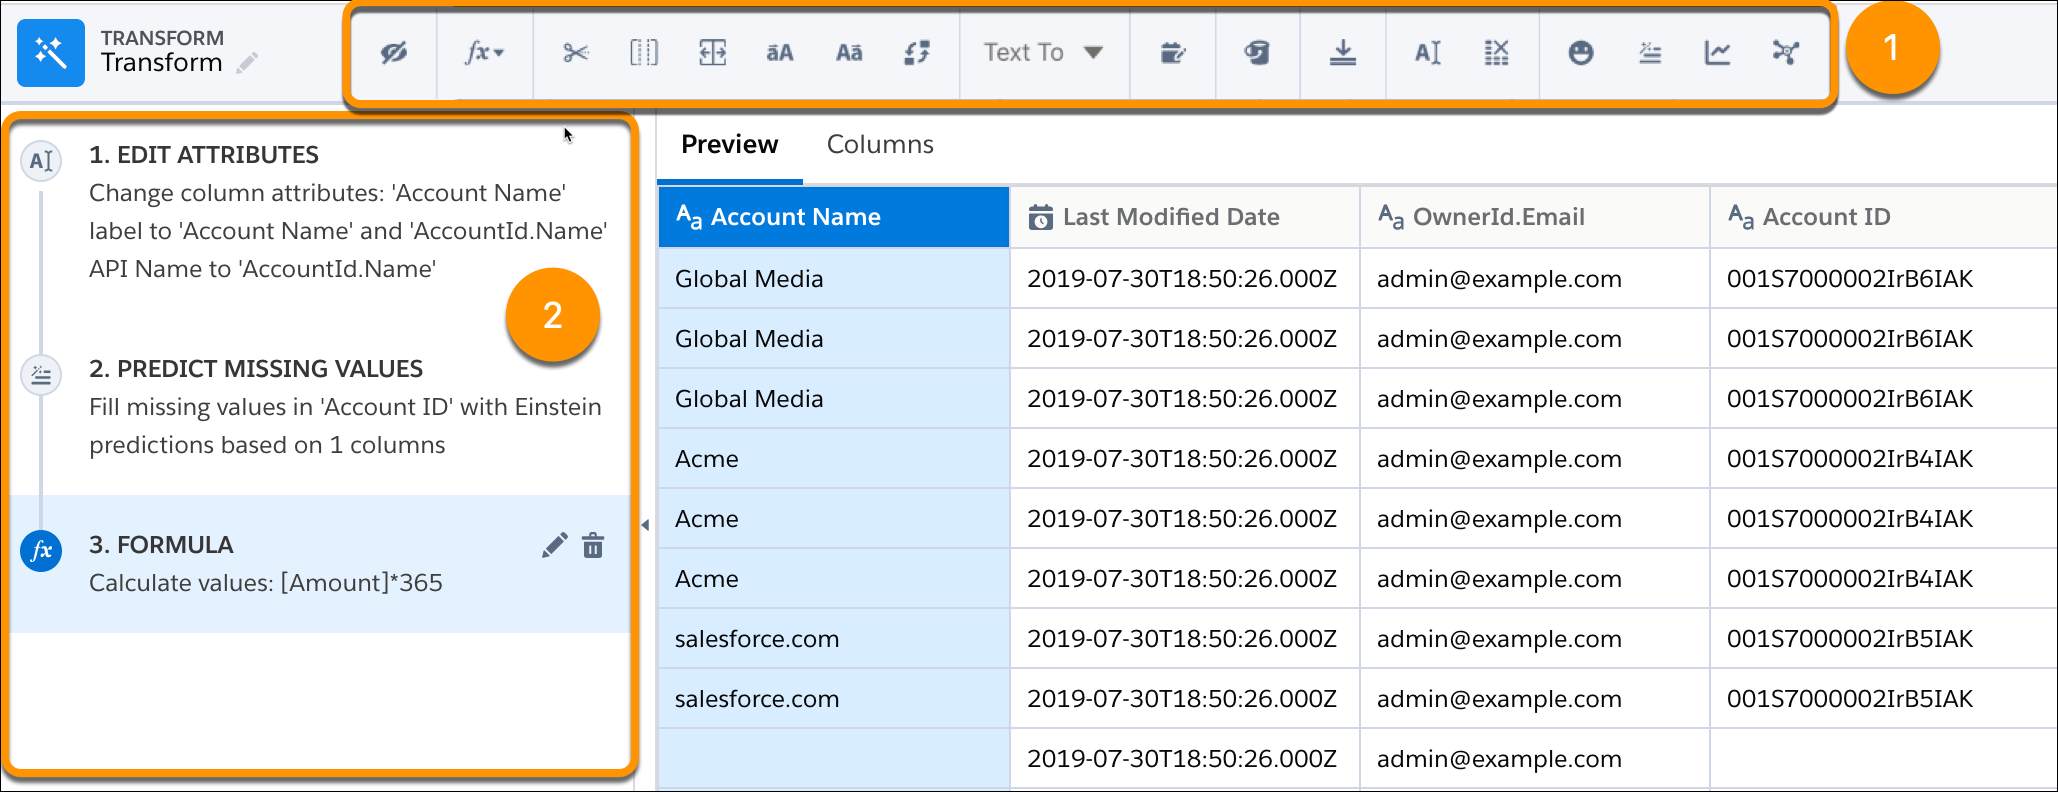
- To preview the results of a transformation in the Preview tab, select the step in the
left panel.
- To view the Graph area, click the Collapse button (
 ).
). - If needed, select a node in the graph to preview the results of the node.
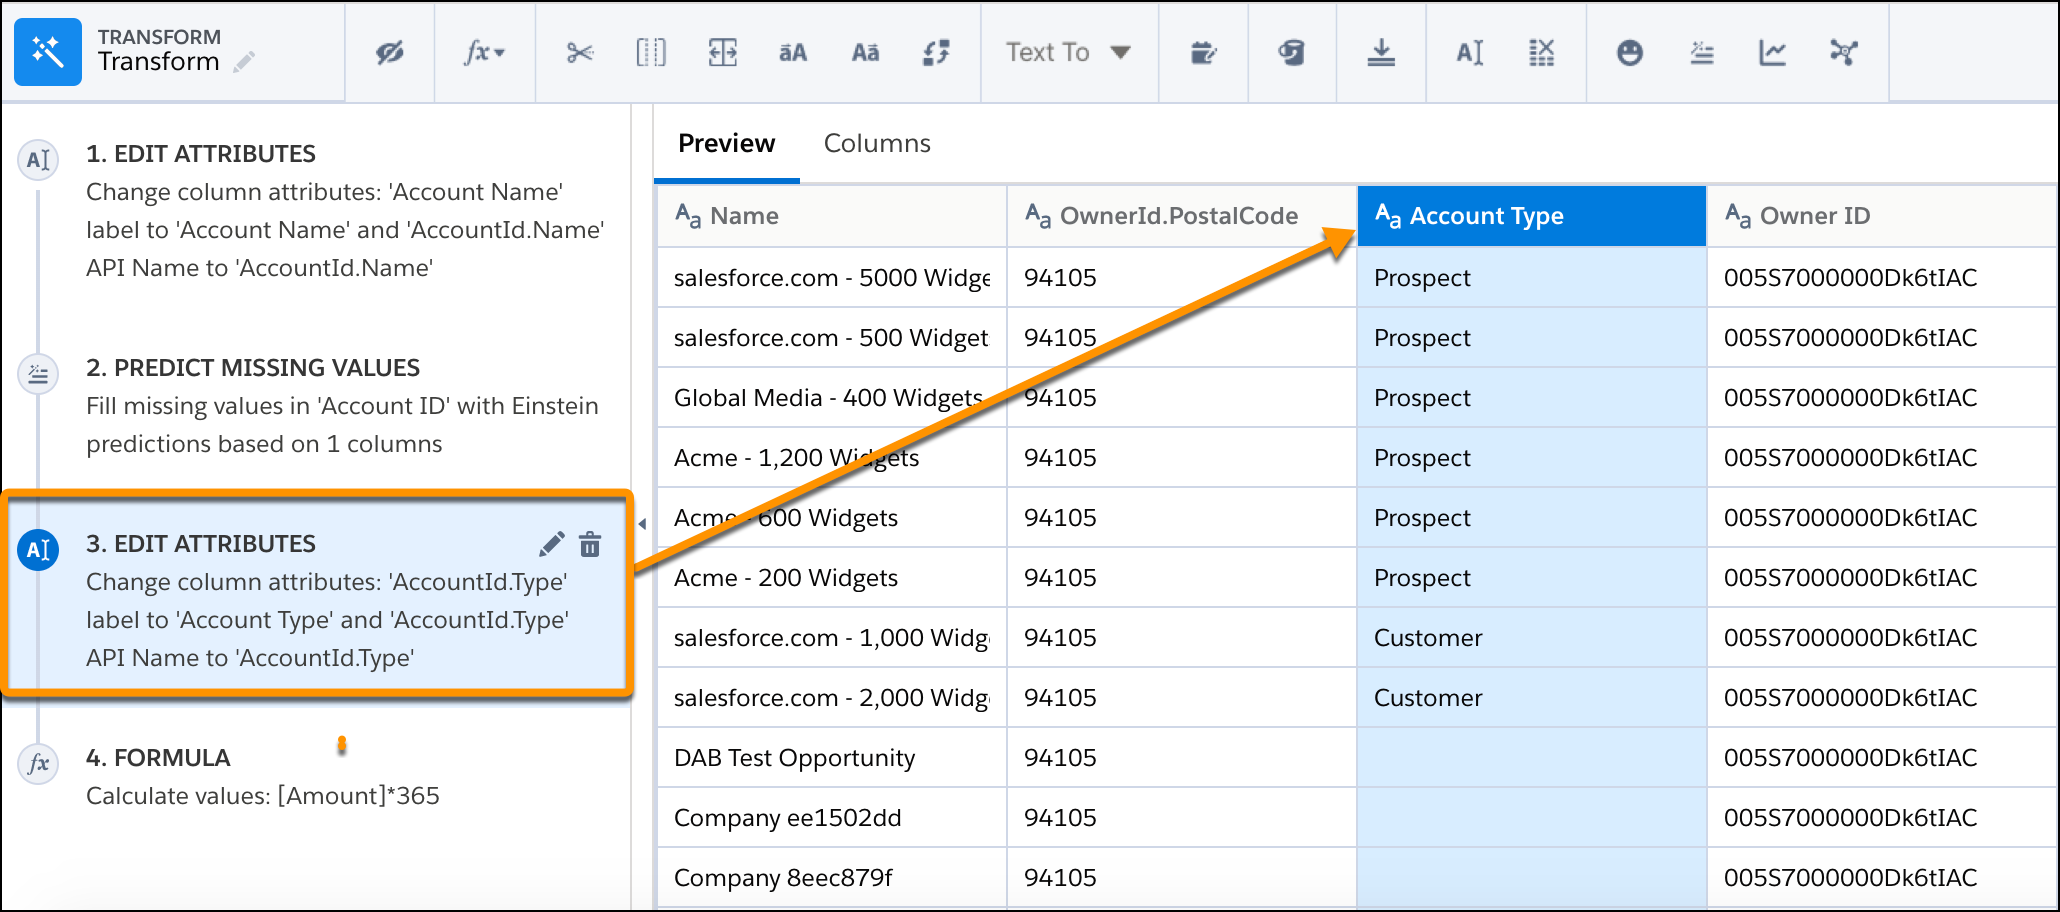
It’s always a great idea to preview results to ensure that each node and transformation returns expected results.
- If needed, add more transformations to the Transform node.
- Save the recipe.