
You are here:
Create the Dataset
Now that you updated the metadata file with the predicate, you can create the dataset.
Required Editions
| Available in Salesforce Classic and Lightning Experience. |
| Available with CRM Analytics, which is available for an extra cost in Enterprise, Performance, and Unlimited Editions. Also available in Developer Edition. |
| User Permissions Needed | |
|---|---|
| To upload a CSV and metadata file: | Upload External Data to CRM Analytics |
Warning If you wish to perform the steps in this sample implementation, perform the
steps in a non-production environment. Ensure that these changes do not impact other datasets
that you already created.
To create the dataset, perform the following steps.
- In CRM Analytics, go to the home page.
- Click Create | Dataset
- Click CSV.The following screen appears.
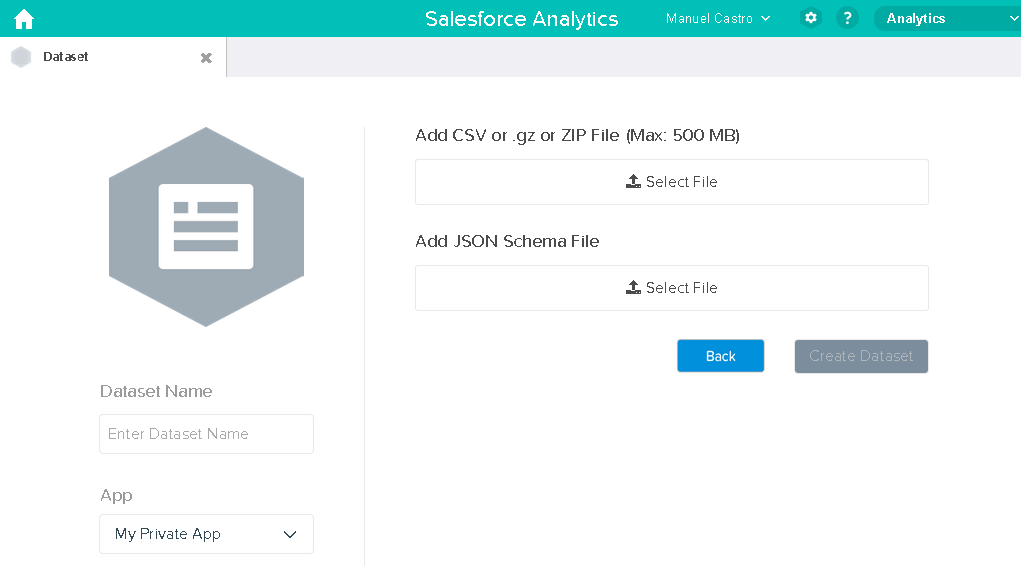
- Select the CSV file and metadata (schema) file.
- In the Dataset Name field, enter “SalesTarget” as the name of the dataset.
- Optionally, choose a different app where you want to store the dataset.
- Click Create Dataset.CRM Analytics confirms that the upload is successful and then creates a job to create the dataset. You can view the SalesTarget dataset after the job completes successfully.
- To verify that the job completes successfully, perform the following steps:
- Click the gear icon (
 ) and then
select Data Monitor to open the data monitor.By default, the Jobs View of the data monitor appears. It shows the statuses of dataflow and external data upload jobs.
) and then
select Data Monitor to open the data monitor.By default, the Jobs View of the data monitor appears. It shows the statuses of dataflow and external data upload jobs. - Click the Refresh Jobs button (
 ) to view
the latest statuses of the jobs.
) to view
the latest statuses of the jobs.
- Click the gear icon (
Did this article solve your issue?
Let us know so we can improve!