
Manually Migrate Active Data to a New Site
When your old source site and new target site are in the same realm, you can manually migrate your active data.
Required Editions
| Available in: B2C Commerce |
Follow these steps only if your old source site and new target site are in the same realm. If they're not, contact Customer Support ten days before the new site is set to go live, and request that they process data migration on the day that the new site goes live.
Warning Any error during this procedure can result in potential data
loss and malfunction of active data. If you have questions or are unsure of the process,
contact Customer Support to confirm that this is the correct procedure to migrate your
active data.
-
Before migrating your active data:
- Set the new site so it's online at least 2 hours before the end of the business day.
- Wait at least 90 minutes after changing the old site from online to maintenance.
-
Upload your active data from the old site. Complete these steps on the same
business day.
-
Log in the old site, click App Launcher
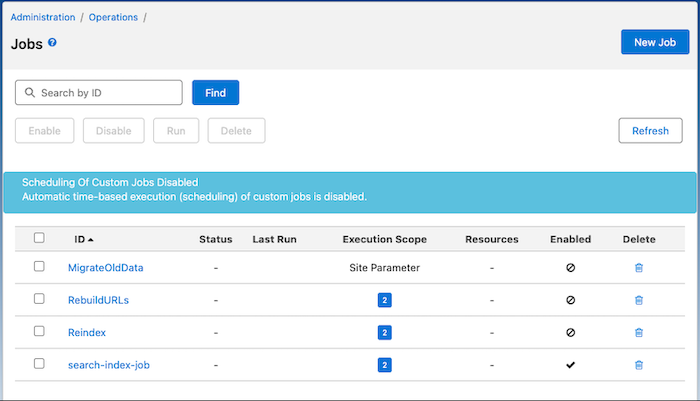
 , and select Administration | Operations | Jobs.
- Click New Job, and enter an ID and description.
- From the Job Steps tab, configure a step and select UploadActiveDataToStorage.
- Complete any required settings, and click Assign.
- Set the scope to Site Parameter.
-
Return to the main Jobs page, select the job, and click
Run.
Run the job immediately. Upon completion, note the storage folder name in the generated job log.
-
Log in the old site, click App Launcher
-
Download your active data to the new site. Complete these steps on the same
business day.
-
On the new site, click App Launcher , and then select Administration | Operations | Jobs.
- Click New Job, and enter an ID and description.
- From the Job Steps tab, configure a step and select DownloadActiveDataFromStorage.
- Complete any required settings. In the StorageFolderName field, enter the storage folder name listed in the old site's job log, and click Assign.
- Set the scope of the new site to Site Parameter.
-
Return to the main Jobs page, select the job, and click
Run.
Run the job immediately
-
On the new site, click App Launcher
Did this article solve your issue?
Let us know so we can improve!