
You are here:
Set Up Commerce with the Automated Assistant
Use the automated and guided assistant to configure your Salesforce org for Commerce and create an online store. Preview and polish the store before going live.
Required Editions
If you prefer to set up Commerce manually, see Set Up Commerce Manually.
Click below to watch a video about the set up process. For a full screen experience go to Get Started with Salesforce Commerce.
-
Configure your Salesforce org for Commerce.
-
Click
 at the top of the page, and then select Setup.
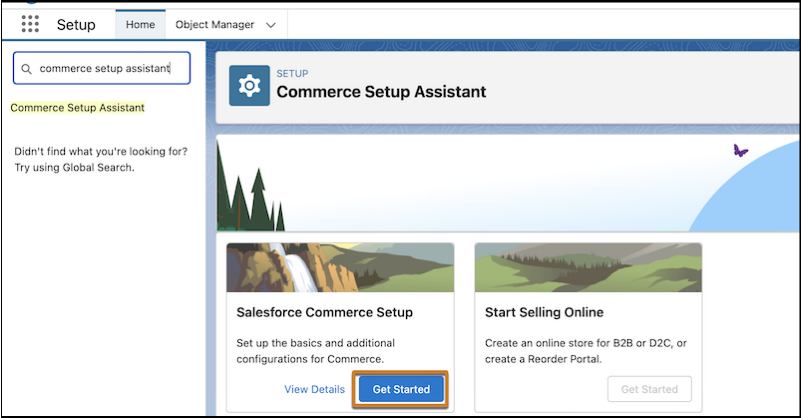
- In the Quick Find box, enter and select Commerce Setup Assistant.
- On the Salesforce Commerce Setup tile, click Get Started.
-
Follow the prompts. Review and approve changes before anything happens
automatically.
Your Commerce org and all required licenses, permissions, and feature settings are configured and ready to use.
-
Click
-
Create your store.
- On the Start Selling Online tile, click Get Started.
-
Choose the type of store that you want to create.
You can’t change the store type after creation.
-
Follow the prompts.
For more in-depth information about languages, locales, currencies, URL naming conventions, and more, see Store Setup Considerations.
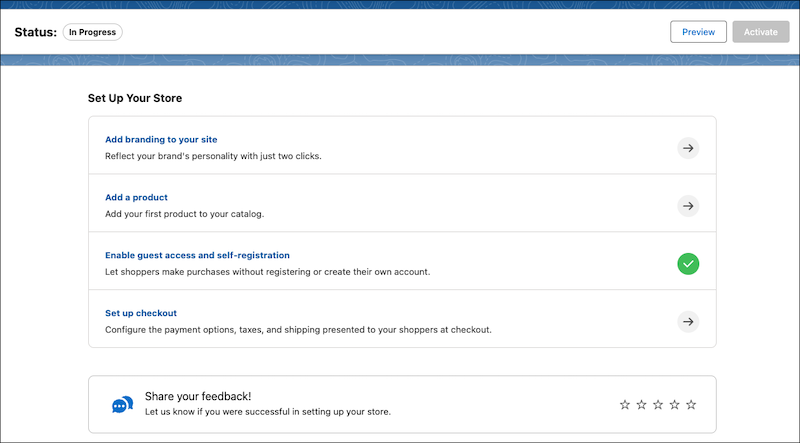
After your store is created, you land on the store home page. The remaining tasks to get your store up and running are listed on the page.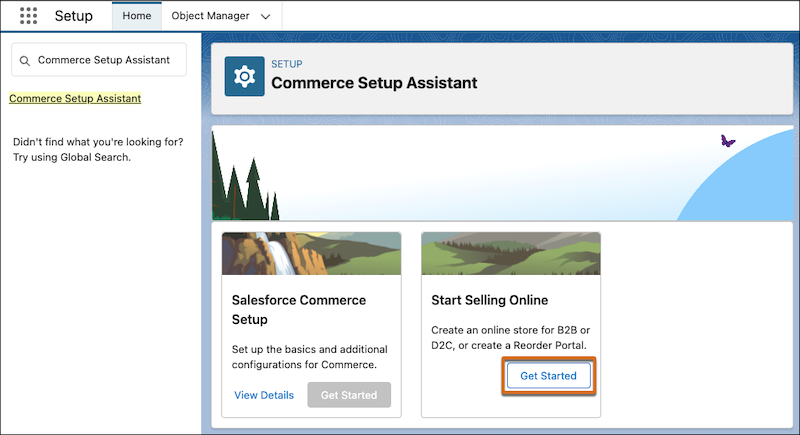
-
Click each task on the store home page and follow the prompts. For more information and
documentation resources, see Commerce Store Setup Tasks.
To see what your store looks like at any stage of the process, click Preview.
-
After you complete the setup tasks, click Activate to see what
the store looks like or show it to colleagues.
To optimize security, scalability, and performance, configure a custom domain and CDN before you go live to customers.
-
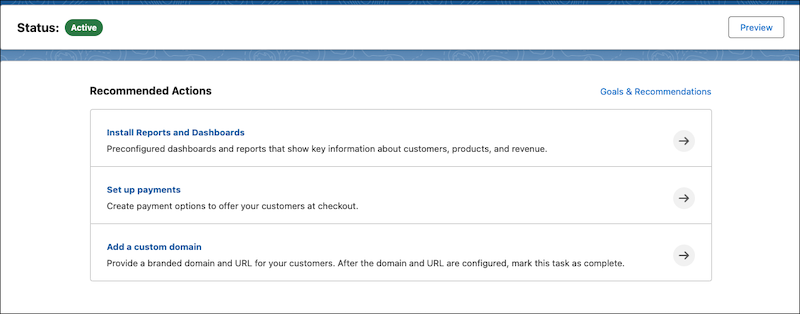
To keep getting your store ready for customers, follow the recommended actions on the
store home page.
Did this article solve your issue?
Let us know so we can improve!
