
You are here:
Join Objects in a Batch Data Transform
On the batch data transform canvas, use a node to create a join between data objects. To make sure that data from multiple data objects is combined accurately and not duplicated, always add a key qualifier field to create a fully qualified key (FQK) in a join. To ensure that null values in a key qualifier field are matched correctly, use a null-safe join by replacing null values with null strings or empty strings.
All data lake object (DLO) fields used in the data transform table join must have an associated key qualifier. See Data Interpretation with Fully Qualified Keys and Configure a Key Qualifier Field. Data 360 automatically adds key qualifiers to data model object (DMO) fields.
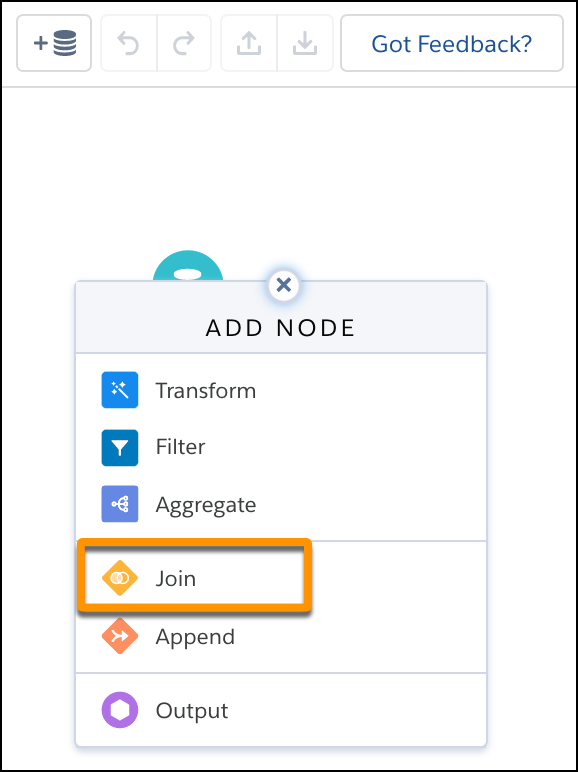
- Between two input data sources or at the end of the batch data transform, click
Add Node
 .To show the Add Node button between two input data source objects, hover the cursor on the connecting line. To join an input source to itself, drag the Add Node button to it and select Join.
 - Select Join.
-
Select the data to join, choose which fields to include and click
Next.
Currency fields on each side of a join must match. If no currency is selected, the left side of the join's currency is used. For right outer join's, the right side of currency is used.
- Choose the join type. The batch data transform adds suggested join keys from both sets of input data. To improve results, use up to five keys to match records. For example, when you’re adding contact information to lead data, using only names as a match can result in duplicate matches if different leads have the same name. Instead, use two keys—one to match on name and one for company—to ensure that you’re matching the correct data.If you use the Lookup join type and want to return all matching rows from the correct input data source, select Lookup Multiple Values. If you don’t select this option, the lookup returns only one of the matching rows.For better performance, use a primary key column as one of the keys in your join condition.
- To create FQKs and ensure that the table join works correctly, under Join Keys, click the plus sign (+) and add key qualifier fields.
- Apply your changes.
- On the canvas, in a key qualifier field column on one side of the join, replace all
null values with string values.You can’t compare null values with each other. If a null value is present, the table join doesn’t work correctly.
- Click Add Node and select Transform.
- Under Columns, select a key qualifier field.
- In the Transform toolbar, click the Replace icon.
- Select Search for null (1), and in the Replace text box, enter --NULL-- (2). Alternatively, enter an empty string (" ") or a value that doesn’t conflict with the value of an existing key qualifier field when compared to the other side of the join.
- Apply your changes.
- Repeat these steps for the other side of the join.
- Preview your changes, and on both sides of the join, make sure that no null values appear in the key qualifier field column.
- To prevent API name conflicts between fields in the left and right data sources, enter
a prefix for fields coming from the data source on the right.The join node prepends the API name prefix of all fields on the right. For example, if you specify Case as the prefix, all field API names on the right begin with “Case.”
- On the Columns tab in the right panel, select the columns to include in the batch data
transform.The Source column shows the object that each column comes from.
- To preview column data, click Preview.To hide columns while in Preview, click the Hide button (
 ). Hidden columns
are still included in the data transform. To show columns, click the Show button (
). Hidden columns
are still included in the data transform. To show columns, click the Show button ( ). Preview
can display up to 100 columns.
). Preview
can display up to 100 columns. - Apply your changes, and save the batch data transform.
See Also
Did this article solve your issue?
Let us know so we can improve!