
You are here:
Deploy Data 360 Changes Across Orgs
You can make Data 360 changes in a sandbox and then deploy them to a production org or another sandbox org. You can do this by using a DevOps data kit and a change set, or the Salesforce command line interface.
Required Editions
| Available in: All Editions supported by Data 360. See Data 360 edition availability. |
| User Permission Set Needed | |
|---|---|
| To deploy Data 360 changes: | Permission set:
|
This process details how to deploy changes from a sandbox to a production org. Use
the same steps to deploy changes from your production org back to a sandbox. The process
involves multiple steps within both Data 360 and the Salesforce Platform. Bookmark ( ) this page or keep it open in a separate window to refer to this topic. For more
information, see Change Sets.
) this page or keep it open in a separate window to refer to this topic. For more
information, see Change Sets.
To deploy Data 360 changes using the Salesforce command line interface, see Use CLI to Deploy Changes from a Sandbox to Data Cloud.
Step 1: Create a Deployment Connection
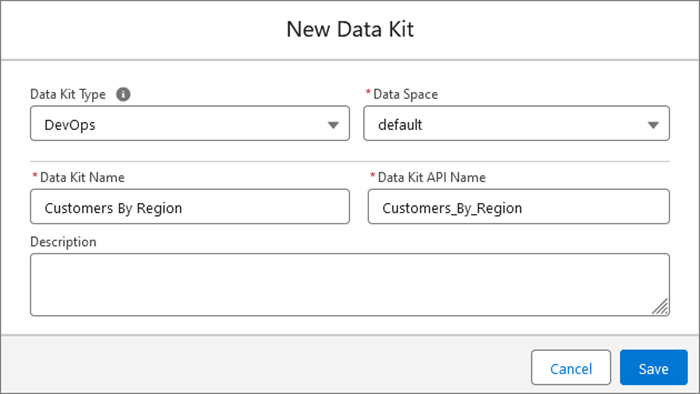
Step 2: Create a DevOps Data Kit
- In the sandbox org, from Data Cloud Setup, create a DevOps data kit. See Create a Data Kit.
- For Data Kit Type, select DevOps.
-
Select a data space.
- Add the Data 360 components that you want to deploy to the DevOps data kit.
-
To review the auto-publishing sequence of the data kit components in target org,
click Publishing Sequence.
The system publishes components based on their creation dates. Review the publishing sequence for these components.
- Click Save.
If you create a data space in a sandbox that doesn’t exist in the production org, and you want to deploy components from that data space, you must first manually create the data space in production. The data space isn’t created when you deploy the data kit.
Step 3: Create and Upload an Outbound Change Set
- In the sandbox org, from Setup, create an outbound change set. See Create an Outbound Change Set.
- Add the DevOps data kit to the outbound change set.
- In the Component Type field, select Data Package Kit Definition and select the DevOps data kit that you want to add. See Select Components for an Outbound Change Set.
-
In the outbound change set, add the data kit dependencies. See View and Add Dependent Components to a Change
Set.
When you add dependencies, there can be multiple pages of components, so be sure to scroll through all the pages.If your data kit includes any key qualifier files related to DMOs or relationships, make sure to delete them.
- If you add a data kit that contains a custom DMO to the outbound change set, you must add the DMO relationships to the change set. However, don't add relationships for derived objects, like unified individuals, to the change set. These relationships are automatically handled through their source objects. In the Change Set Components section, click Add. Then from the Component Type field, select Field Source Target Relationship, and add the relevant relationships to the change set.
- Upload the outbound change set. See Upload an Outbound Change Set.
Step 4: Deploy the Inbound Change Set and the Data Kit
-
In the production org, from Setup, deploy the inbound change set. See Deploy a Change Set.
This step deploys the data kit and all the features in the data kit.
-
Verify the deployment status of the data kit components.
- From Data Cloud Setup, in the Quick Find box, enter Data Kits.
- Select Data Kits and select the DevOps data kit.
-
On the Deployment History tab, verify the progress of the deployment.
If a component in the deployment fails, the components after it in the sequence aren’t deployed.
When you deploy a data kit using a change set, the system automatically deploys the data kit and its components. If you deploy the same data kit using another change set , the data kit installs but doesn't deploy the components. To complete the deployment, open your data kit, and click Deploy Data Kit.