
You are here:
Find and Create Asset Files in Experience Builder
Upload and select images for your header, logo, rich content editor, and custom components using the file selector in Experience Builder. After they're uploaded, files are converted to packageable asset files and stored in your org asset library for easy reference and retrieval.
Required Editions
| Available in: both Salesforce Classic and Lightning Experience |
| Available in: Enterprise, Performance, Unlimited, and Developer Editions |
| User Permissions Needed | |
|---|---|
| To create an Experience Cloud site: | Create and Set Up Experiences AND View Setup and Configuration |
| To customize or publish an Experience Cloud site: |
|
| To edit or delete asset files or to add asset files to the Asset Library by default in Experience Builder or Salesforce CMS: | Customize Application |
-
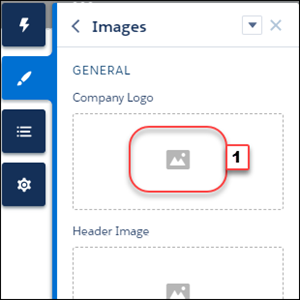
From Experience Builder, open the
Theme panel and select Images. Click an image icon (1) to open the
unified file selector.
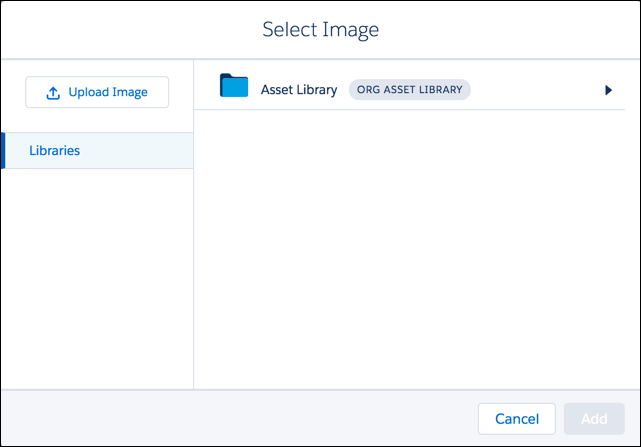
 The file selector displays only image files, so you don’t have to wade through all your files to find your logo or header image. If the image file you want is already an asset file, it’s in the asset library, which is clearly marked by the Org Asset Library badge. Asset files for your Salesforce org and all your sites are stored in the Org Asset Library, so you don’t need to maintain copies in different places.
 -
Select an existing file or click Upload Image to add a new one.
 When you add an image to your site for the first time, an asset file is automatically created and stored in the Org Asset Library. Admins have full access to the Org Asset Library and can search for, tag, and subscribe to asset files.
To provide library access to users, add them as members of the library with the appropriate permissions. Users without these permissions don’t see the Org Asset Library. The Org Asset Library is available in all new orgs, and is automatically activated in existing orgs.
If public access is enabled in Experience Builder at the page or site level, the Let guest users view asset files and CMS content available to the site preference is enabled in Administration | Preferences. This preference remains enabled as long as any page has public access enabled. If you upload images for use on site login pages, be sure that this preference is enabled.