You are here:
Migrate the Datapacks into Salesforce Org
For the third step to deploy the Industries CPQ in LWC, migrate the Industries CPQ files. This procedure converts the resources to FlexCards and uploads them to your Salesforce org.
-
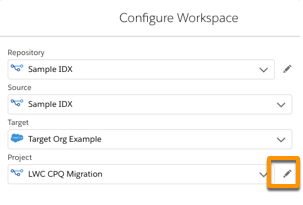
In IDX, click the configure icon
 to configure the IDX workspace.
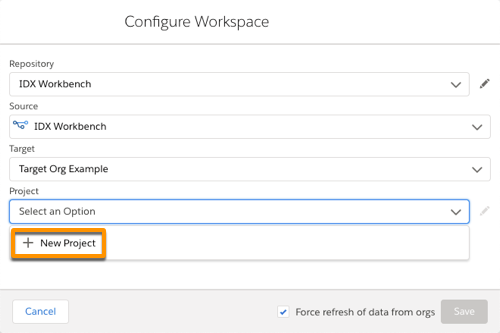
- In Configure Workspace dialog, choose the source that's the same as your repository folder name.
- From the Target list, click New Environment and log into your Salesforce org with Winter '22.
- From the Project list, click New Project.
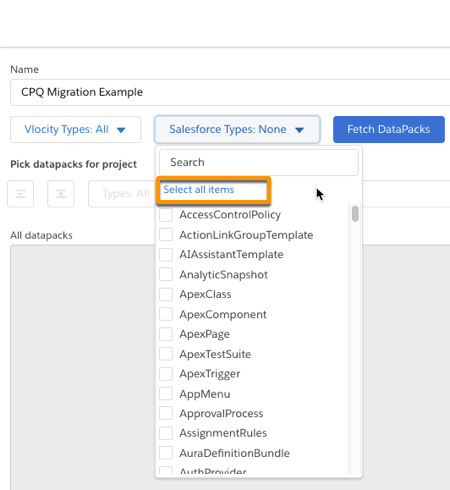
- Enter a project name, and select Vlocity Types: All and Salesforce Types: All.
-
Click Fetch Datapacks.
These items are shown in IDX Workbench.
-
Data Mapper
-
IntegrationProcedure
-
OmniScript
-
VlocityCard
-
Applications
-
Flexipages
-
webLinks
-
-
Migrate the Data Mapper and IntegrationProcedure
components.
-
In the All DataPacks list, select Data Mapper and IntegrationProcedure, move them to the Selected Datapacks list, and click Save.
-
Click Save again.
It can take a few minutes to move the datapacks.
-
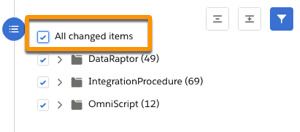
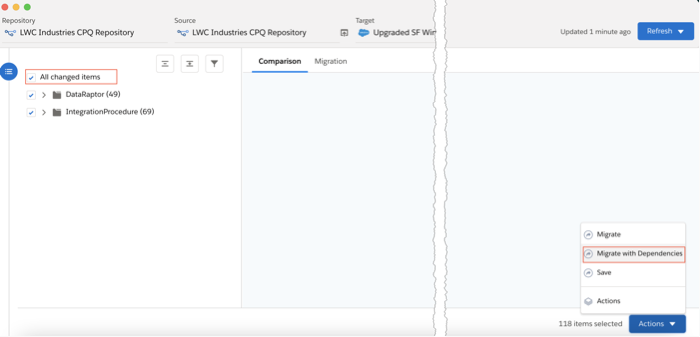
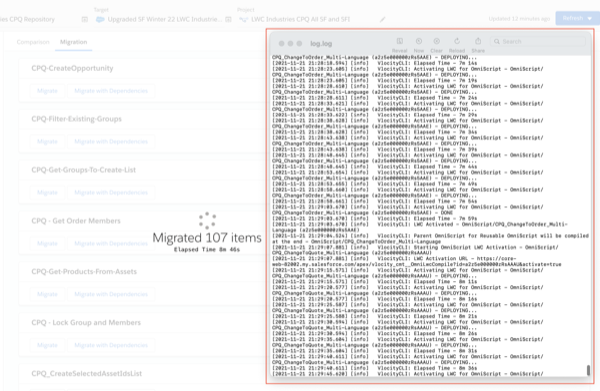
In the main IDX window, select All changed items.
-
From the Actions menu, select Migrate with Dependencies.
The migration starts. When it completes, the results appear.
-
If components migrate successfully, go to step 8.
If the migration fails to move a few artifacts, choose the ones that failed, and click Migrate with Dependencies again.
-
Check that you’ve correctly configured the Remote Site settings of your Organization.
If not done correctly, you'll see a Warning message after loading the Omnistudio FlexCards item from the App Launcher.
-
To fix the remote settings, click Setup
 and open Remote Site Settings.
 -
Configure the following sites with the URLs for your org.
Remote Site Name
Remote Site URL
Active
EnableLWC1619850758586
https://my-domain-name--vlocity-cmt.visualforce.com
Example: https://core-web-82002--vlocity-cmt.visualforce.com
True
EnableLWC1630514473285
https://my-domain-name.lightning.force.com
Example: https://core-web-82002.lightning.force.com
True
EnableLWCPreview1630514473285
https://my-domain-name.vlocity-cmt.instance.visual.force.com
Example: https://core-web-82002--vlocity-cmt.na162.visual.force.com
True
-
-
Migrate the Omniscript and VlocityCard components.
-
From the Configure Workspace window, click the pencil icon for Project.
-
In the Selected Datapacks list, select Data Mapper and IntegrationProcedure, and move them to the All DataPacks list on the left.
-
In the All DataPacks list, select OmniScript and VlocityCard, move them to the Selected Datapacks list, and click Save.
-
Click Save again.
It can take a few minutes to move the datapacks.
-
In the main IDX window, select OmniScript and VlocityCard.
-
From the Actions menu, select Migrate with Dependencies.
Don’t close IDX because it can take time to migrate and compile all of the FlexCards. It can appear that nothing is happening, but IDX is migrating the components.
-
To check the migration progress, select Debug > Open Logs.
-
When the migration is complete, select all failed components, and select Actions > Migrate with Dependencies.
If components fail with the message "errorCode":"AURA_COMPILE_ERROR," some FlexCards didn't migrate or activate successfully. FlexCards have a hierarchical structure. The migration can fail because some FlexCard components depend on others that didn't migrate or activate successfully.
In these cases, select the failed components, and select Actions > Migrate with Dependencies again.
-
If components continue to fail migration, continue to select and migrate the failed components.
-
As an alternative solution, migrate again all the OmniScript and VlocityCard components.
-
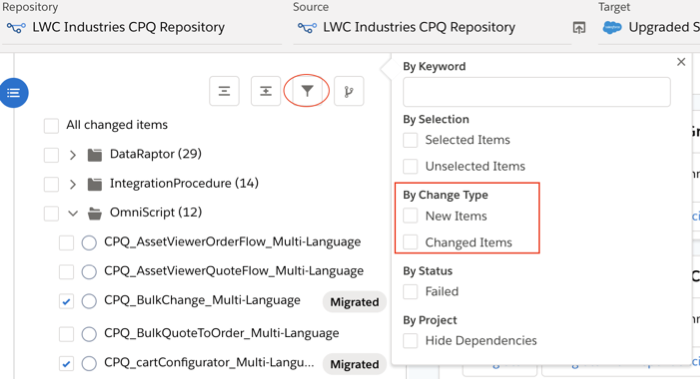
To see all these items, change the filter conditions for the section, and deselect New Items and Changed Items.
All the items for OmniScript and for VlocityCard are visible.
-
In the All DataPacks list, select OmniScript and VlocityCard, and select Actions > Migrate with Dependencies again.
-
-
Migrate the Applications, flexipages, and webLinks
components.
-
From IDX Workbench, click the pencil icon to open the Configure Workspace Window.
-
From the Configure Workspace window, click the pencil icon for Project.
-
In the Selected Datapacks list, select OmniScript and VlocityCard, and move them to the All DataPacks list on the left.
-
In the All DataPacks list, select Applications, flexipages, and weblinks, move them to the Selected Datapacks list, and click Save.
-
Click Save again.
It can take a few minutes to move the datapacks.
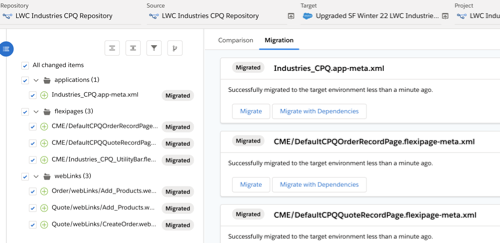
After the components are migrated, IDX Workbench exposes them: applications, flexipages, and weblinks records show a plus
 symbol.
 -
Select All Change Items and then Actions > Migrate with Dependencies.
After a few minutes, IDX Workbench shows that items are migrated.
-
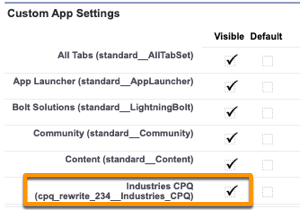
- If Industries CPQ isn't visible in the App Launcher after the migration, change the app's visibility.