
You are here:
Set up Partner Accounts and Contractor Users
Set up Partner Accounts and Contractor Users access to the Contractor Portal.
Set up a sample Account and Contact for a contractor. Setting up the Account and Contact sends an email to the sample contractor with the login details and account creation steps. This allows you to test the Contractor Portal login process before you publish the Portal.
-
Create an account.
- From the App Launcher, search for Accounts.
- On the Accounts page, click New.
-
Enter an account name, and then save your changes.
For example, enter Salesforce Contractors.
-
In the new account, from the Actions dropdown, select Enable As Partner.
 Note On the Account page of the new account, from the address bar of the browser, copy the alphanumeric code after lightning/r/Account/ to your notepad. This is the account ID for the contractor account.
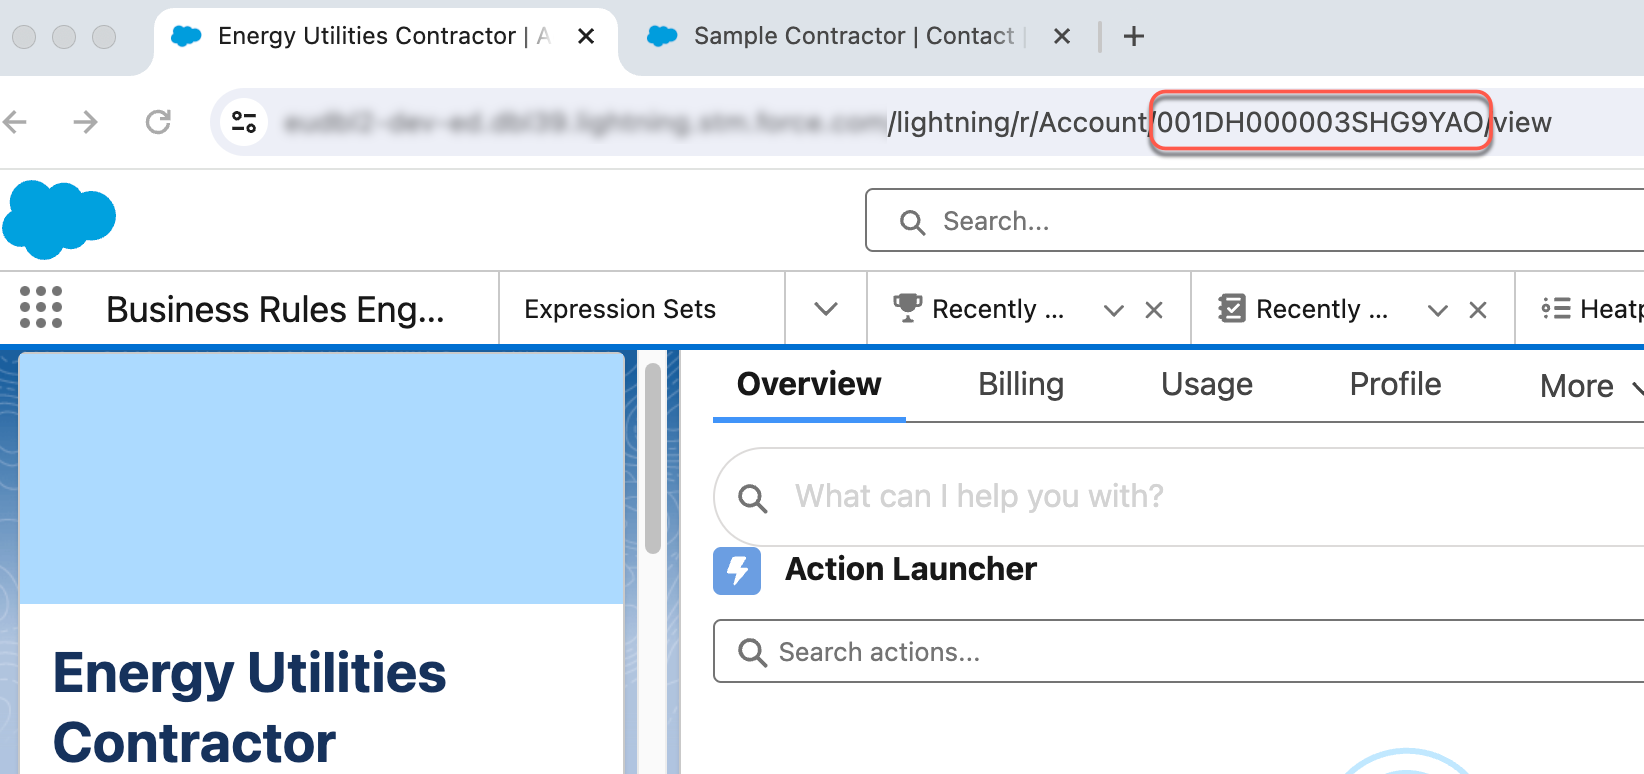
-
Create a contact.
- From the App Launcher, search for Contacts.
- On the Contacts page, click New.
-
Enter the details of the contract.
For example, in First Name, enter Astro, and in Last Name, enter Nomical.
The Email account receives steps to create a password and get started. For demo purposes, you can enter your own email.
-
On the New Contact page, select the Account Name created in the previous step, then save your changes.
For example, click Salesforce Contractors.
-
In the newl contact, from the Actions dropdown, select Enable As Partner.
The Users page opens.
- Click New User.
-
Create a user with Partner Community license and Energy Utilities Contractor User profile.
You can name it Energy Utilities Contractor User.
- In the Permission Set Assignments section, click Edit Assignments.
-
Assign these permission sets:
-
Contractor Energy Utility Program
-
OmniStudio User
-
-
Save your changes.
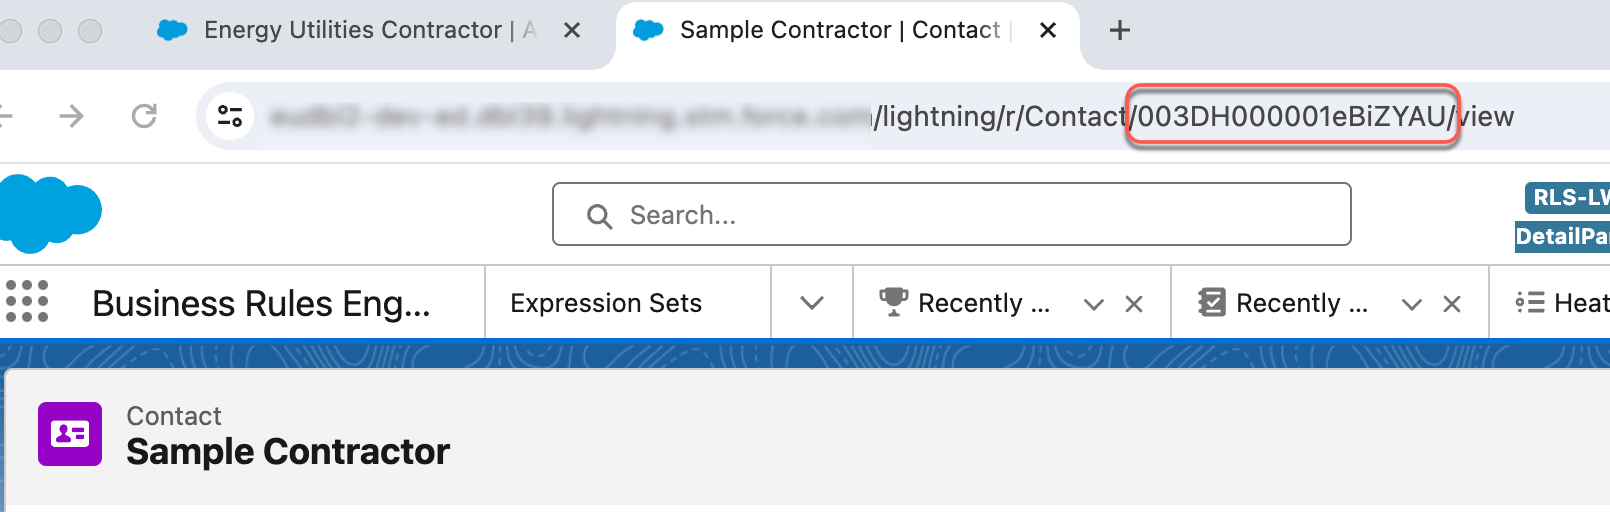
Note On the Contact page of the new contact, from the address bar of the browser, copy the alphanumeric code after lightning/r/Account/ to your notepad. This is the contact ID for the contractor contact.
 The contractor receives an email with the steps to create a password and set up their new account. If you used your own email in Step 2.c, the email is sent to your inbox.
-
Add a role to the contact from Developer Console.
See Execute a SOQL Query or
SOSL Search.
- Open the Developer Console.
-
Run this query:
<AccountID> is the alphanumeric code saved from Step 1.d, and <ContactID> is the alphanumeric code saved from Step 2.j.select id, accountid, contactid, roles from AccountContactRelation where accountid = '<AccountID>' and contactid = '<ContactId>' - In the Roles column of the query result, enter Primary Contact, then click Save Rows.
-
Log in as the contractor user.
- From the App Launcher, search for Contacts.
-
On the Contacts page, click the new contact.
For example, click Astro Nomical.
- From the dropdown, select Log in to Experience as User.
Did this article solve your issue?
Let us know so we can improve!