
You are here:
Create a Contract Document by Using Clauses
You can add pre-approved clauses to the contract document from the clause library.
| REQUIRED EDITIONS |
|---|
| Available in: Lightning Experience |
| Available in: Enterprise, Unlimited, Professional, and Developer Editions |
- Initiate the creation of a contract document from an order, opportunity, or quote or from a standard or custom object.See Create a Contract from an Opportunity, Order, or Quote or Create a Contract from a Standard or Custom Object.
To generate the contract document, select Create Contract in Microsoft 365.
 The contract document version 1 opens on a new tab in the Microsoft 365 editor.
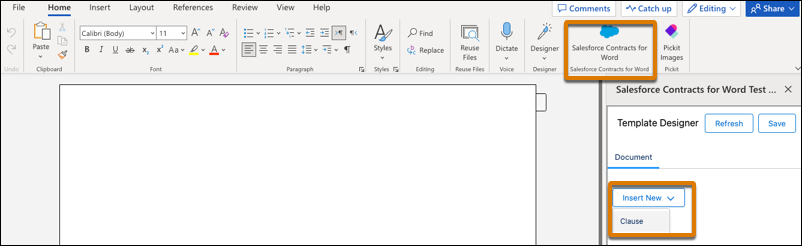
 - Click the Salesforce Contracts for Word add-in on the Home tab.
To insert a clause, from Insert New, select Clause.
- Select a filter to search in the clause library from these options: All, Document Clauses, and Document Clause Sets. Enter the text in the search filter to narrow down the results.
-
To insert a clause into the document, select the clause, and then click
Insert Clause.
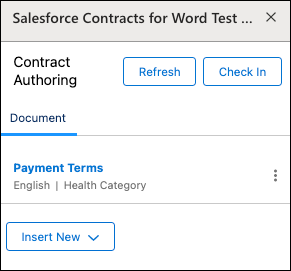
 The add-in panel shows the added clause. You can select the clause in the add-in panel to locate the content in the document.
 - After adding the clauses and document content, click Check In. To view the updated clauses, click Refresh.
 This creates a new version of the contract document and the document is checked into Salesforce.
 - To preview the contract document version, refresh the contract page in Salesforce.
Did this article solve your issue?
Let us know so we can improve!