You are here:
Set Up Product Attributes
After creating attribute categories and attributes, you can apply those attributes to products. End users can find and filter products based on attribute values.
When setting up product attributes, you can select the Customizable checkbox. Doing so reveals more options. You can select the user interface element for the attribute.
The following table lists valid formats for product attributes. Based on the attribute settings, such as required, minimum, maximum, minimum length, and maximum length, some input elements will display standard error messages. For example, if an attribute is required, the input element may read "Please enter a value for this field."
Attribute Format | User Interface Elements | Restrict Length or Value |
|---|---|---|
Currency |
Slider or single-value text box |
Value, Min and Max |
Percent |
Slider or single-value text box |
Value, Min and Max |
Text |
Text box or text area |
Length, Min Length and Max Length |
Number |
Slider or single-value text box |
Value, Min and Max |
Checkbox |
Selected or cleared (not selected) |
n/a |
Date |
Calendar |
n/a |
Datetime |
Calendar, time |
n/a |
Picklist |
Radio button or drop down |
n/a |
Multipicklist |
Checkbox or drop down |
n/a |
You can use a format mask to constrain attribute values. Do not use a format mask to restrict the length or value of attributes. For more information about the attribute format mask, see Constrain Product Attributes Using the Format Mask.
You can also set up an attribute to use a custom action.
If you change the attribute setup on a product, and that product is in use in order line items elsewhere in the system, the attributes on those line items do not change.
Attributes are stored in the JSONAttribute object. Vlocity Omnichannel APIs can use the code in this object. You can edit the JSON directly, but, if you do, do not edit the attribute using the Vlocity user interface.
To apply attributes to a product:
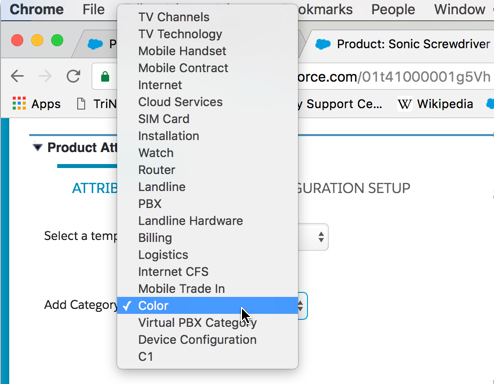
- On the Product record detail page, in the Product Attributes section, from the Add Category picklist, select the attribute category.
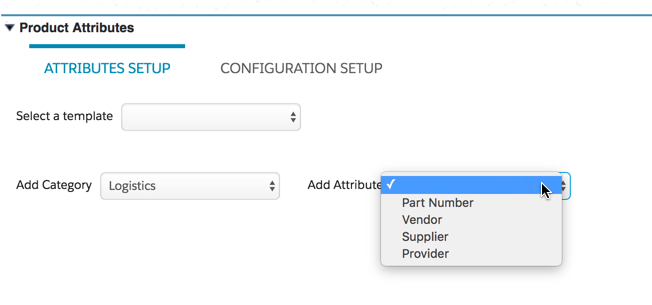
If the attribute category has more than one attribute associated with it, the Add Attribute picklist is displayed.
 Note
NoteIf you have created product attribute templates, you can apply them to other products. From the Select a template picklist, select the product attribute template. For more information about creating product attribute templates, see Create a Product Attribute Template.
- From the Add Attributes picklist, select the attribute.
- Select Customizable to reveal more attribute properties.
- From the first Attributes Setup picklist, select the information format for the attribute.
- From the second Attributes Setup picklist, select how the attribute initially appears in the user interface.
- In the Value box, enter the default value for the attribute.
- For attributes that are numbers or text, enter the minimum and maximum values for this attribute.
-
For attributes that require text, the Min Length and Max Length boxes control how many characters can be entered.
-
For attributes that are numbers—currency, percent, and number—the Min and Max boxes control the numeric value.
-
- In the Description box, enter a description for the attribute. This text is displayed when a user hovers over the attribute.
- Select Required to require this attribute for product configuration. Required attributes appear in the cart with asterisks (*) next to them.
- Select Read Only if the user cannot change the value of this attribute.
- Select Hidden to hide this attribute in the user interface.
- To optimize performance when a rule pertains to an attribute, select Has Rule.
For example, you could have a rule that specifies when a processor has a certain speed, offer a specific amount of RAM.
- To apply a format mask, see Constrain Product Attributes Using a Format Mask.
- To apply a custom cards-based template, in the Custom Template box, enter the template name.
- To use a custom action, click More Properties and perform the following steps
-
Select Use custom action.
-
Enter a label for the button.
-
Enter the Apex code for the custom action.
-
- To add more attributes, select them from the Add Attribute to Logistics picklist.
- Click Save Product Attributes.
- To configure attribute rules, see Configure Attribute Rules.