You are here:
Creating a Signature Section
Signature sections indicate the place to obtain contract document signatures. The signature tokens, a part of the DocuSign integration, can be inserted into the signature section as part of the text. DocuSign recognizes these tokens when the contract document is sent to DocuSign to manage the eSignature process.
If you add a signature section to a contract document template, and drag and drop that section to change its sequence to number one before you save it, you may receive an error message stating that the section has not been saved. Then, you cannot insert a signature. The only workaround is to delete the section and add it again. Remember to save sections before you resequence them.
Signature sections apply only to Vlocity Web Templates. In , to add signatures to a Microsoft Word or Microsoft PowerPoint document template, see Inserting DocuSign Signature Tags.
To create a signature section:
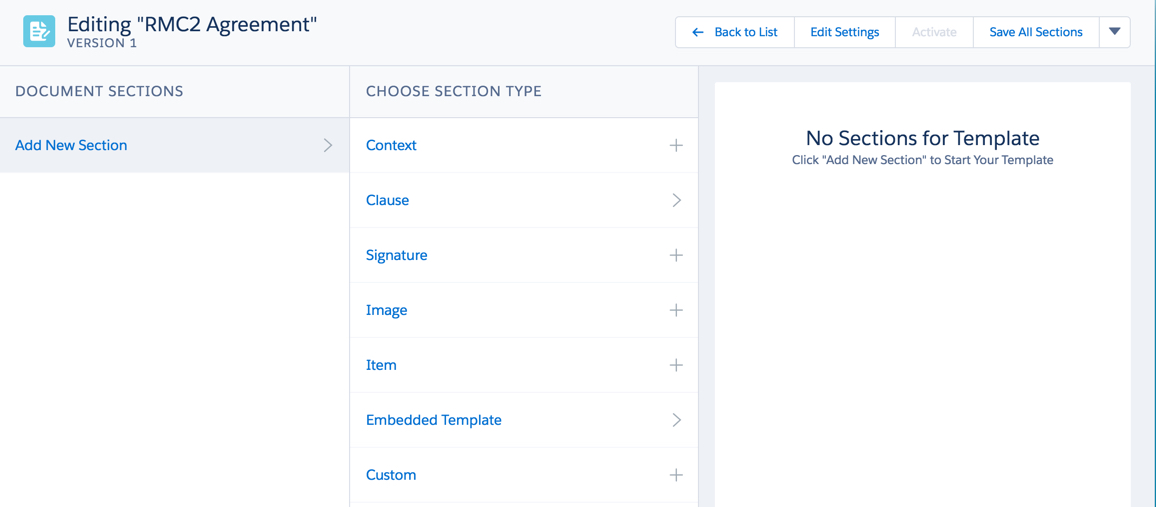
- In the Document Template Designer, in a contract document template, click Add New Section.
- Click Signature.
- Enter the section Name.
-
Select one or more of the following Section Properties:
-
To prevent users without the appropriate access from editing the section, select Restricted.
-
To start a new page when this section appears in the contract, select New Page.
-
To include the section name as a heading, select Display Section Name.
-
To repeat any table headers when they span multiple pages, select Repeat Table Header in Word.
-
-
Select one or more of the following Section Numbering options:
-
To use numbered headings, select Auto Number.
-
To reset the numbering when this section appears in the contract, select Reset Auto Number.
-
- Using the rich text editor, enter and format the section content.
-
To insert signature tokens, click Insert
Signature.
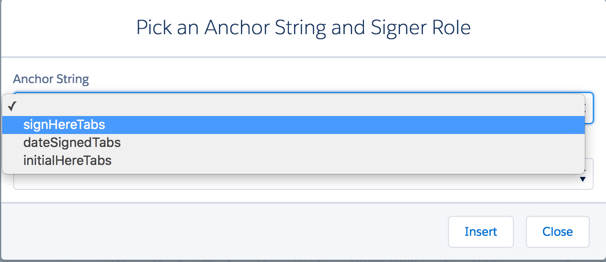
The Pick an Anchor String and Signer Role dialog box opens.
-
Select the Anchor String.
The anchor string maps the DocuSign anchor tab type and the anchor string user to use in a contract document. When DocuSign sends a contract document with the anchor string, DocuSign places the correct anchor tab in the place of the anchor string and direct user signature action. The default anchor string is
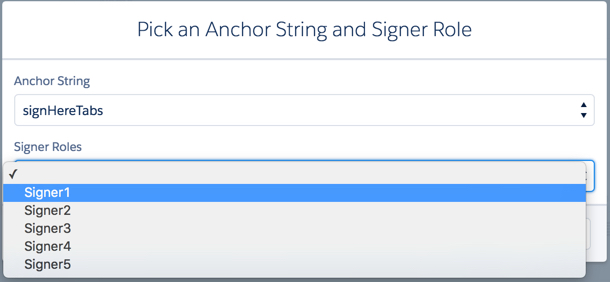
vlc*, but you can change it. You can include other DocuSign tabs. - Select a Signer Role.
- Click Insert.
- To include a variable in the text, enter it in the following format:
- To include this section only if one or more specific products are present, see Conditionalize a Section Using Product Lists.
- To include this section based on more advanced conditions, see Conditionalize a Section Using Entity Filters.