You are here:
Creating an Item Section in the Document Template Designer
An item section in a Vlocity Web Template gets data from the contract line items. Item sections specify which columns from contract line items appear in the contract document. Item sections always appear in tables.
All body columns must include a token, or variable. For more information about variables, see Mapping Tokens in a Section. You cannot use the rich text editor in item sections. You can create variables in item sections and map them to fields on the Contract Line Item or Contract objects. After creating the item section, you cannot edit the text. Vlocity CLM renders the text in a table. You can format the table header and rows.
To create an item section:
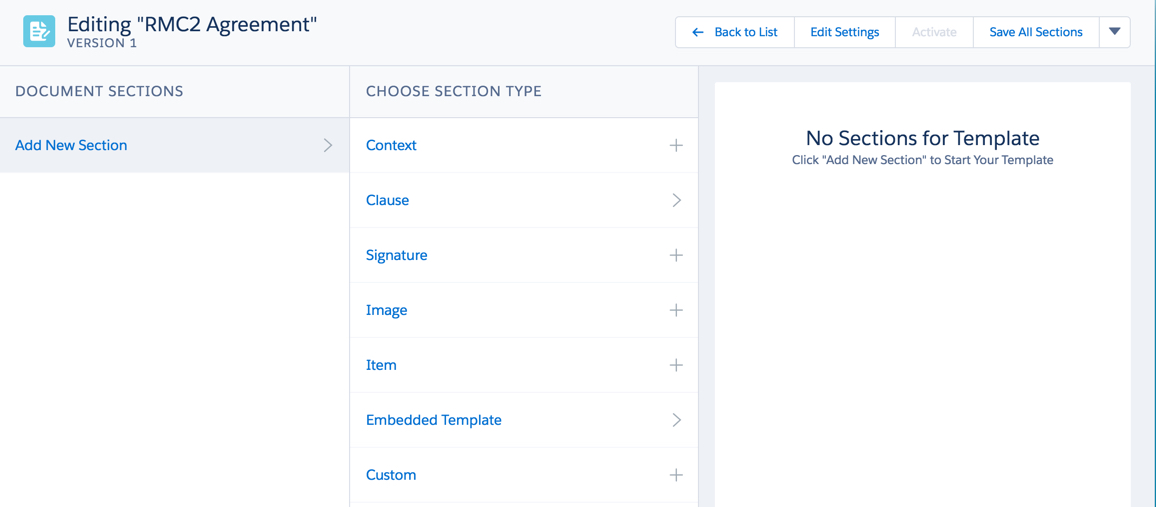
- In the Document Template Designer, in a contract document template, click Add New Section.
- Click Item.
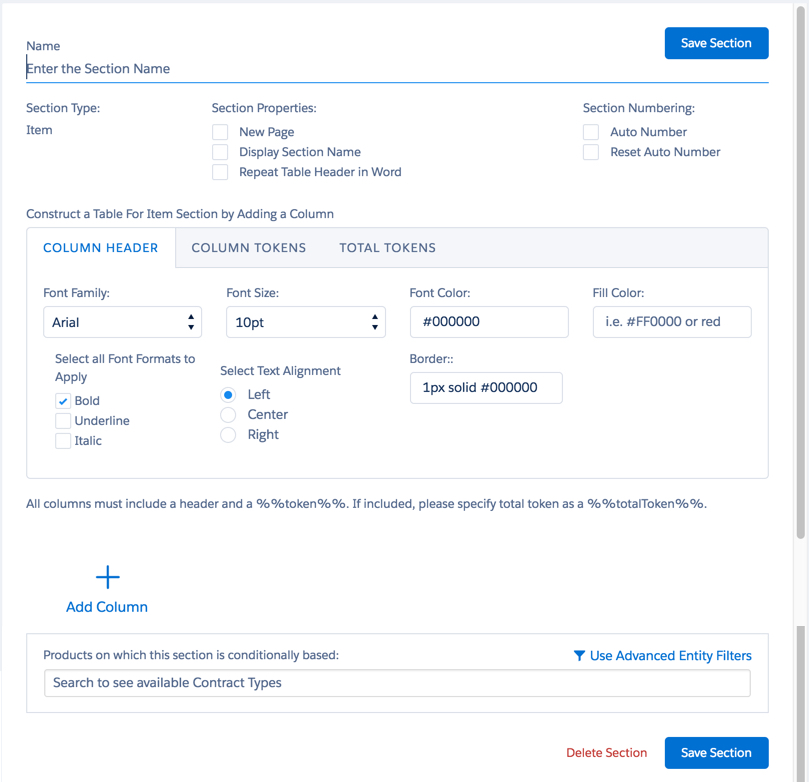
- Enter the section Name.
-
Select one or more of the following Section Properties:
-
To start a new page when this section appears in the contract, select New Page.
-
To include the section name as a heading, select Display Section Name.
-
To repeat any table headers when they span multiple pages, select Repeat Table Header in Word.
-
-
Select one or more of the following Section Numbering options:
-
To use numbered headings, select Auto Number.
-
To reset the numbering when this section appears in the contract, select Reset Auto Number.
-
-
Click Add Column.
-
Use the options on the Column Header tab to format the table header row.
-
Use the options on the Column Tokens tab to format the table body.
Use the options on the Total Tokens tab to format totals that appear in the column.
-
-
Below the format tabs, construct the table.
-
To enter a column header, enter text in the Enter a Column Header box.
-
To enter the first column body cell, enter a variable in the Enter a Column Token box.
For example %%Product%%.
-
To enter the first column total cell, enter a variable in the Enter a Total Token box.
-
To add another column, click the plus sign (+).
 Note
NoteIn the Omnistudio Data Mapper Transform for item section tokens, you need to append the token name with the item section name followed by a colon, <Item section name>:<token name>. For example, if the name of the item section is Item Section and the token name is Quantity; then in the Document Template Output Field you should type Item Section:Quantity.
-
- Map the variables to appropriate Salesforce fields. For more information, see Mapping Tokens in a Section.
- To include this section only if one or more specific products are present, see Conditionalize a Section Using Product Lists.
- To include this section based on more advanced conditions, see Conditionalize a Section Using Entity Filters.
- If this is a JSON-based mapping template, you can conditionalize line items based on formulas. For more information, see Conditionalizing Line Items Using Formulas.
- Click Save Section.