
You are here:
Create a Sender Profile
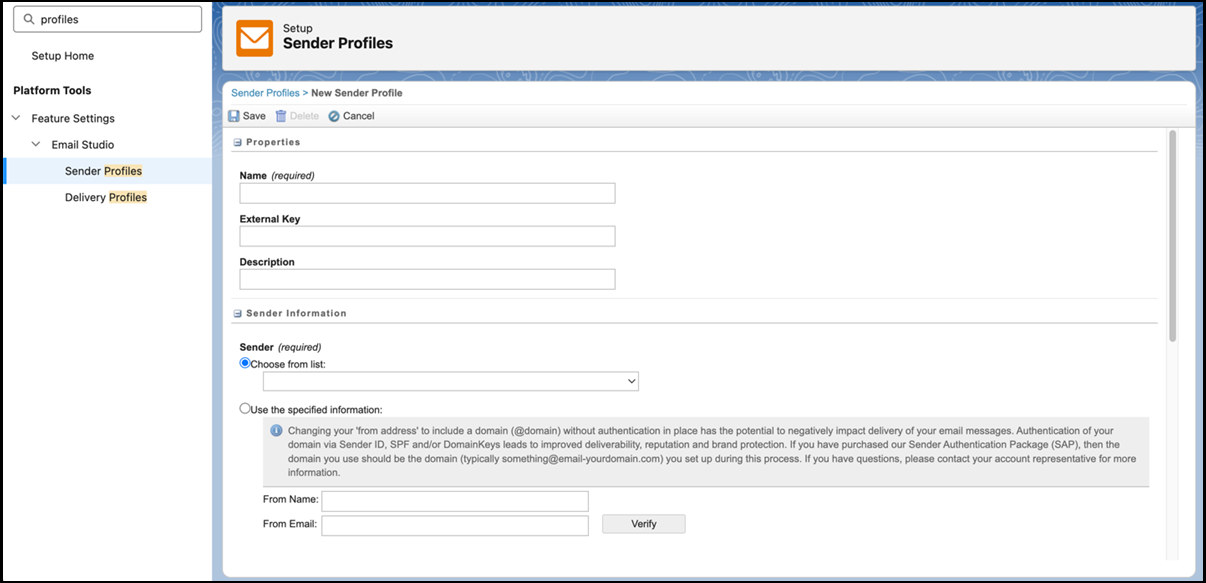
Follow these steps to create a sender profile in Marketing Cloud Engagement Setup.
- In Marketing Cloud Engagement Setup, in the Quick Find box, enter profiles, and then select Sender Profiles.
- Click Create.
- In the Properties section, specify a name, description, and external key for the send classification. The external key is a unique key that you can use to identify the send classification in API requests.
-
Complete the information in the Sender Information section.
- Sender: Select a valid value for the From name and address associated with this sender profile. Use either Choose from list or Use the specified information. If using specified information, enter the information manually in the From name and From email fields. The status automatically changes to verified when a From address matches the account’s SAP domain. To start the domain verification process, select Verify.
- From Name: Enter a string or a personalization string for subscriber-specific From names, such as %%owner_name%%.
- From Email: Enter a string or a personalization string for subscriber-specific From email addresses, such as %%owner_email%%. When using AMPscript, add a verified address as a fallback for the system to use in cases where the addresses in your data extension are unverified. Enhanced Sender Profile allows AMPscript to populate the From email.
- Select whether to use custom settings or direct forwards in the Custom Reply Mail Management settings. Enter custom settings as necessary to determine how Reply Mail Management processes replies to your email messages.
- Save your changes.
Did this article solve your issue?
Let us know so we can improve!