
You are here:
Create a WhatsApp Template Message for Approval in Marketing Cloud Engagement
Create templates for your transactional messages. Before you start sending, WhatsApp must approve your template message. While waiting for approval, you can send session messages.
- Create a WhatsApp Template Message (Meta)
Create templates for your transactional messages to use with your active WhatsApp Business accounts. Marketing Cloud Engagement supports text, image, and button message types. - Create a WhatsApp Template Message (Sinch)
After your channel is approved, you can start creating templates for WhatsApp transactional messages.
Create a WhatsApp Template Message (Meta)
Create templates for your transactional messages to use with your active WhatsApp Business accounts. Marketing Cloud Engagement supports text, image, and button message types.
Note You must get opt-in consent from your intended recipients before you send a template
message. For opt-in best practices, see Get Opt-In for WhatsApp (Meta).
After a template is approved, you can edit it one time every 24 hours.
-
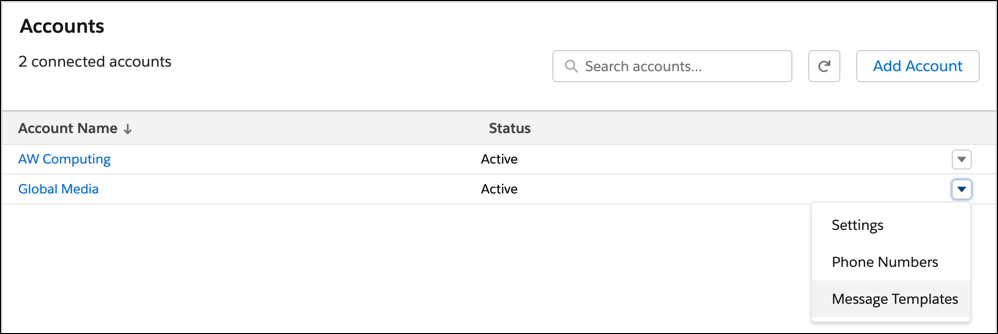
From the dropdown list for your active WhatsApp Business account, select Message
Templates.
- If prompted, log in to the Facebook account associated with your business.
- Select Create Template.
- Choose a template category, and name your template.
- Select a language, and click Continue.
-
Enter the message body.
If you include a URL in your template message, ensure that the URL has a valid landing page and belongs to your business. A template with an invalid URL is rejected.
-
(Optional) Add a header, footer, and buttons.
- To add a media file to the header, select Media from the dropdown.
-
Click Add Sample, and upload a JPG, PNG, PDF, or MP4 file from
your computer.
You can add only images, videos, and documents to a template message. Audio files aren’t supported.
- Click Done.
- Submit your template request, and confirm your selected language.
You can view the status of your submitted template on the Message Templates.
Create a WhatsApp Template Message (Sinch)
After your channel is approved, you can start creating templates for WhatsApp transactional messages.
Note After a template is approved, you can’t edit it. Instead, submit a new template message for
approval. You can share an approved template across WhatsApp channels but not across business
units.
- From the AppExchange dropdown, select Chat Messaging Setup.
- In the left navigation, click Message Templates.
- Click New Template.
- Select a registered account.
- Name your template.
- Select a template category from the dropdown.
- Select the language from the dropdown.
-
Complete the Message Content section.
If you include a URL in your template message, ensure that your URL has a valid landing page and belongs to your business. Templates with invalid URLs are rejected.
- Add an optional header.
- Complete the Message Body section.
- Add an optional footer.
- Add optional buttons.
- Click Submit Request.
You can view the status of your submitted template in the Message Templates screen.
Did this article solve your issue?
Let us know so we can improve!