
You are here:
Create a Mobile Opt-In Message in MobileConnect
Use the Mobile Opt-in template to invite people to subscribe to your SMS or MMS messages. For example, in-store signs can prompt people to opt in. The Mobile Opt-in template defines the code and keyword combination, the message they receive, and other information.
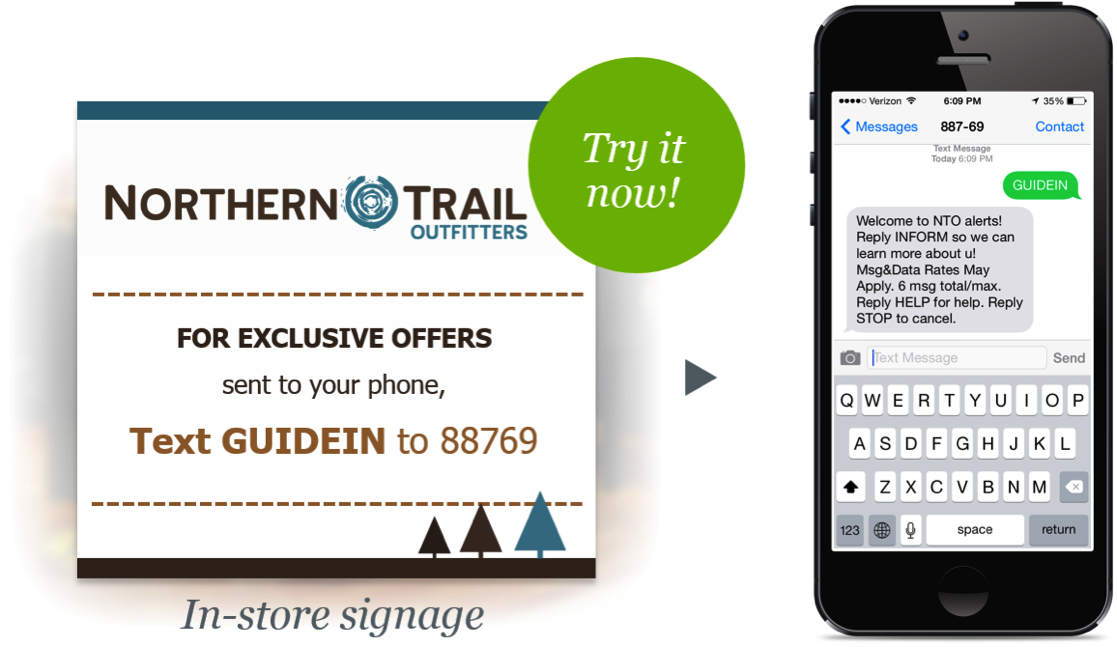
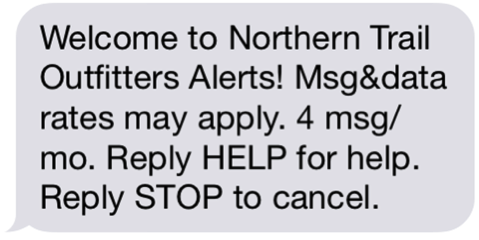
After sending the message, the contact receives an SMS reply.
- On the MobileConnect Overview screen, click Create Message.
- Select the Mobile Opt-In template.
- Enter a name for the message.
- Select the short or long code to use.
- Select or create the keyword.
- Move to the next page.
-
Select the subscription option.
- Single Opt-in—Requires a user to text one time to opt in.
- Double Opt-in—Requires a user to text twice to confirm opt-in.
- Double Opt-in with Age Confirmation—Requires the user to text in their age or date of birth after texting to opt in. If the user’s age is above the minimum, MobileConnect accepts the opt-in.
- Set the number of messages the subscriber receives per month.
- Select Allow a single opt-in per mobile number if you want to prevent duplicate opt-ins.
- Enter the Initial Message to be sent if a user attempts to subscribe.
- Enter the Duplicate Opt-in Message that's sent when the user tries to opt in again but is already subscribed.
- Enter the Acceptance Response to confirm opt-in.
- Enter the Confirmation Message to confirm a successful subscription.
- Enter the Opt-in Error Message for cases where opt-in fails.
- Click Next.
- Review the message information.
- Set the dates that the message is active.
- Schedule or send the message.
Did this article solve your issue?
Let us know so we can improve!