
You are here:
Brand Your Content in Marketing Cloud Next
Apply a consistent look and feel across your marketing content. Specify your company’s colors, fonts, button styles, brand identity, and tone. Create as many brands as you need. We recommend that you assign your primary brand as the default brand in your marketing workspace. The default brand’s settings extend to all your Marketing Cloud Next content, but you can create other brands for specific events or products.
Required Editions
| Available in: Salesforce Enterprise and Unlimited Editions with Marketing Cloud Next Growth or Advanced Edition, and in Starter and Pro Suite Editions. Your edition determines the options that you have. |
| User Permissions Needed | |
|---|---|
| To create or edit content: | Marketing Cloud Manager permission set AND any CMS workspace contributor role |
| To publish or unpublish content: | Marketing Cloud Manager permission set AND a CMS workspace contributor role of content admin or content manager |
The preview panel shows your style updates as you make them. Switch between desktop and mobile views to see how the branding looks in both screen sizes. For landing pages and forms, you can create separate desktop and mobile branding styles.
Marketers can assign a brand to an email, form, or landing page when they create content. When the content is published, its related brand is also published.
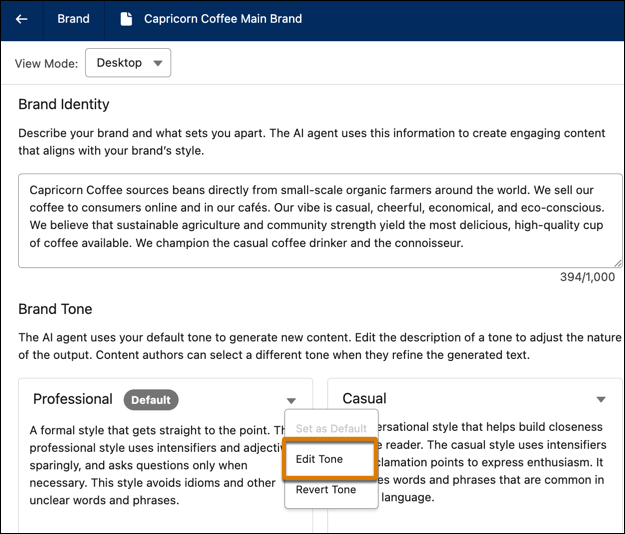
When you use Agentforce to create emails, landing pages, or SMS messages for marketing campaigns, the Brand Identity and Brand Tone fields help the AI agent generate text that reflects your company’s personality. Select a default tone from the standard options, and edit the tone’s description as necessary to generate text in your company’s voice.
Considerations for Branding Your Content
When you craft your company’s brand styles in Marketing Cloud Next, keep these considerations in mind.
All contributors in a Marketing workspace can create or edit your company’s brand styles. When an unpublished brand is attached to an email, landing page, or form, and you publish the content, the brand is also published. To protect your company’s brand values from unauthorized changes, establish an approval process for creating, updating, and publishing brand styles.
When you update and publish a brand that’s associated with a published landing page or form, the previous version of the brand remains visible to visitors until their browser cache expires or is cleared.
When the workspace default brand is assigned to a published piece of content and you update the default brand, the update isn’t applied to the published content. To apply the update, unpublish the content, remove the existing brand, and select Use Default Brand.
Mobile-specific brand settings apply to landing pages and forms. They don’t apply to emails.
Create and Publish a Brand in Marketing Cloud Next
Each brand that you create is stored in your content workspace and is available for a workspace admin or manager to assign as the workspace default brand. When necessary, marketers can select a different brand when they create content. If you save your brand in a workspace that’s shared with another workspace, you can apply the brand to an email, landing page, or form in the shared workspace.
- From your marketing workspace, click Add.
- Select Content | Brand, and then click Create.
-
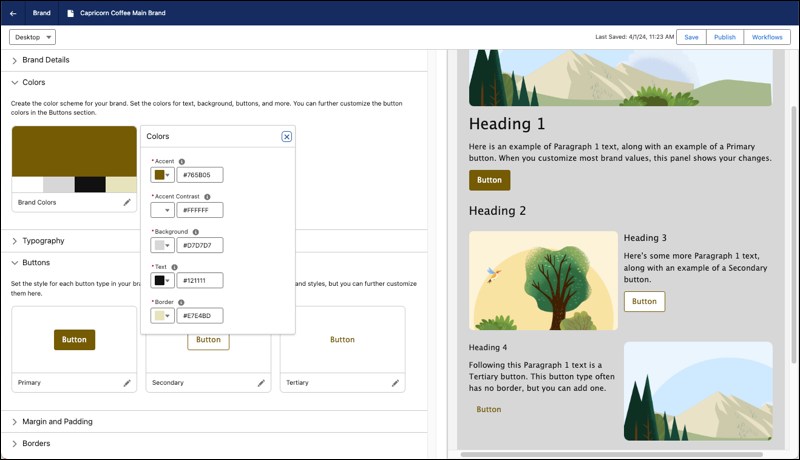
Give your brand a title and specify your company’s colors and other styles. Optionally,
further customize the colors for your button styles.
As you adjust the brand values, your style changes appear in the preview panel. To switch between desktop and mobile views, use the dropdown menu in the navigation bar.
- Publish the brand.
A marketer can customize text styles, colors, or other content elements for an individual email, landing page, or form. Those style changes apply only to that content.
Assign a Default Brand in Your Marketing Workspace
Save time and ensure consistency across all your communications by assigning a default brand to your marketing workspace. All content that’s created in the workspace uses the default brand. A marketer can apply a different brand to an individual piece of content.
Only a user with the CMS contributor role of Content Admin or Content Manager can assign or change a workspace default brand.
-
In your marketing workspace, click
 and select Default Brand.
-
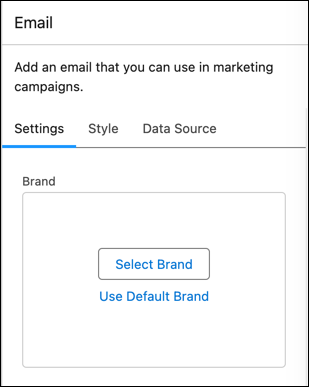
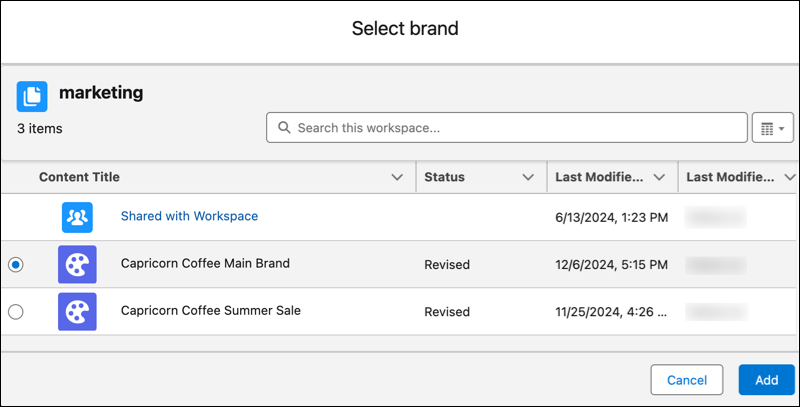
Click Select Brand and select a brand from the list, or click
Shared with Workspace to select a brand from another workspace
that’s shared with your marketing workspace.
If your default brand is stored in a shared workspace, and that workspace is unshared from your marketing workspace, you can no longer use the brand as your default.
- Click Add, and save your changes.