
You are here:
Create and Manage a Reusable Content Block
Content admins and content managers can combine text, images, links, and buttons into reusable content blocks. The blocks are stored in a marketing workspace, where they’re easily available to content authors, who can add them to any email or landing page. Create different content blocks for different audiences, and use variation rules to personalize which block is delivered to which audience.
Required Editions
| Available in: Salesforce Enterprise and Unlimited Editions with Marketing Cloud Next Growth or Advanced Edition, and in Starter and Pro Suite Editions. Your edition determines the options that you have. |
| User Permissions Needed | |
|---|---|
| To create, edit, publish, or unpublish a content block: | Marketing Cloud Manager permission set AND a CMS workspace contributor role of content admin or content manager |
| To use a content block in an email or landing page: | Marketing Cloud Manager permission set AND any CMS workspace contributor role |
When you use content blocks, keep these considerations in mind.
- A content author can add any content block to an email or landing page, even if the content block is in Draft status. If a content admin or manager publishes the parent content, the draft content block is also published.
- A content block's latest saved version appears on the canvas and in preview, regardless of whether it's published. The latest saved version also appears on the content block’s detail page in Salesforce CMS.
- A content block inherits the brand values of the email or landing page where it’s included. However, a block creator can customize individual style values in a content block. Those choices persist wherever the block is used, regardless of the content’s assigned brand.
- You can’t use dynamic content when creating or editing a reusable content block. To personalize which audience gets a particular content block, create different versions of the content block. Then, in an email, create a variation of the Content Block component and use targeting rules to personalize who gets which content block.
- You can't create variations of the Content Block component on a landing page.
Create a Content Block
-
From your marketing workspace, create a content block.
- For an email, click Add | Content Block: Email.
- For a landing page, click Add | Content Block: Landing Page.
-
Add the components for the content block to the canvas and configure them.
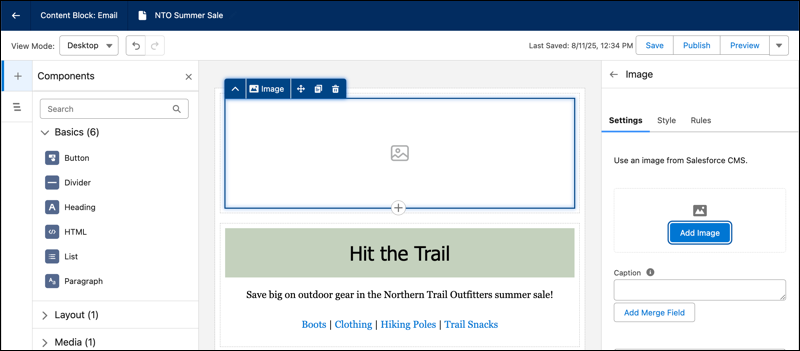
- Save and publish the content block.
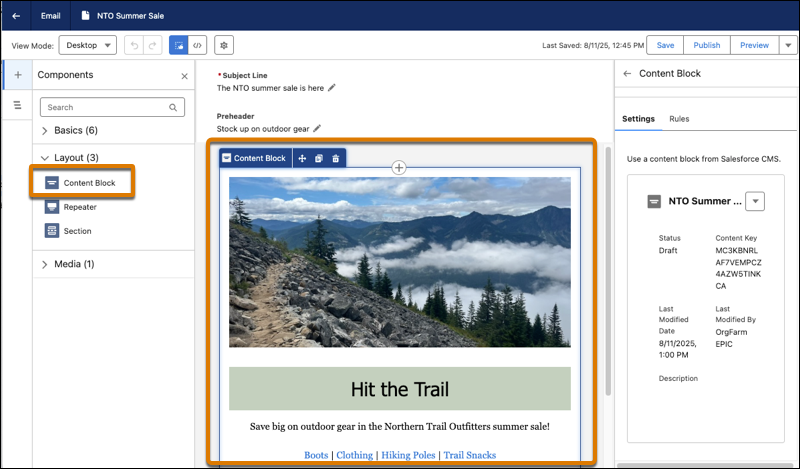
Use a Content Block in an Email or Landing Page
- In an email or on a landing page, add the Content Block component to the canvas and click Select Block.
-
Select a content block and click Add.
-
Optional: In an email only, you can create
a variation of the Content Block component for a different audience.
- In the property panel for the Content Block, click New Variation.
- Name the variation and set its rules.
- Replace the default content block with the version of the block that you want to use.
- Save your work.
- Preview and test your content.
- Publish the content.
Convert a Content Block to a Section
To customize a content block in an email or landing page, convert it to a section. Then, edit the contents of the section. The original content block is unchanged.
- In the canvas of an email or landing page, select a content block.
-
Click
 in the toolbar.
If the content block contains multiple sections, the block is converted to multiple sections in your email or landing page.
in the toolbar.
If the content block contains multiple sections, the block is converted to multiple sections in your email or landing page. - Save your changes.