
Add a Utility Bar to Lightning Apps
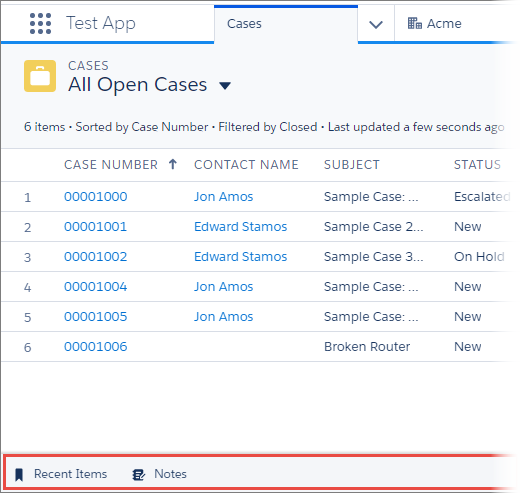
The utility bar is a specialized type of Lightning page that gives your users quick access to common productivity tools, like Notes and Recent Items. It appears as a fixed footer that users can access to open utilities in docked panels. Some utilities support pop-out, which lets them open in a new browser window.
Required Editions
| Available in: Lightning Experience |
| Available in: Contact Manager, Group, Professional, Enterprise, Performance, Unlimited, and Developer Editions |
| User Permissions Needed | |
|---|---|
| To view apps: | View Setup and Configuration |
| To manage apps: | Modify All Data |
Utilities harness the power of Lightning components. When you set up a utility bar, you select which Lightning components to use as utilities.
Background utility items are added the same way as normal utility items, but don’t appear
in the utility bar. The  icon appears next to background
utility items on the utility item list. If you have only background utility items in your
utility bar, the utility bar doesn’t appear in your app. You need at least one
non-background utility item in your utility bar for it to appear.
icon appears next to background
utility items on the utility item list. If you have only background utility items in your
utility bar, the utility bar doesn’t appear in your app. You need at least one
non-background utility item in your utility bar for it to appear.
You can add or edit a utility bar at any time.
- From the Home tab in Setup, enter App in the Quick Find box, then select App Manager.
- To edit or add a utility bar to an existing app, click Edit in the dropdown menu next to your app. To create a Lightning app with a utility bar, click New Lightning App.
-
Click the Utility Items tab and add the utilities you
want.
Specify component and utility properties, like the height and width of the utility panel, and what label and icon to display in the utility bar. Some utilities have properties that can’t be changed.
When creating a utility bar for your app, keep these things in mind:
- Utility bars created using the Lightning App Wizard or in the Lightning App Builder can be assigned to only one Lightning app. However, utility bars created using the API can be assigned to multiple Lightning apps.
- The utility bar doesn’t support Visualforce pages or components.
- The utility bar doesn’t fully support the Chatter Publisher and Feed components.
- The History utility works in Lightning console apps only.
- The Omni-Channel utility works in the Lightning Service Console app only.
- The default utility bar alignment matches the user’s language setting alignment. For example, English is read left to right. If you select Default and a user’s language is set to English, the utility bar appears at the bottom of the left side of the screen. If you select Mirrored, the utility bar appears at the bottom of the right side of the screen.