
You are here:
Add Development Environments to the Project
Add the source-tracked development environment that you created for each developer working on the project.

Important When adding a sandbox, be sure it's a Developer or Developer Pro sandbox
with source tracking enabled. Other sandbox types don't support source tracking, which is a
requirement for development environments.
- Navigate to the Pipeline Environments page.
- If you just defined your release environment, you’re already there.
- From the the Project page, click the hot link text under All Environments or click Click to Create Pipeline.

- In the Pipelines Environments page, click Add Development Environment.
- Enter a unique name for the development environment. Environment names must be unique across projects.
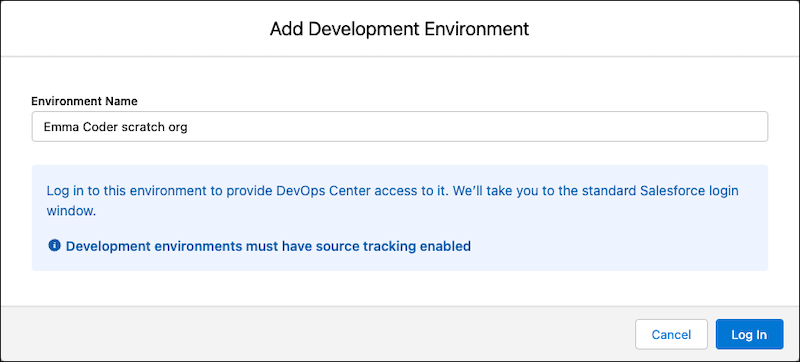
- Click Log In.
DevOps Center takes you to test.salesforce.com to log in.
- To allow this environment to connect to DevOps Center, click
Confirm.
DevOps Center uses an OAuth process to remember your credentials.
- Repeat steps to add more development environments.
Now, when team members select or are assigned a work item, they can easily connect to their development environments from within the work item. Users are asked to authenticate to the environment with their own credentials to authorize their use from DevOps Center.
Important You can remove a development environment up until the developer commits a
change in a work item.
Next, determine your pipeline configuration (how many stages), then add the other environments associated with your pipeline stages.
Did this article solve your issue?
Let us know so we can improve!
